
Skullduggery by Amanda Southern
11:00
Hi Everyone
Following on from last weeks Hochanda shows and the launch of lots of new products for Halloween and Christmas, this week I am sharing with you one of my Halloween makes that supported the launch, on TV, of these new products. I know many of you have seen this on social media promoting the launch of the new products, but I had some requests to share how I made it and it really was quite simple to do.

Here's What I Did:
This project starts with the new skull MDF Upright, which I gave a light painting of gesso. I then used That's Crafty! Texture Paste and put I very thick, and I mean very thick, layer all over the skull.
Using the back of a teaspoon I then shaped the paste moving to to build up around the eye sockets and to cause dints either side of the forehead. I also made the rest of the paste uneven, using the back of a spoon helped make the hollows in the paste. I then left it to dry, which for the thickness of it took about 2 days. Now the crack in the centre of the forward I love, but I have to confess was a happy accident not realising that the thickness of the paste in this part meant that when drying would form cracking, I have to admit I couldn't have planned it any better to add to the look but as I said that was poor luck. I think we all love a happy accident don't we?

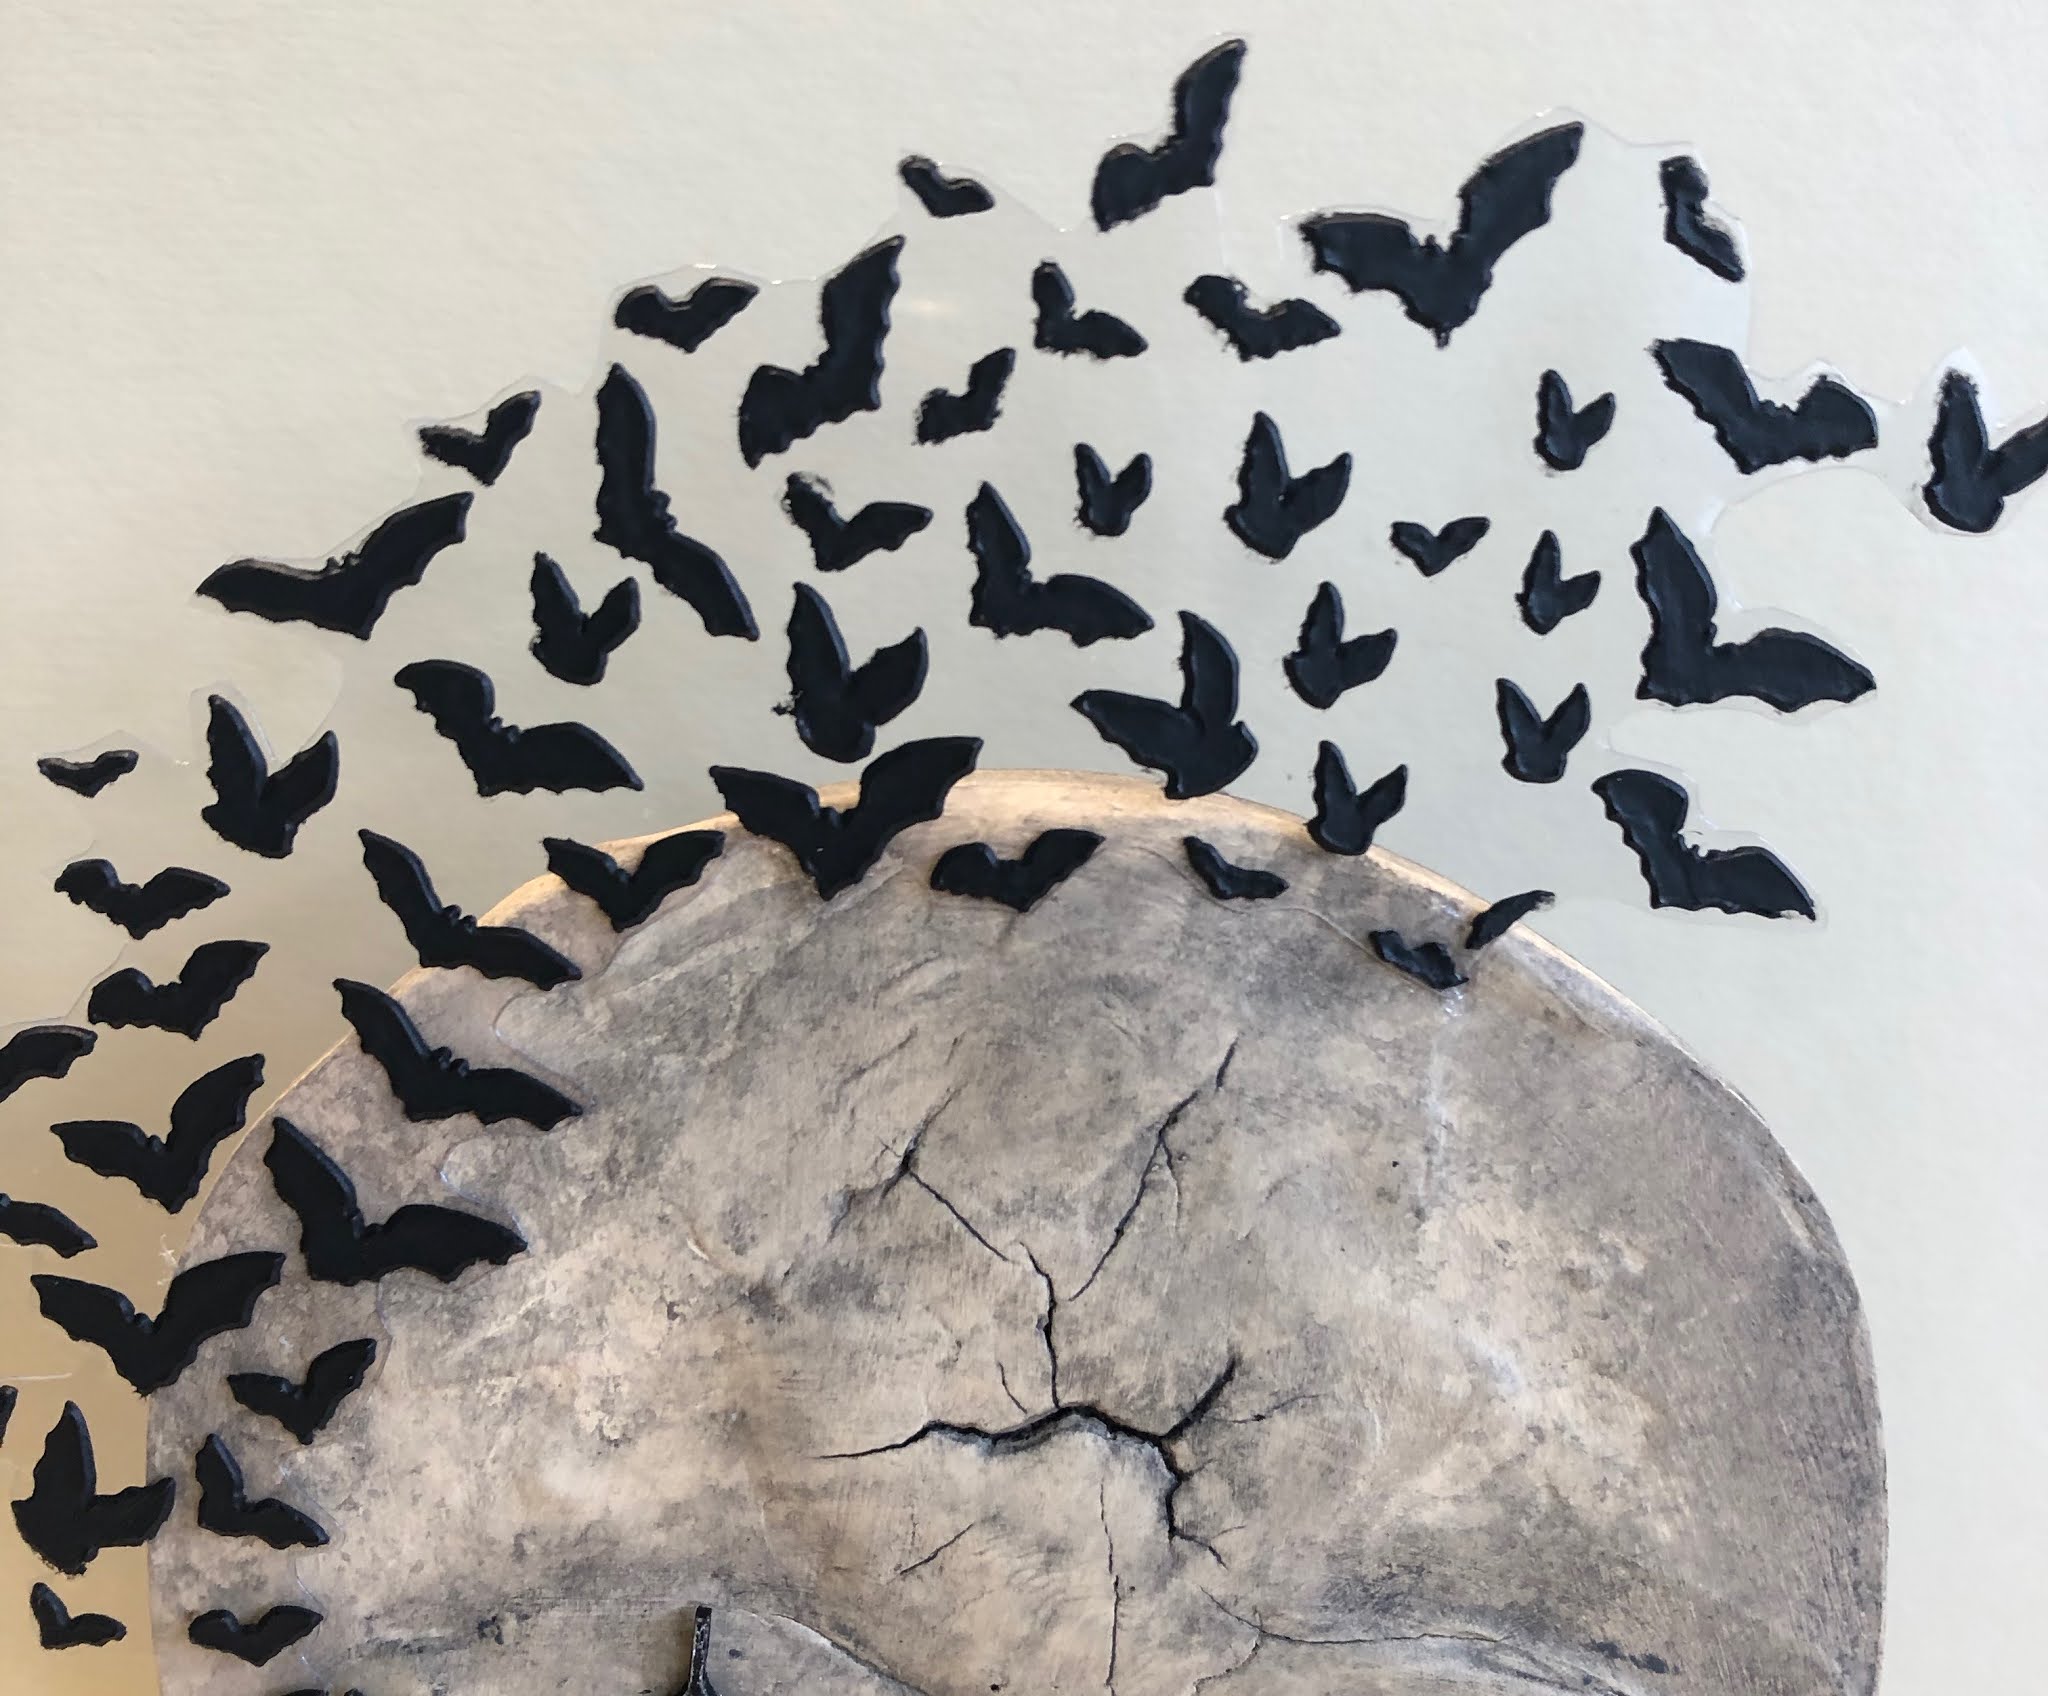
Whilst that was in its 2 day drying stage, I used Black Texture Paste through the new flying bats stencil onto acetate as I wanted it to look like the bats were flying out of the skulls eyes. Again I left that to dry naturally.
Once all the pastes were dry I could complete the project. I painted all over the texture paste skull using That's Crafty! Sandstone paint. Once that was dry I watered down some That's Crafty! Black Gesso and smeared it over the Sandstone allowing it to go into the grooves and hollows and then wiped it down with a damp cloth with gives the finish that you see. I put a piece of black card behind to black out the open pieces which I added some shading to with Hickory Smoke Distress Crayon. The spider and spiders web that I've placed over his eye are from the new Halloween Craftyboard pieces, and I have just painted with black gesso. Before glueing these into place I cut out the bats cutting the acetate as close as I could and glued them to the skull escaping from his eye socket, the spiders web then just goes over the eye socket they are escaping from.
Final stage was to complete the base that the skull slots into. This I did by adding gravel which is made using That's Crafty! Gritty Bitz. I added a handful to a pot and poured in some gel medium to bind them all together and then laid them onto the base. Once these were dry I painted over the lot with Sandstone paint and again added some watered down black gesso. The 2 little gravestones that I have sunk into the stones are again from the new Craftyboard Halloween pieces which I have added the number 31 to, this time I have lightly covered them in That's Crafty! Sand Texture Paste and painted the same way. When you are doing the base just make sure that you leave space to slot the skull Upright into place.

Here's What I Used:
That's Crafty! Multi Surface Paints - Sandstone
Distress Crayon - Hickory Smoke
Sheet of Acetate
Have a fabulous week and I will see you all next Tuesday
Love
Amanda X
P.S. Only 80 days to Halloween


4 comments
Amanda, this is incredible, I just love how you built up the skull 'face' and the cracked forehead is fabulous. Love the spooky bats flying out the head too. Just brilliant! Anne x
ReplyDeleteWell, there you go... it was one of those fabulous happy accidents - it's still a phenomenal crack! Brilliant moulding of the brow bone and fantastic idea to have the bats flying away in a swarm. It's a wonderful bit of spookiness!
ReplyDeleteAlison x
marvelous!
ReplyDeleteAbsolutely brilliant
ReplyDeleteThank you for taking the time to leave a comment on our blog, we really appreciate it.
Note: only a member of this blog may post a comment.