
Funky Flower! by Amanda Pink
11:00
Hello Everyone
Welcome to my weekly DT post of creativity .
Today I''m sharing a colourful and funky art panel featuring alcohol inks and one of That's Crafty's Greyboard 'Funky Flowers'.

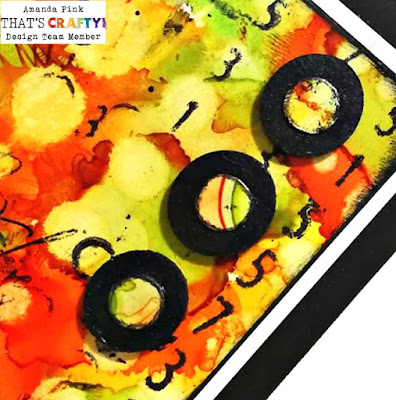
I worked on a piece of white yupo for the background panel. I selected some Alcohol ink colours and added droplets of the inks directly to the yupo. As the inks started to 'pool out' I 'blew' them around using Tim Holtz new Alcohol ink blower. This is a super easy tool to use, fun too and far safer than using a straw!!
I then added further droplets of ink (left 'unblown') to create 'circular cell like shapes'.

I planned on doing some 'alcohol lift' stamping next but my Alcohol Lift ink pad seems to have gone AWOL !!? If any of you happen to know where it may be hiding please give us a hint as it's refusing to be found!!?? So, instead I did some alcohol lift stenciling using Tim Holtz Alcohol Lift ink reinker with a That's Crafty! Dotty Stencil.

Now I don't pretend to know all the 'how's and why fors' of using Alcohol lift ink or Alcohol inks for that matter so I would really encourage you to watch Tim himself demoing and explaining. There are Tim's recent Alcohol inks Facebook live demos here and here and there are plenty more demos on You Tube if you have a look around.
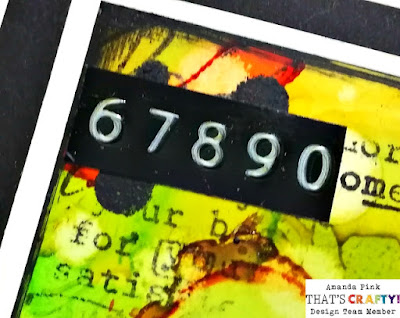
I added a touch more stencilling to the background using black acrylic paint with That's Crafty's 'Numbers' stencil as well as some detail stamping using the double ring stamp from That's Crafty! Textures Collection 2 stamp set, the text from AAll and Creates #292 Scripts stamp and the open circles from PaperArtsy Mini Stamp EM60.

Three painted ovals topped with background 'off cuts' decorated the top right of the panel. The ovals were some of the 'pop outs' bits from some AB Studio Chipboards.
To the top left and bottom right of the panel I added some Tim Holtz label tape....
... and the 'Funky Flower' from That's Crafty's 'Funky Flower' greyboard sheet took the main stage as the focal feature. It was painted with black acrylic paint applied with a sponge to create a more textural finish.

A few back ground pieces cut to shape accented the leaves...

....and the flower head.
They helped break up the 'all black' and bring hints of the background to the fore, unifying the two.

Products I used:
Black Cardstock
Cream Cardstock
That's Crafty! Greyboard Large Funky Flowers 1
AB Studio Chipboard: Cogs Line
Ranger/ Tim Holtz Yupo
That's Crafty! Multi Purpose Adhesive
Black Acrylic Paint
Archival ink: Jet Black
Tim Holtz Alcohol Inks: Limeade, Sunset Orange, Sunshine Yellow, Dandelion
Tim Holz Blending Solution
Tim Holtz Alcohol Lift Ink Reinker
That's Crafty! 7 x7 Stencils: Dotty (TC6007), Numbers(TC6002)
That's Crafty! Clear Stamp Set: Textures Collection Set 2
AALL and Create Stamps: #292 Scripts designed by Bipasha BK
PaperArtsy Mini stamps: EM60 designed by Tracy Scott
Tim Holtz Ideology Label Tape
Ranger Blending Tool and Felt Applicators
Tim Holtz Alcohol Ink Blower
Scissors
Paper Trimmer/ Guillotine
Tim Holtz Alcohol Ink Blower
Scissors
Paper Trimmer/ Guillotine
Thank for stopping by today.
Hope you have a great week creating!
Take Care
Amanda
x


2 comments
Very striking piece of artwork Amanda. Love the bright grungy background for the black embellishing.
ReplyDeleteFliss xx
Thanks Fliss . Really appreciate x
ReplyDeleteThank you for taking the time to leave a comment on our blog, we really appreciate it.
Note: only a member of this blog may post a comment.