
London - Art Journal Pages by Gill Humphrey
11:00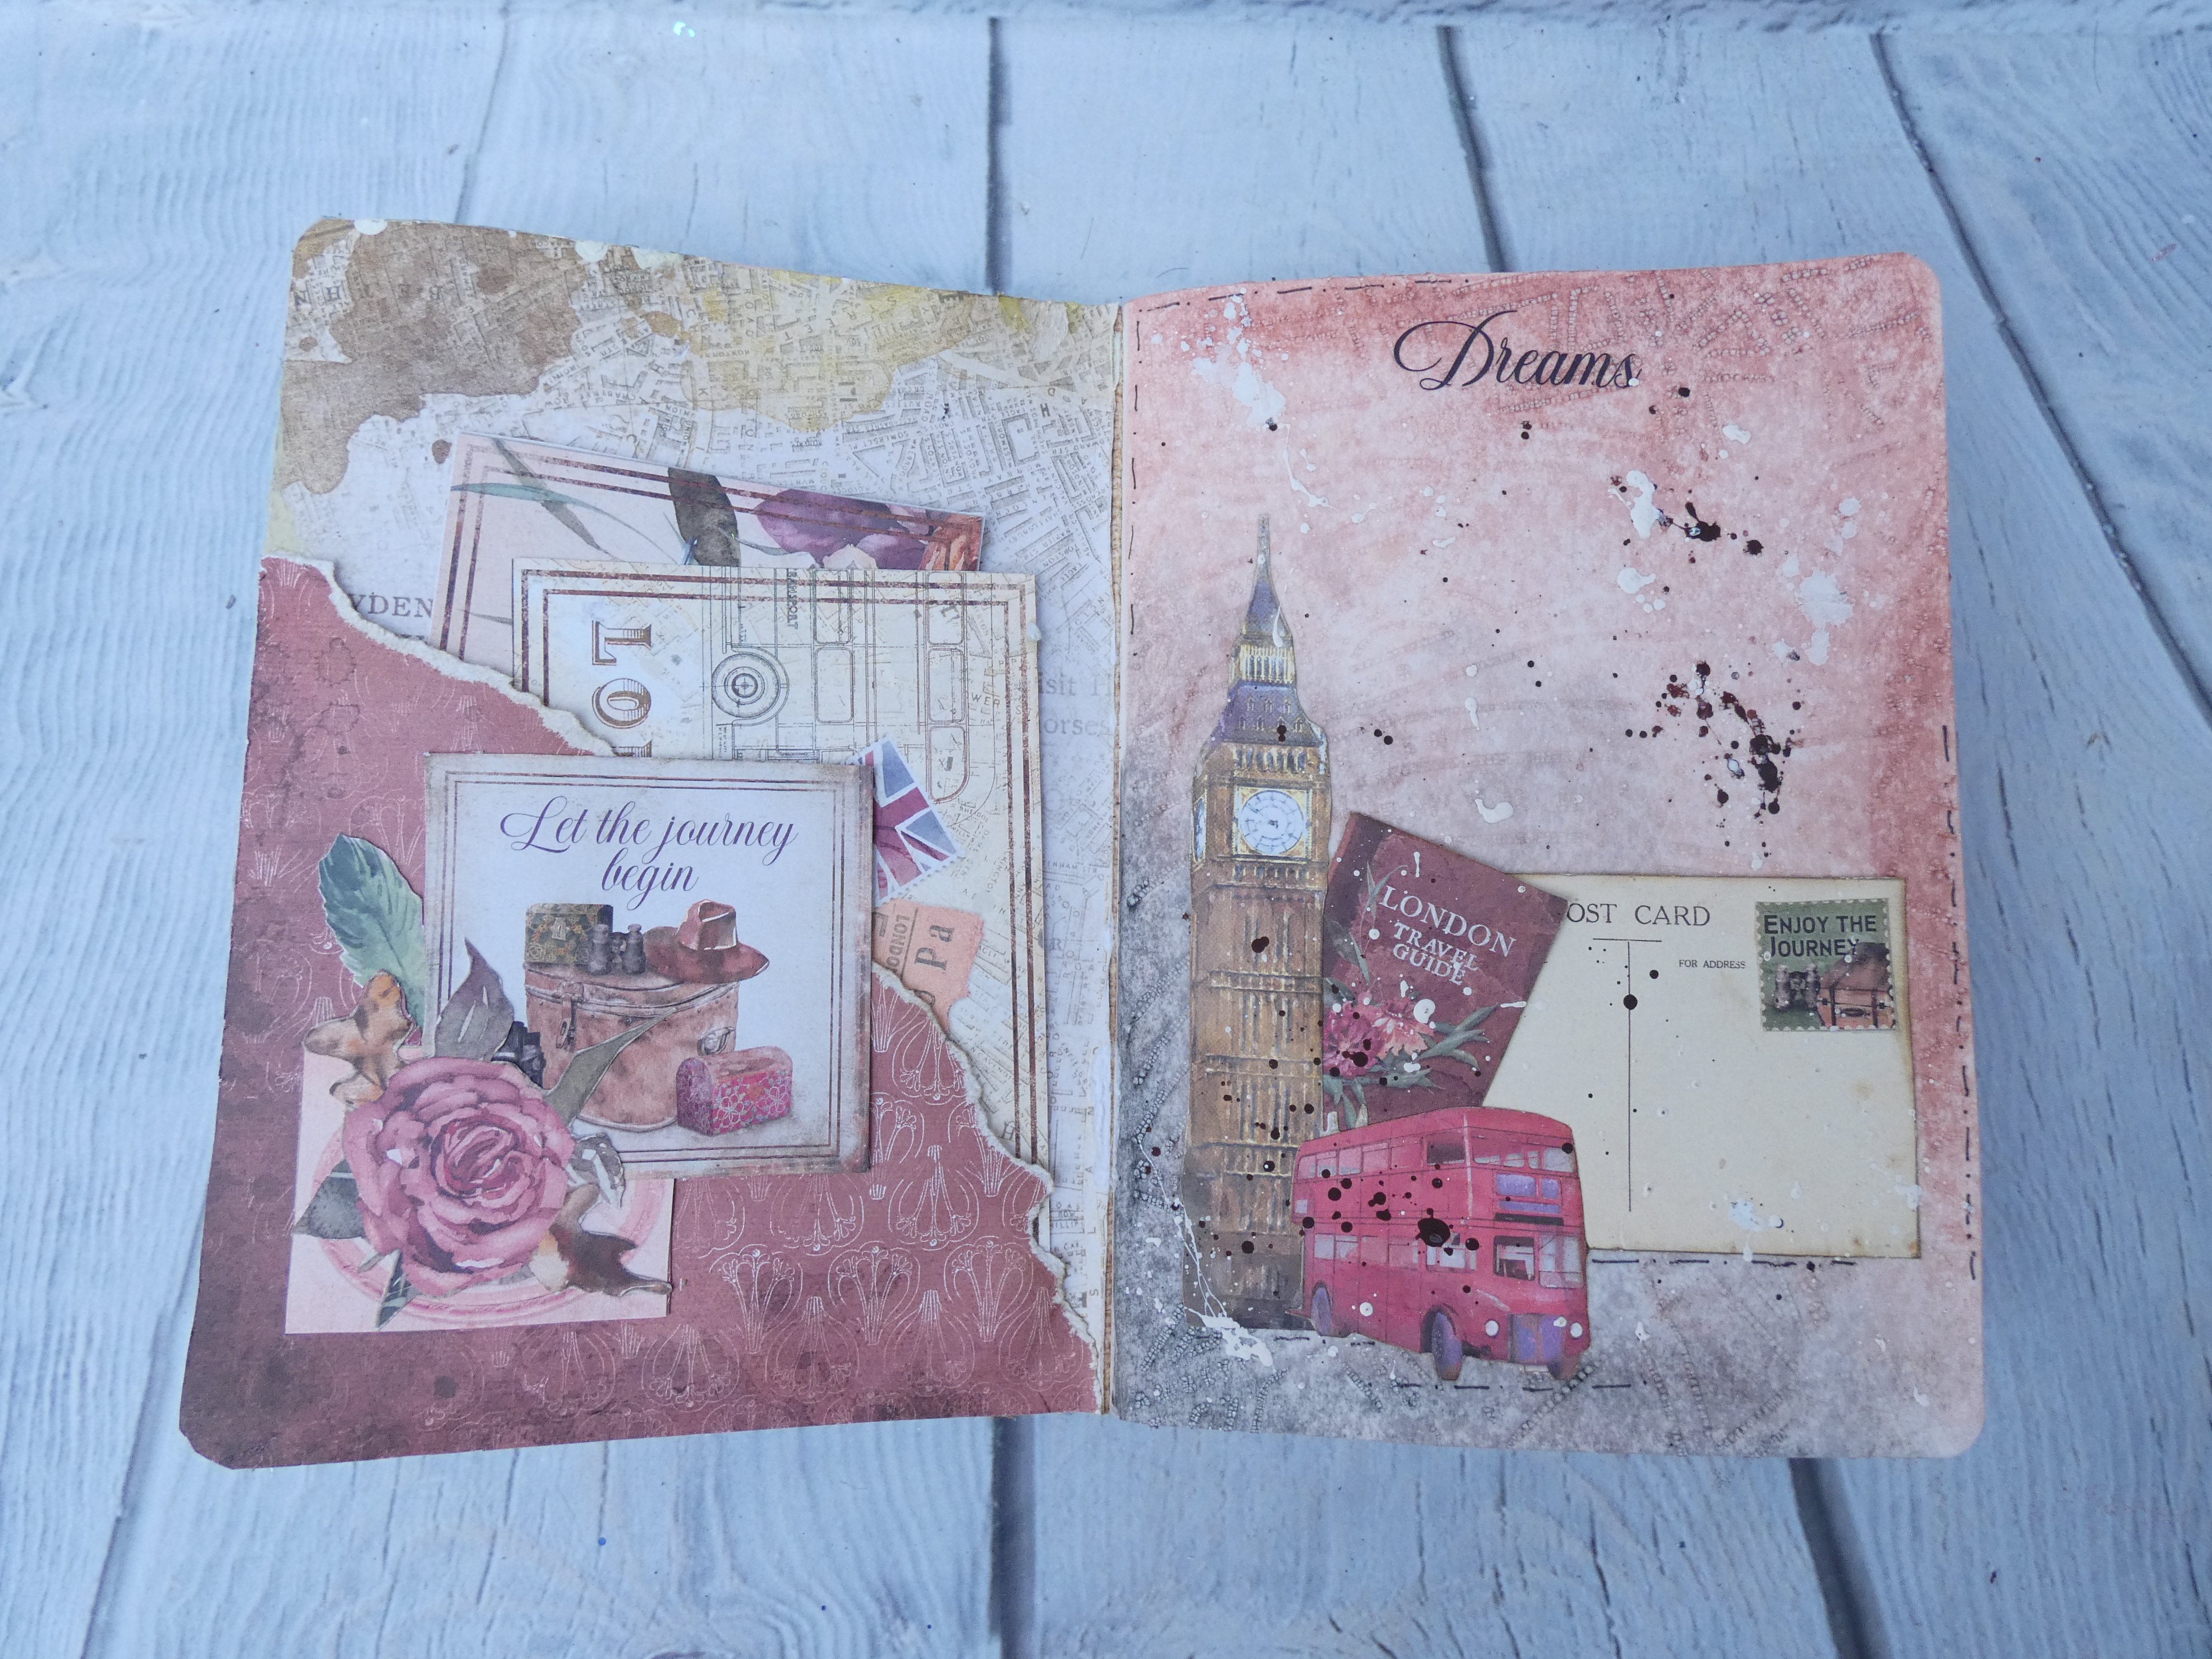
Following on from my blog from the 20th I am going to share some of the pages inside my journal - I most definitely don't do random and so I knew that I wanted my pages to have a co-ordinated feel. to achieve this I used a similar process for the pages varying the colours, stencils and images I used so that each page is unique. With the exception of the first and last page I also worked in pairs. I chose to work on the pages first and then to decorate the inside front and back cover before decorating the outside - in retrospect it would have been better to decorate the outside ahead of decorating these as I got glue underneath the covers and had to do some repairs once the cover had been completed. The inside cover was covered with a piece of background paper from the Our Way 12 x 12 paper pad cut to size and edges with Vintage Photo Archival ink. The pocket was created by tearing an edge from a 12 x 12 paper and then adhering elements form both the 6 x 6 and Collectables pads. Before slipping cut apart elements from the 12 x 12 pad into the pocket.
For the "dreams" page I applied Transparent Crackle paste through the Street Map stencil and left it to dry before adding colour with both the Rust and Grey Vintage Patinas. I added fussy cut elements from the Collectables pad adhering them in place with Multi Purpose Glue. I added some doodles around the images with a fine black liner pen before finally adding splatters with Milk White and Mahogany paint.

For this duo of pages I messily painted Powder Blush paint deliberately not covering the whole surface - once this had dried I used the same paint through Our Way Postcards Stencil to areas before adding stamping with Vintage Photo Archival ink - I used a text stamp from the original Alice collection and also some lace doily images from Passsion Lace stamp set as well as lots of crackle stamping. The paper elements were collaged together with a floral rub on added beneath the top right hand cluster. finally to pull the layers together I added splashes with Milk White and Mahogany paints as well as some hand drawn doodles.

The next duo of pages uses Vintage Photo Distress Oxide to edge the papers and also to add interest by randomly adding areas through the Feathers stencil. The paper images from the Collectables were added and then some stamping with a swirly stamp before doodling lines and then a gentle splattering of watered down Distress Oxide ink.

For this duo of pages I chose to work with Garden Green paint adding it around the edges with a brush and then spreading it about with a damp baby wipe - this method highlights the texture of the Stone Paper. Once this had dried I added some stencilling using Gold Crackle Paste through Postcards stencilling selecting the images and the placement according to my chosen fussy cut elements and their placement. I added both crackle and text stamping, hand drawn doodles and then a splattering of green paint to finish the page.

For these pages I chose the camera and film strip elements from the Collectables paper pad for my focal elements. To create the background I used Mahogany paint through the Elements stencil before adhering the paper pieces in place adding stamping, doodles and both Milk White and Mahogany splatters.
The remaining pages in my journal were completed using a variation in images, stencils stamps and rub ons in a similar way to the above pages. I have left lots of space for hand writing information as I want or to add small photographs as reminders of a trip to London from my childhood.


0 comments
Thank you for taking the time to leave a comment on our blog, we really appreciate it.
Note: only a member of this blog may post a comment.