
Upright with AB Studio by Rachel Harries
11:00
We are absolutely delighted to announce that Rachel Harries will be
guesting designing for us on the blog!

I started off with a That's Crafty! Dinky Upright, the Wonderland collection from AB studio and some That's Crafty! greyboard cogs.

The first thing I did was to adhere some paper to the back plate and base of the Upright, I roughly drew around it on the paper I wanted, to use to avoid too much waste, I ended up putting mine on the opposite way to the way that I had drawn it, but no panic it will be absolutely fine if it's not a perfect fit. Once that's all adhered pop it to one side to dry. It's worth noting you do not want to cover the tabs that fit into the base with anything as this will hinder the final assembly.

While the Upright is drying it's time to prepare the different elements, you don't need to use the same elements that I'm using, go with whatever speaks to you. I look through the papers and cut out five pieces of emphera that I like.

I go around the edge of these with a distressing tool but you could just as easily use the edge of a pair of scissors.

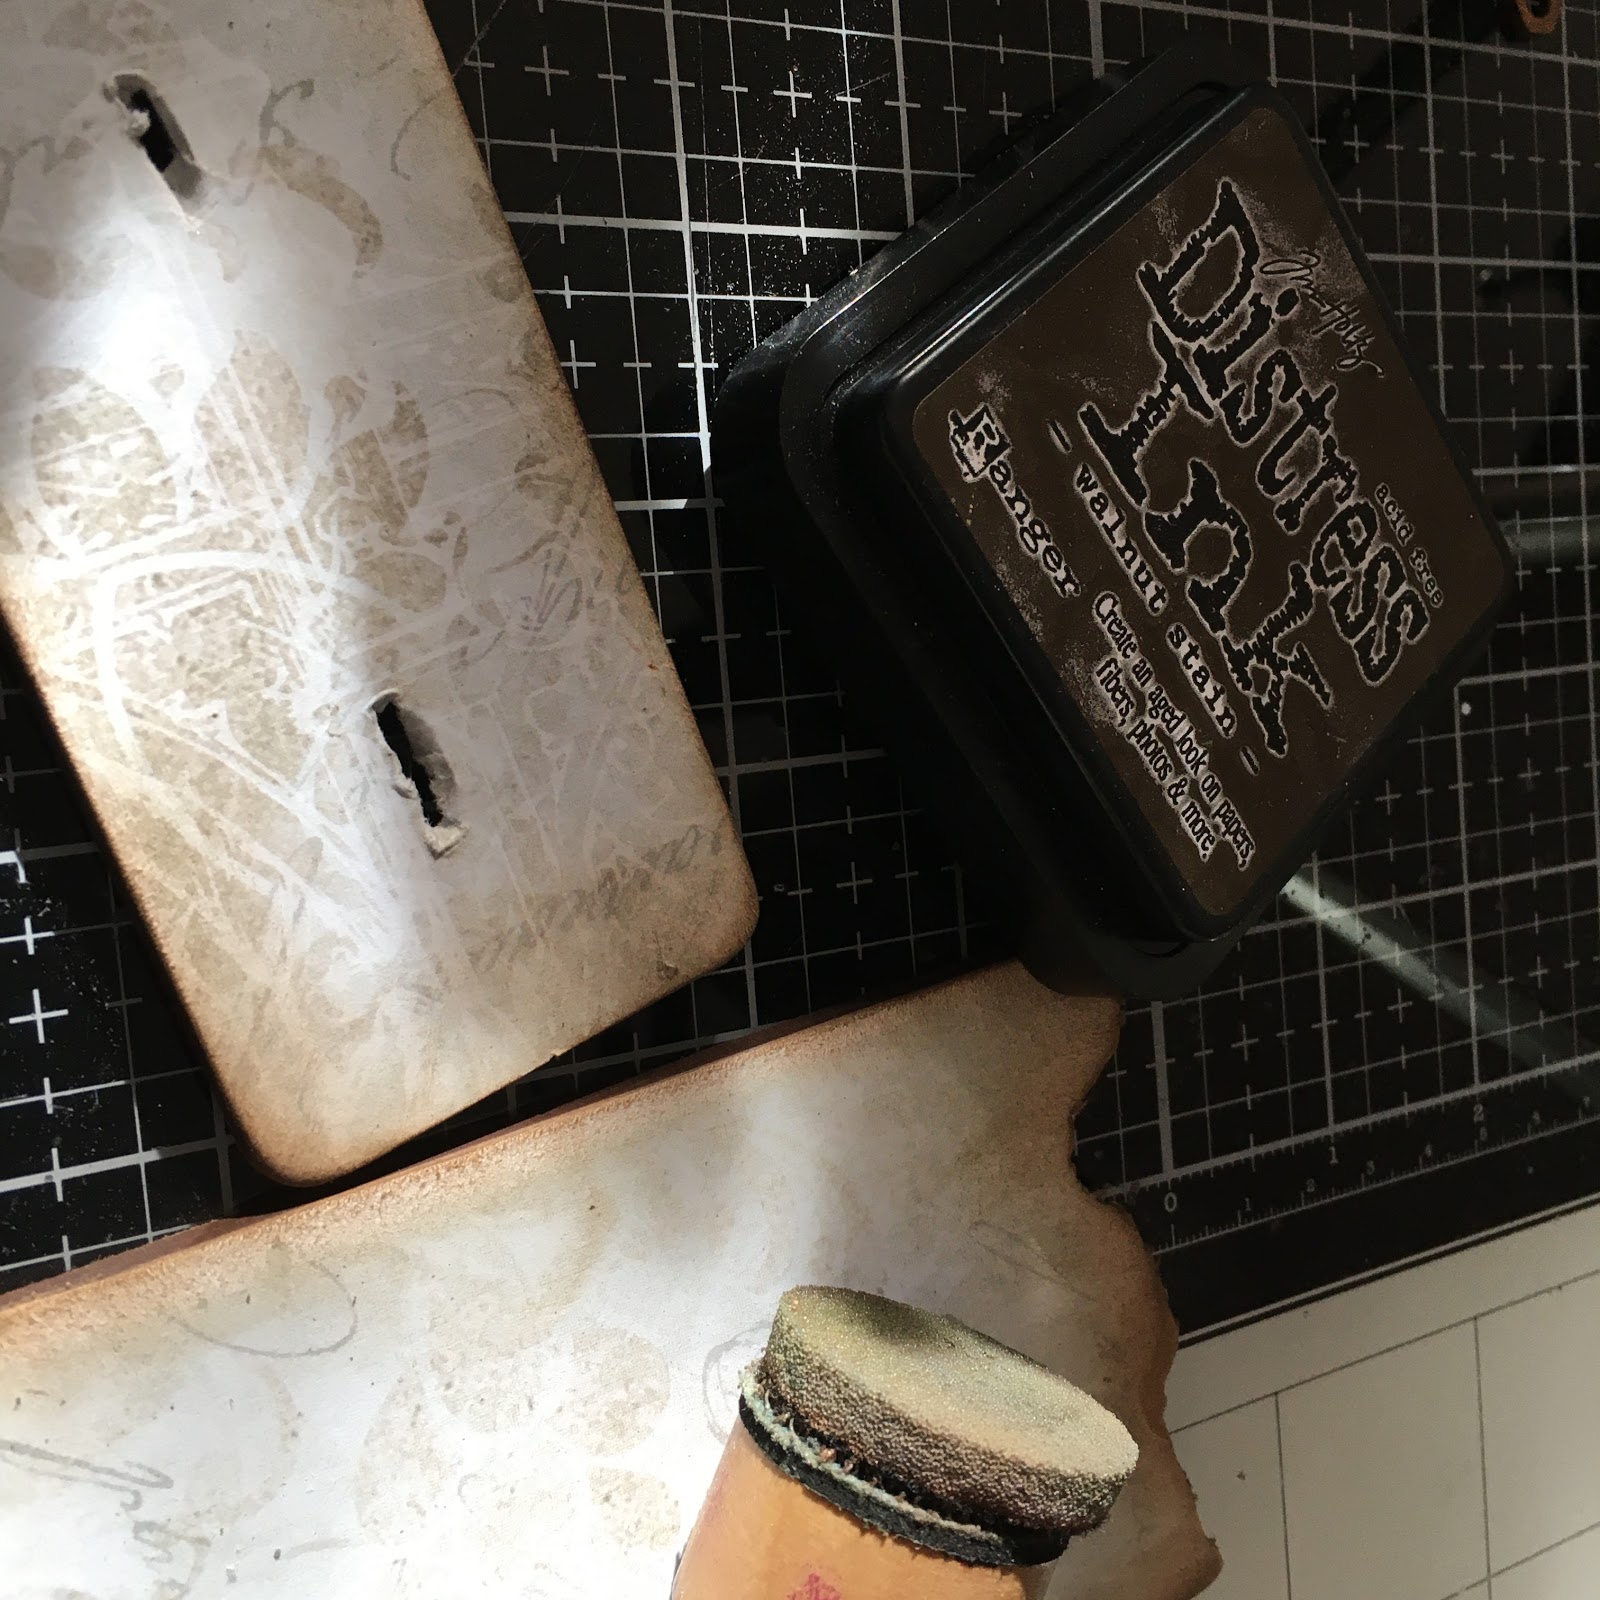
I screw up the paper elements and then I ink the edges - I like to use Walnut Stain Distress Ink but use which ever ink is your preference for this.


I then squirt a little water to activate the Distress ink and blot it with some kitchen towel.


For the tags I like to punch the holes in the top and use some hole reinforcers.


I also used an ink blending tool and some more walnut stain ink to highlight some words that I particularly liked on the tag.

I popped a little rafia string in both the tag holes.

I absolutely love this character I have no idea why, he just really works for me and one of the fabulous things about the ABstudio Wonderland collection is that you get a stamp of this fellow chucked in, which is brilliant. I cut this image from the paper for this project but I'm absolutely thrilled to be able to stamp him whenever I like.


I use any sprays in a box to try and avoid making too much mess, I sprayed the cogs with "Ayeeda mist".


Once they were all sprayed I start the process of gently waxing the cogs I do this with my finger but you could do it with a brush if you prefer although make sure it is a brush you are happy to keep specifically for this purpose as wax is extremely difficult to remove from brushes. Its very much a case of less is more, take your time and add just a little.

Once I've done a little White Gold wax, I then add just a little Firebird wax, again its less is more.


The last element we are going to prepare before assembling is a little platform which will add some dimension to out final piece. I cut a piece of card 3inches x 3 1/2 inches and use my score board to score at 1/2 inch, 1 inch, 2inches and 2 1/2 inches. I fold on the score lines and glue the edge to create my platform.


That's all our elements ready, by now the glue on the Upright should have dried, I use my sanding block on all the edges and then ink the edges with Walnut Stain Distress ink.

I push through the holes on the base and add some glue to the flat area of the Upright, then I push the two parts together to create the Upright.
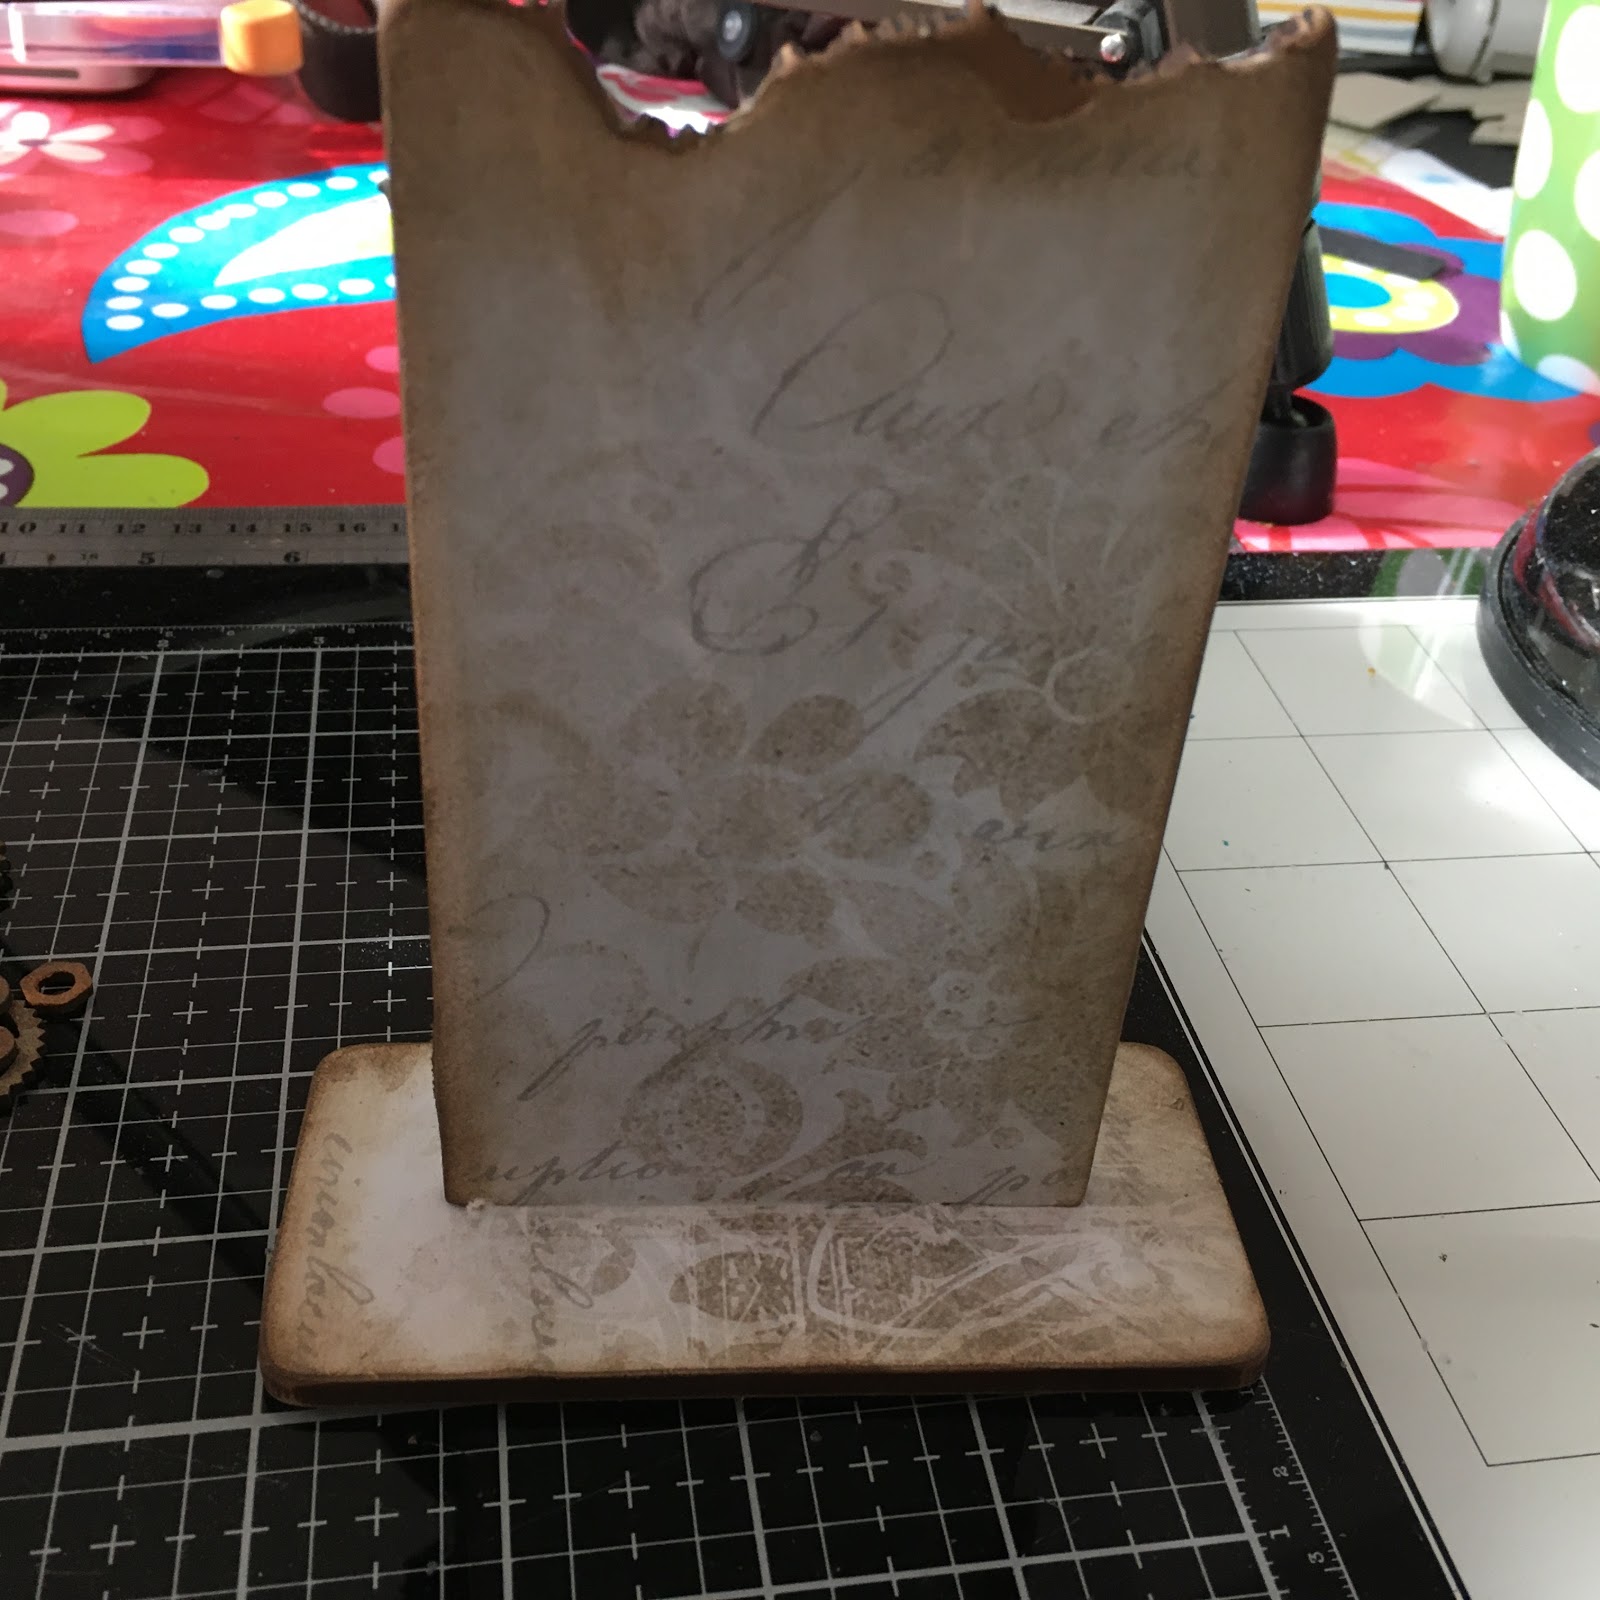
I adhere a couple of pieces of emphera to the back plate.

I then add the platform and add the rest of the elements wherever is pleasing to me.

If you wanted to you could add paper or paint to the back to finish the piece off, I was happy with the natural finish but if I wanted to put a greeting or message on the back I would pop a little paper panel on the back.
Supplies Used
I really hope you enjoyed this project and I'll be back next week with another project.


8 comments
Brilliant step by step, love this xxx
ReplyDeleteThank you so much, it was a real joy to make ❤️❤️❤️
DeleteGorgeous project and I really enjoyed the tutorial! Fabulous! xx
ReplyDeleteThank you so much I am a little bit in love with this character ❤️❤️❤️
DeleteLovely post and project Rachel. I do love step by steps.
ReplyDeleteThank you so much, I really glad you liked it ❤️❤️❤️
DeleteAn absolutely gorgeous debut Rachel. A wonderful detailed tutorial and love all the layers and details that you added to the upright (my favourite shape top by the way)
ReplyDeleteWelcome to the team and looking forward to more beautiful artwork from you.
Fliss xx
Thank you so much, I really love the uprights they lend themselves to all kinds of projects ❤️❤️❤️
ReplyDeleteThank you for taking the time to leave a comment on our blog, we really appreciate it.
Note: only a member of this blog may post a comment.