
Aall and Create Upright by Rachel Harries
11:00

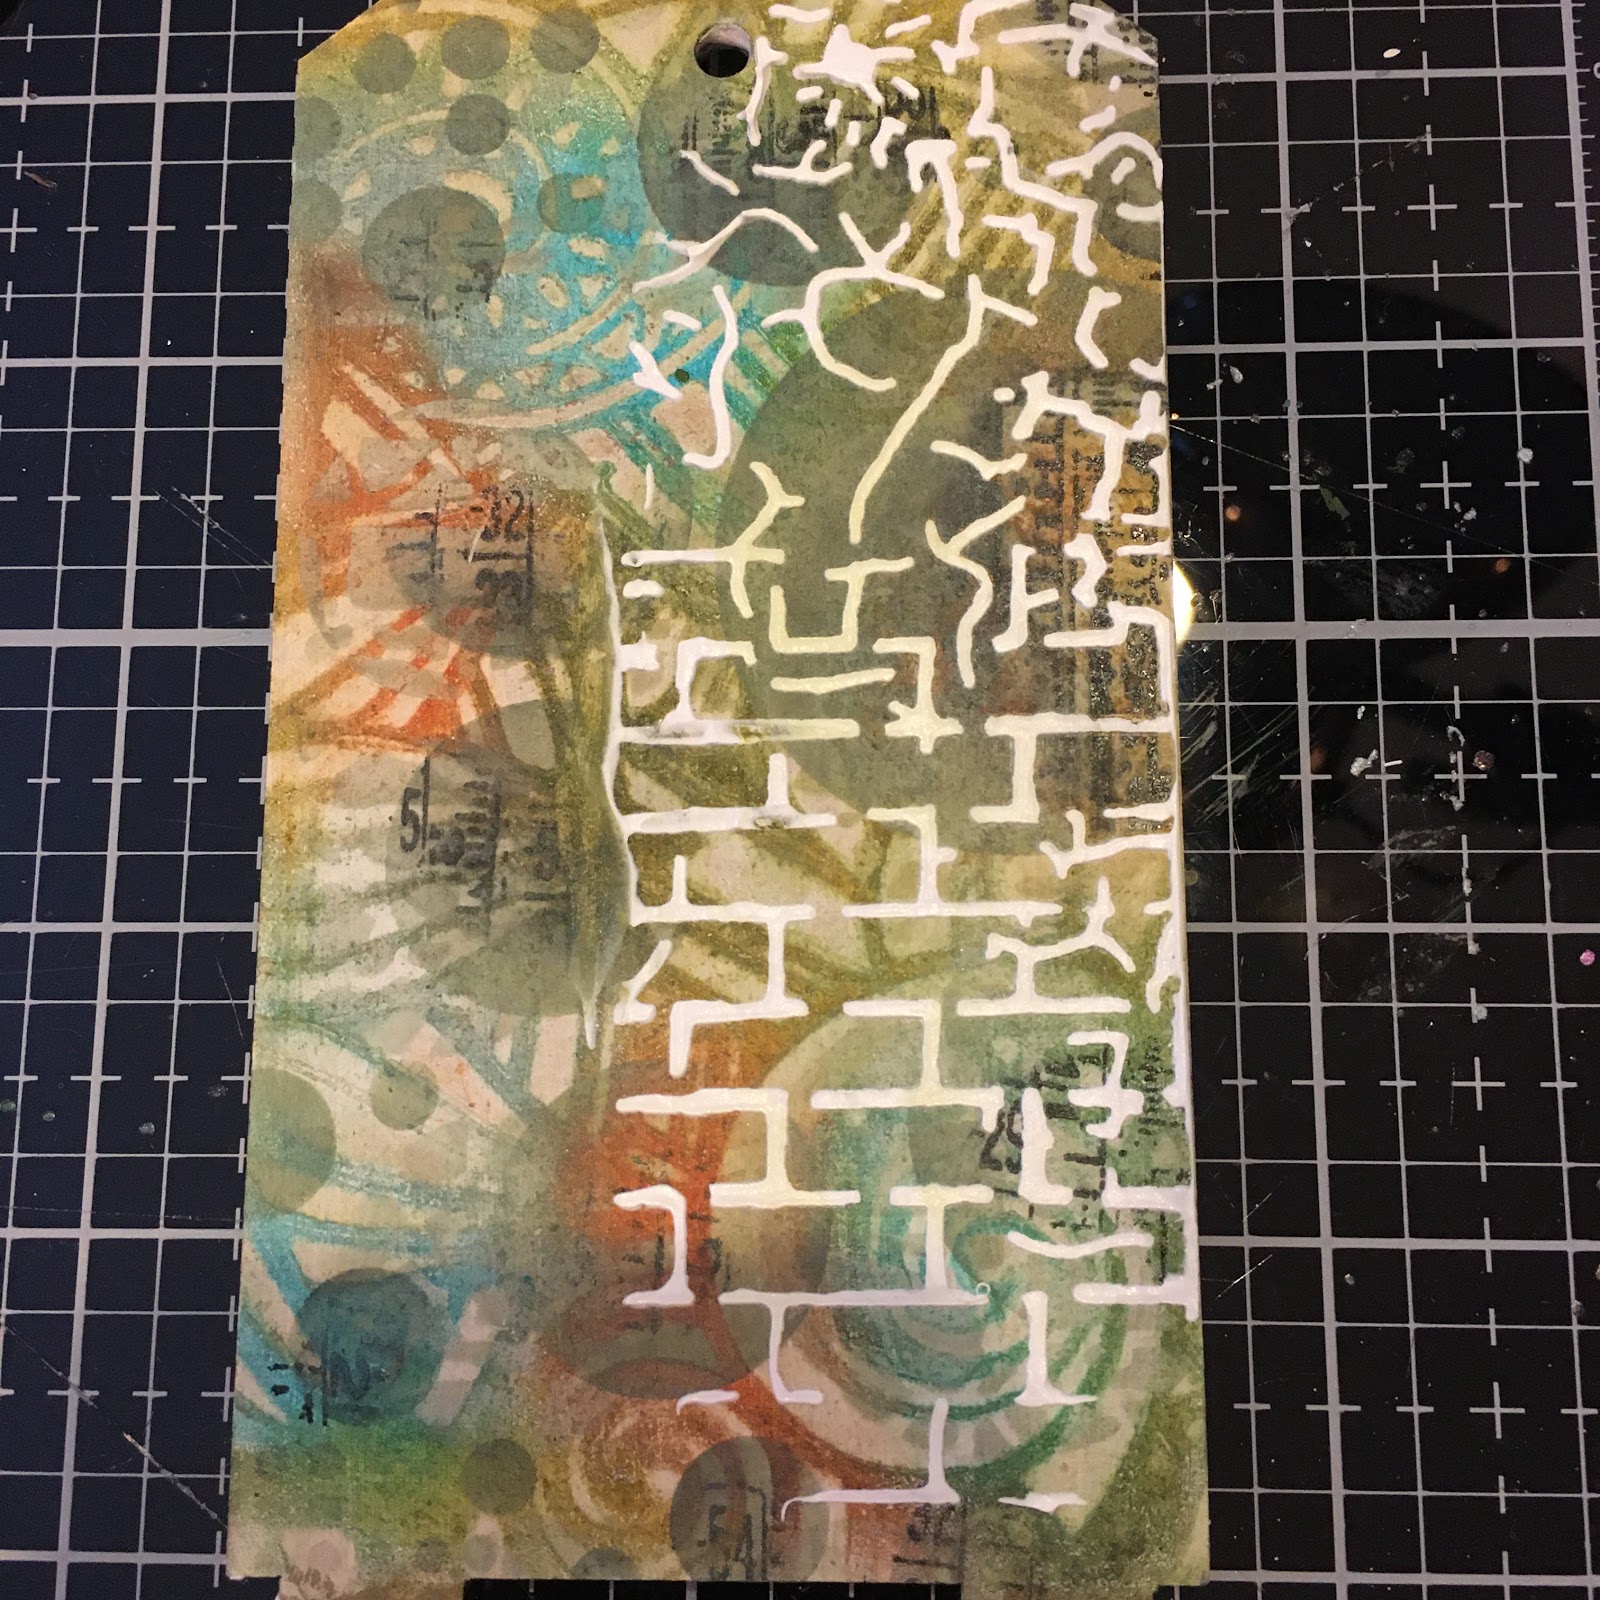
Next I choose some Distress Crayons - these colour will remain in use through the entirety of the project. I start by scribbling small amounts of the crayons and then use my finger to blend them on the surface.


I use the window from #268 Shuttered Window, I stamp this three times as we are going to use multiple layers to add dimension.


I then start the cutting process I take a little more from each of the three layers, I take my time and use a combination of craft knife and scissors, I found the best way to cut the window pains was to use a craft knife and cut first in one direction and then the others, in other words, I cut all the vertical lines and then all the horizontal, that's just how I found it easier there is no right or wrong and I'm sure you'll have your own methods.


I picked a Tim Holtz image that fit behind the window, sorry ladies I did have to cut your legs off just a little bit. I stuck the image to the back plate.

I coloured the stamped images using the distress crayons as watercolours so keeping the same colour theme, I also coloured the ladies dresses. I used some cardboard box scraps to add a little depth to the individual layers.


and I stuck them on the base plate.

I then used a combination of leaf adornments from 13arts, to which I added using a split ring for the dangly one on the wheel.


I added strip from #235 All Measured Up, by Tracy Evans for Aall and create, I used some Walnut Stain in on this and wrapped it around a little wooden thing a me bob that I had kicking around in my stash, I also added a Tim Holtz thimble just for good measure.


I hope you enjoyed this project, stay safe, see you next week.


2 comments
This really is amazing Rachel. The details are absolutely stunning and your step by step was fabulous.
ReplyDeleteFliss xx
You are so lovely to take the time to comment, thank you so much ❤️❤️❤️
ReplyDeleteThank you for taking the time to leave a comment on our blog, we really appreciate it.
Note: only a member of this blog may post a comment.