
Welcome by Gill Humphrey
11:00
Last week I said I had a plan for the table and rocking chair from the Garden House 3D kit and that was to use them as the central elements of an exploding box. I have used a pre made base with sides that are just under 10cm square - if you can not get one I have previously shared a tutorial on how to do make one so on the blog search my name and you will be able to scroll through to find it.

I started my make by cutting panels from the Garden House 12 x 12 to fit the inside, outside and top of the box making them approximately 4mm smaller than the base dimensions and scuffing the edges with the edge of my scissors. Once these were adhered in place I then focused on the inside of the box taking elements from the 8 x 8 paper collection as this size worked better for the smaller spaces than the ones in the 12 x 12 papers.

Each panel inside was decorated by layering elements. On each of the side panels I added a piece of paper approximately 1.5cm smaller in dimension than the base piece and again scuffed the edges before adhering directly on to the base panel.
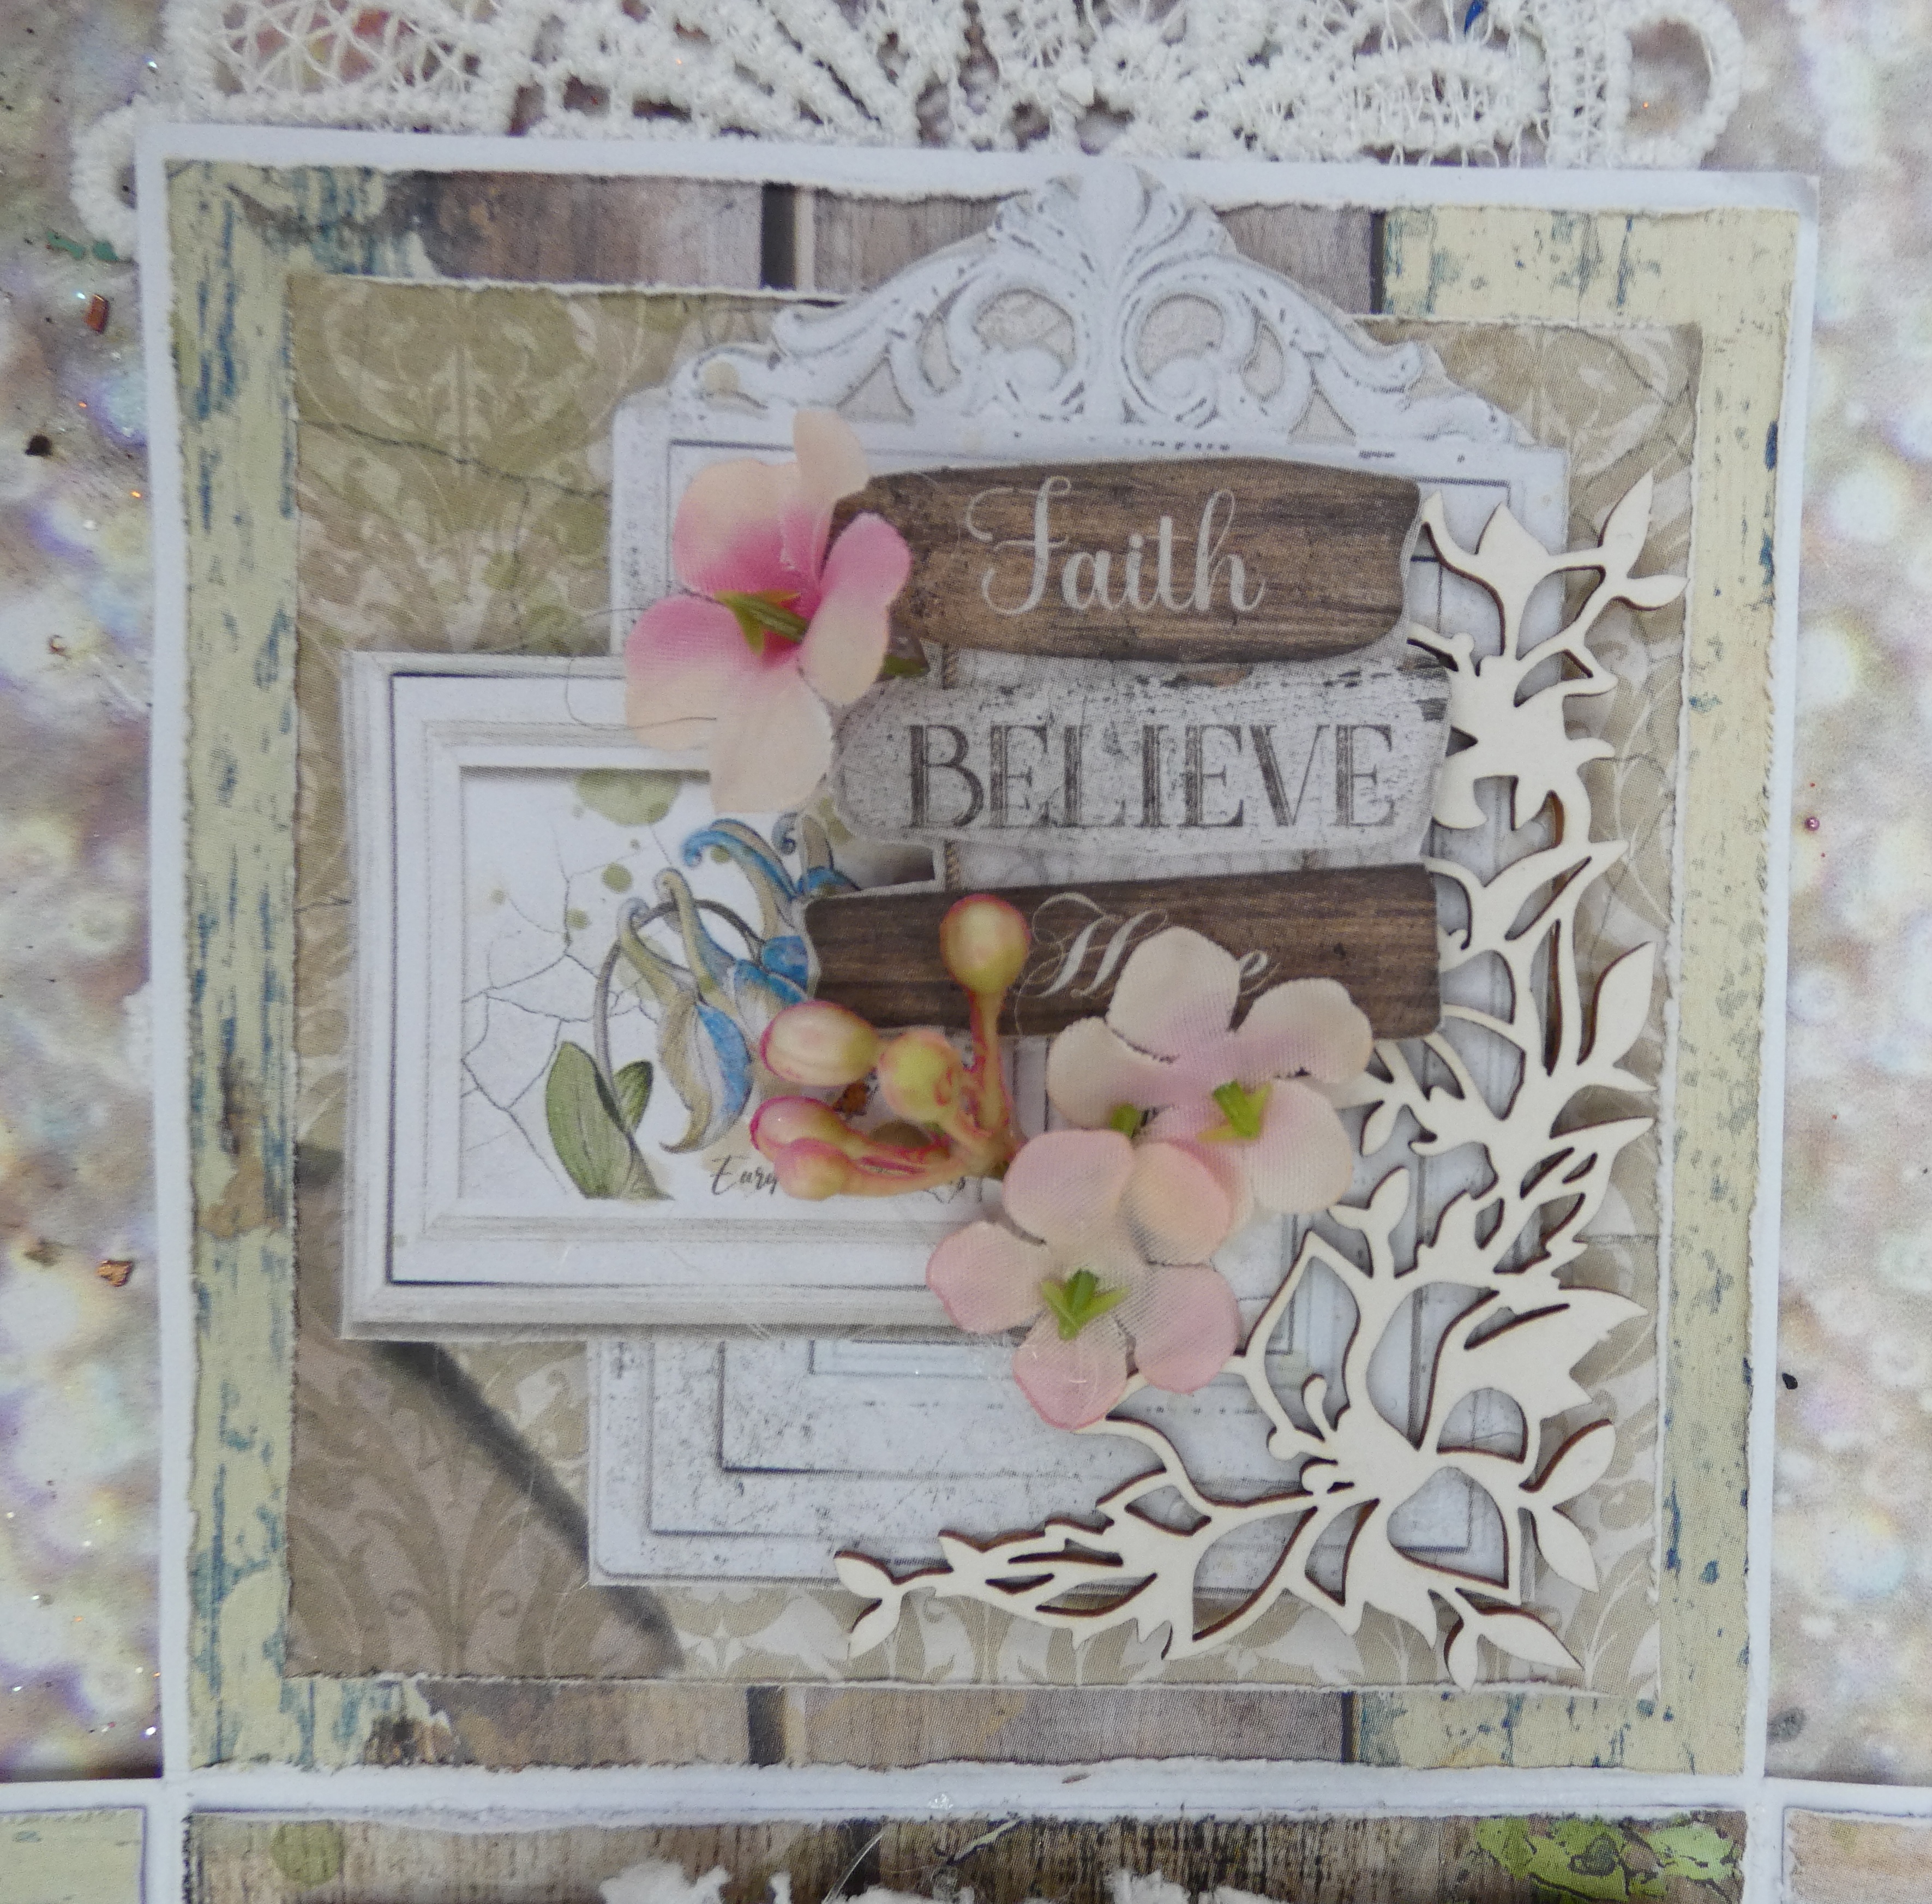
I then layered the framed flower elements as shown lifting up some of the elements on cardboard to build dimension. The sentiment is also lifted up as this allows the stems from the faux flowers to be tucked underneath and hidden.

I tucked in pieces of Casa Granada Roses decorative chips - some times below and sometimes above the paper elements building interest in the process.

I tend to work in opposite pairs and debate which way up the elements should sit - which ever way you go with this some of them will be upside down from one direction of viewing - I tend to have them all orientated towards the center so that the panel closest to me from what I consider the front has words that look upside down.

Having completed the side panels I then fill the central element - when positioning your dimensional pieces you need to be aware that the box sides need to stand upright so make sure that they all sit within the base not projecting over the folds (now who do you think has made that mistake in the past - LOL)
.

I added a piece of paper with cardboard scrap to the base - this provides a solid platform for your dimensional elements and then added a scrap of lace over the top. The chair and table were constucted with the help of the e academy tutorial (https://stamperia-e-academy.teachable.com/p/3dpaperkit-gardenhouse) which is free to access and then they were hot glued in place. My flower pots - small glass bottles - are filled with Ancient Pink Glamour Sparkles to co-ordinate with the pink flowers, Sparkling Blue Glamour Sparkles for a subtle but pretty pop of colour and the base on which the teacup and saucer sit was filled with Sparkling White. The crockery comes from my stash so search dolls house miniatures for similar.


For the lid of the box I cast a heart using the Ateliar des Arts Tag mould and ceramic powder however Pentart Jewellery Cement will work too. Once the piece was set I painted it with Old Ivory paint and left it to dry before adding gold wax to highlight the details. On top of the box I layered the larger of the wreaths from the Decorative Chips set, then some scruffed up gauze before adding some cardboard to the center and then the heart. I surrounded the heart with faux flowers (I raid the garden centers for mine - being careful to select ones that are small enough for crafters - hydrangeas and cherry blossoms usually work) before adding some ribbon.

I hope you like this use of the bigger items in the 3D kit and still have the bench and top part of the welsh dresser to use on another project. I think that this makes the 3D kits very cost effective and well worth there place in your crafty arsenal.


0 comments
Thank you for taking the time to leave a comment on our blog, we really appreciate it.
Note: only a member of this blog may post a comment.