
Gatefold Memories by Liz Wheeler
11:00Happy Monday That's Crafty! Creatives.
For today's project I've used my Journal It Templates Set 3 from That's Crafty! to create a Gatefold Journal, with 13 Arts papers and a Stamperia mould to decorate.

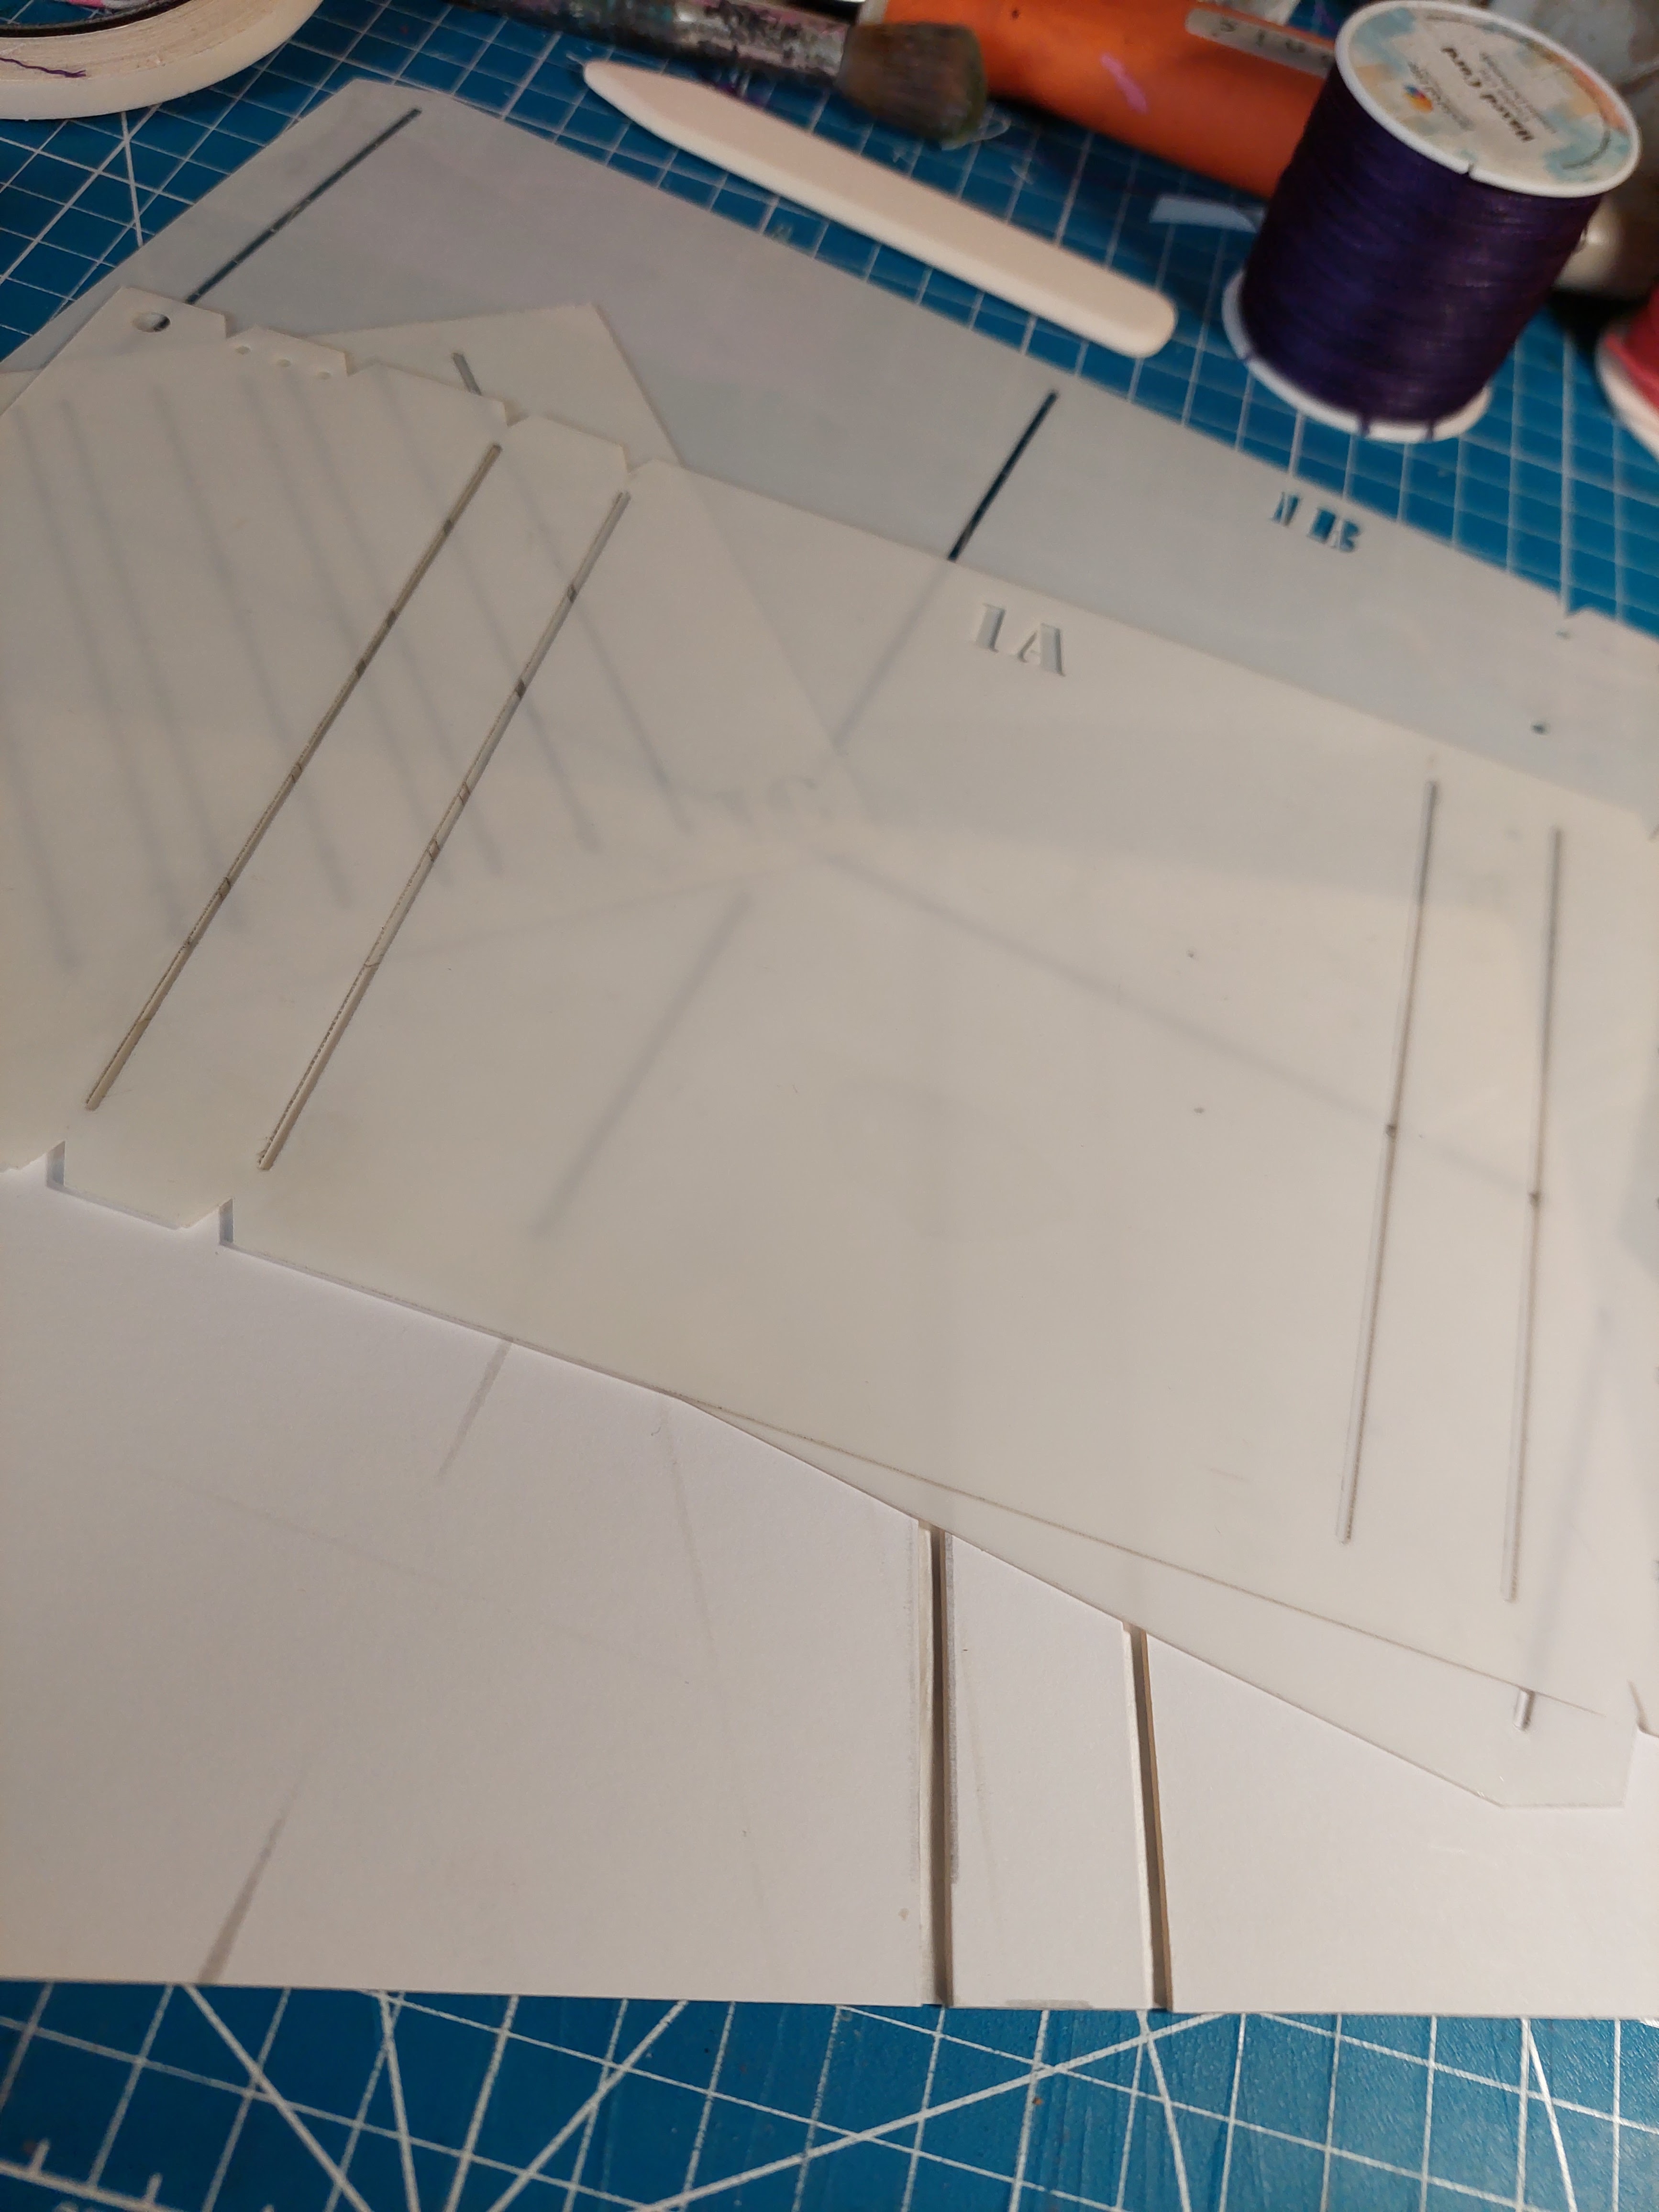
I drew around the gatefold cover template (1A) onto mountboard and cut each element separately. I then used strips of Tyvek to attach the spines to the front and back covers of the gatefold (so that each piece of mountboard were approx. 1/8th inch apart)


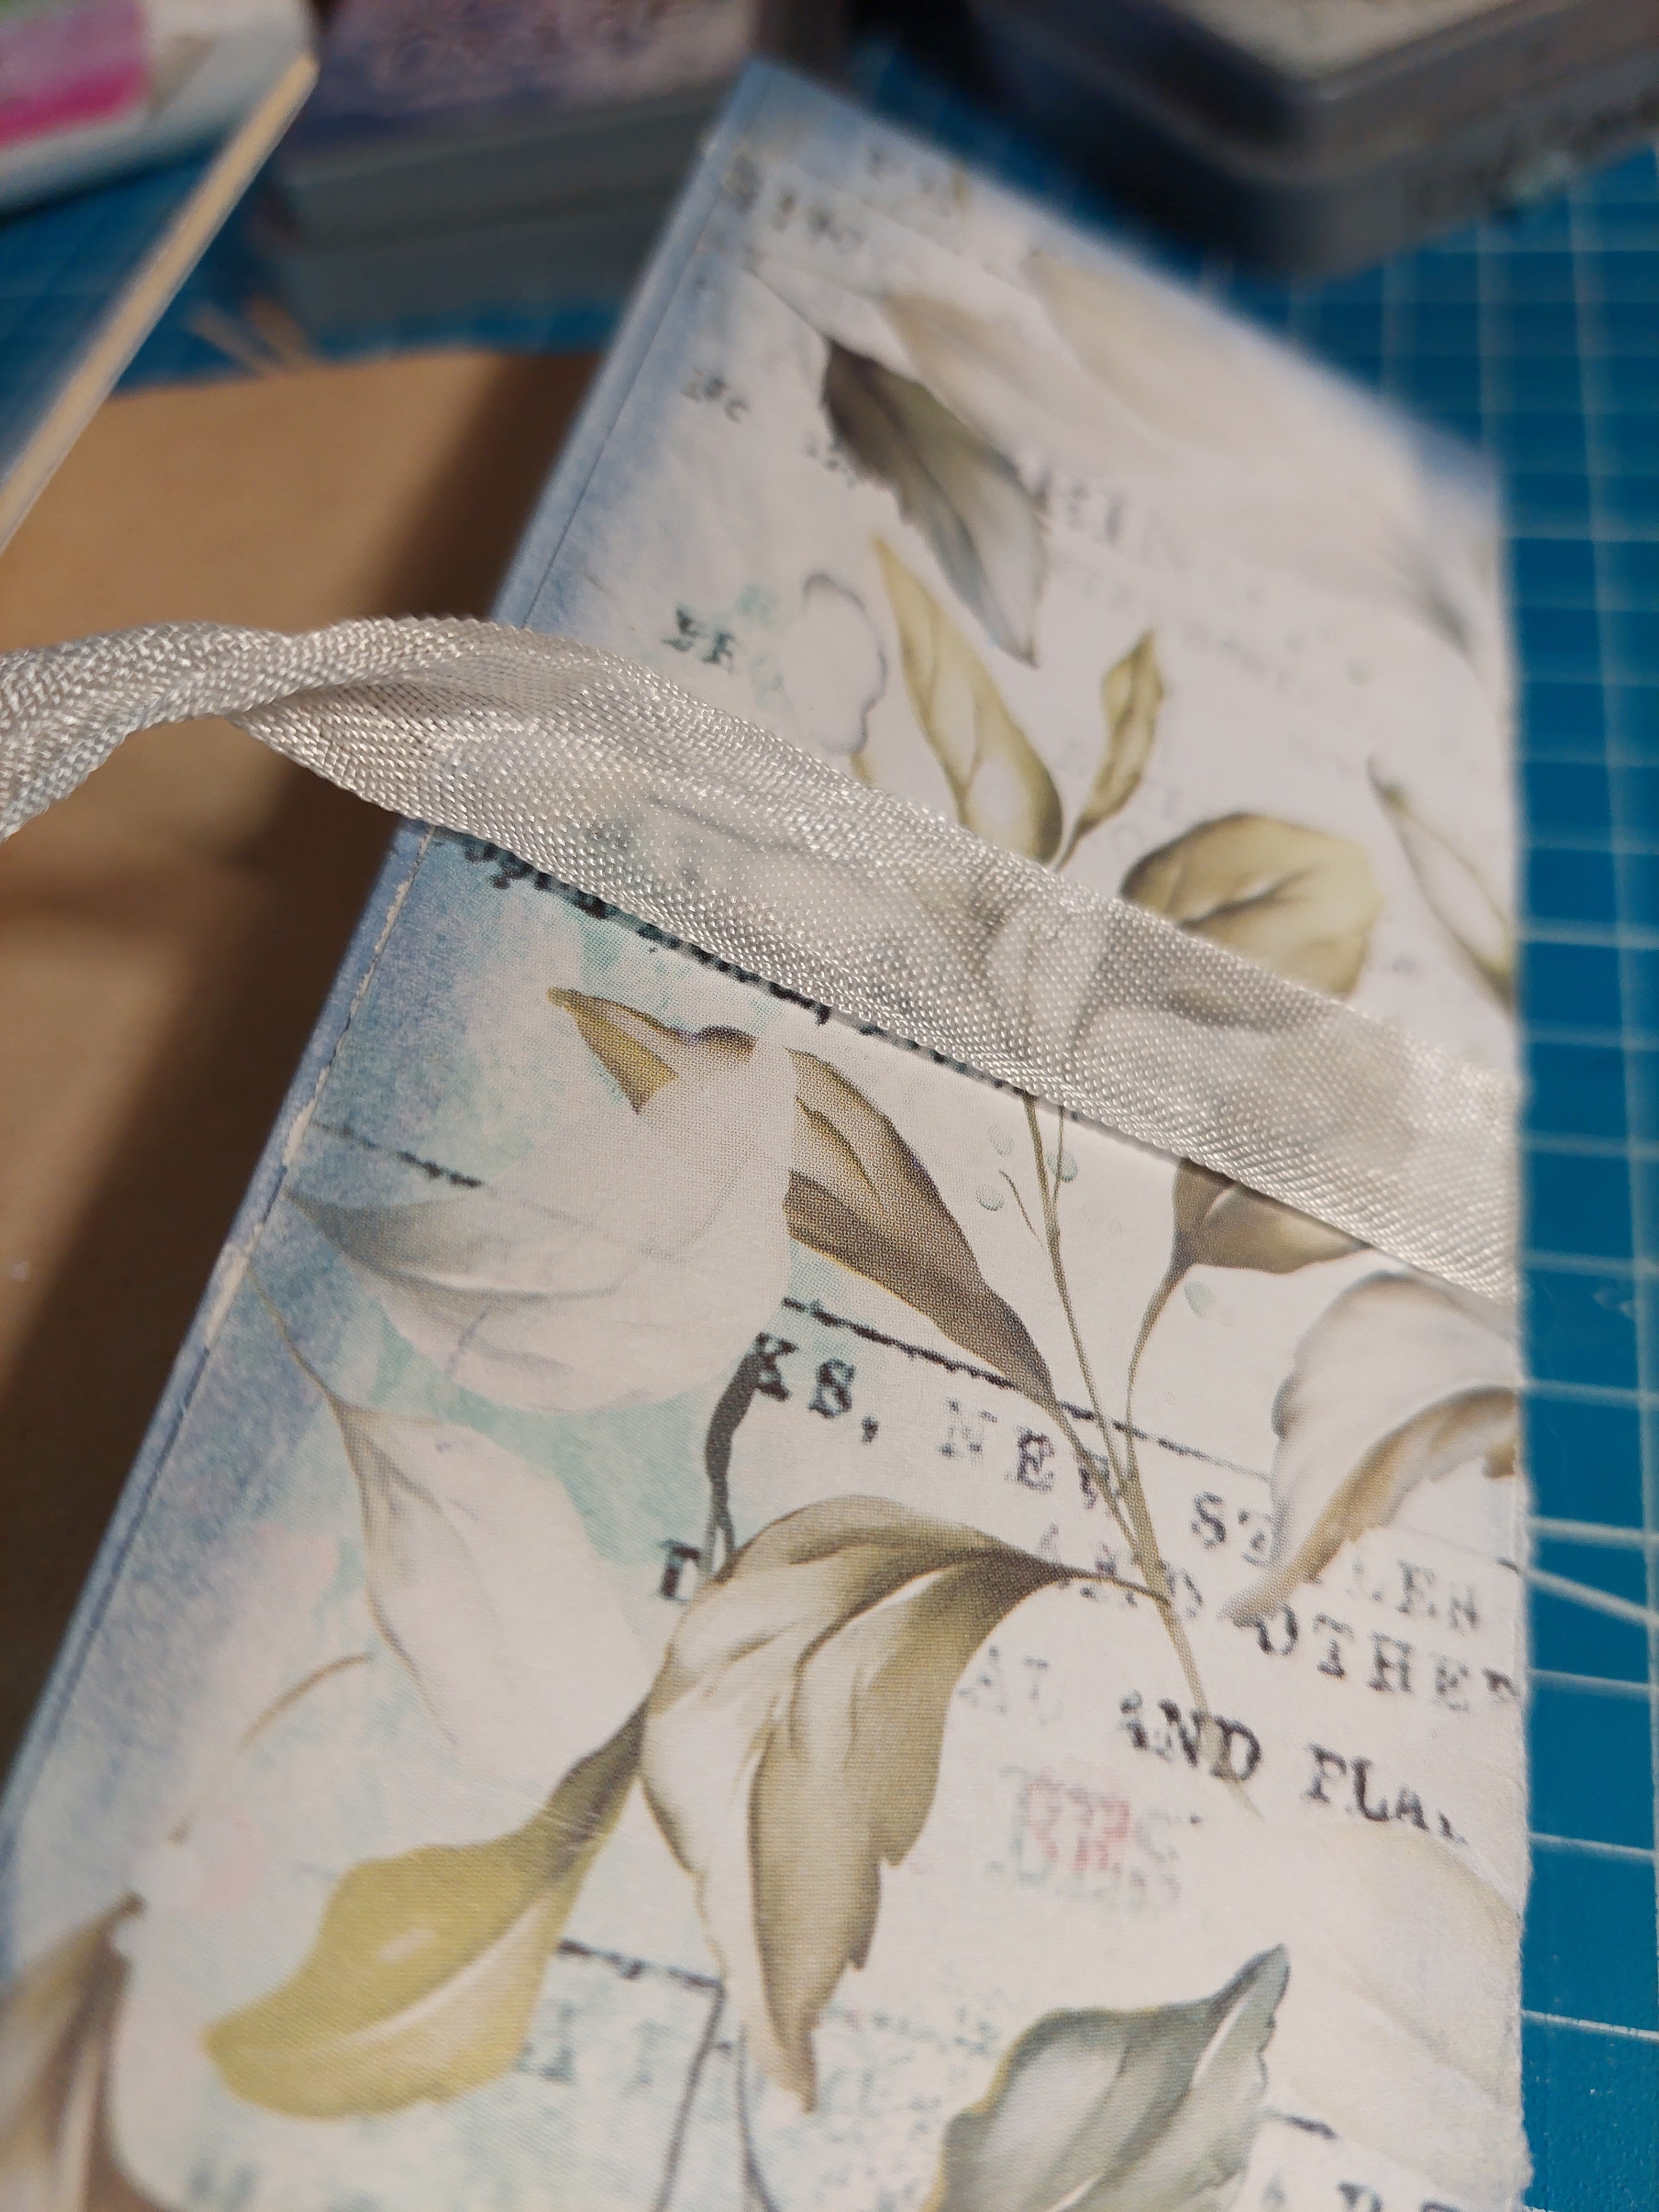
To decorate the inside and outside of the journal I used a sheet of Rose in Love 12x12 paper from 13 Arts. Once adhered, I used a score tool to carefully mark the creases where the spines were and gently folded the gatefold shape of the journal. To add extra depth to the cover I used some Faded Jeans Distress Oxide Ink to the edges.

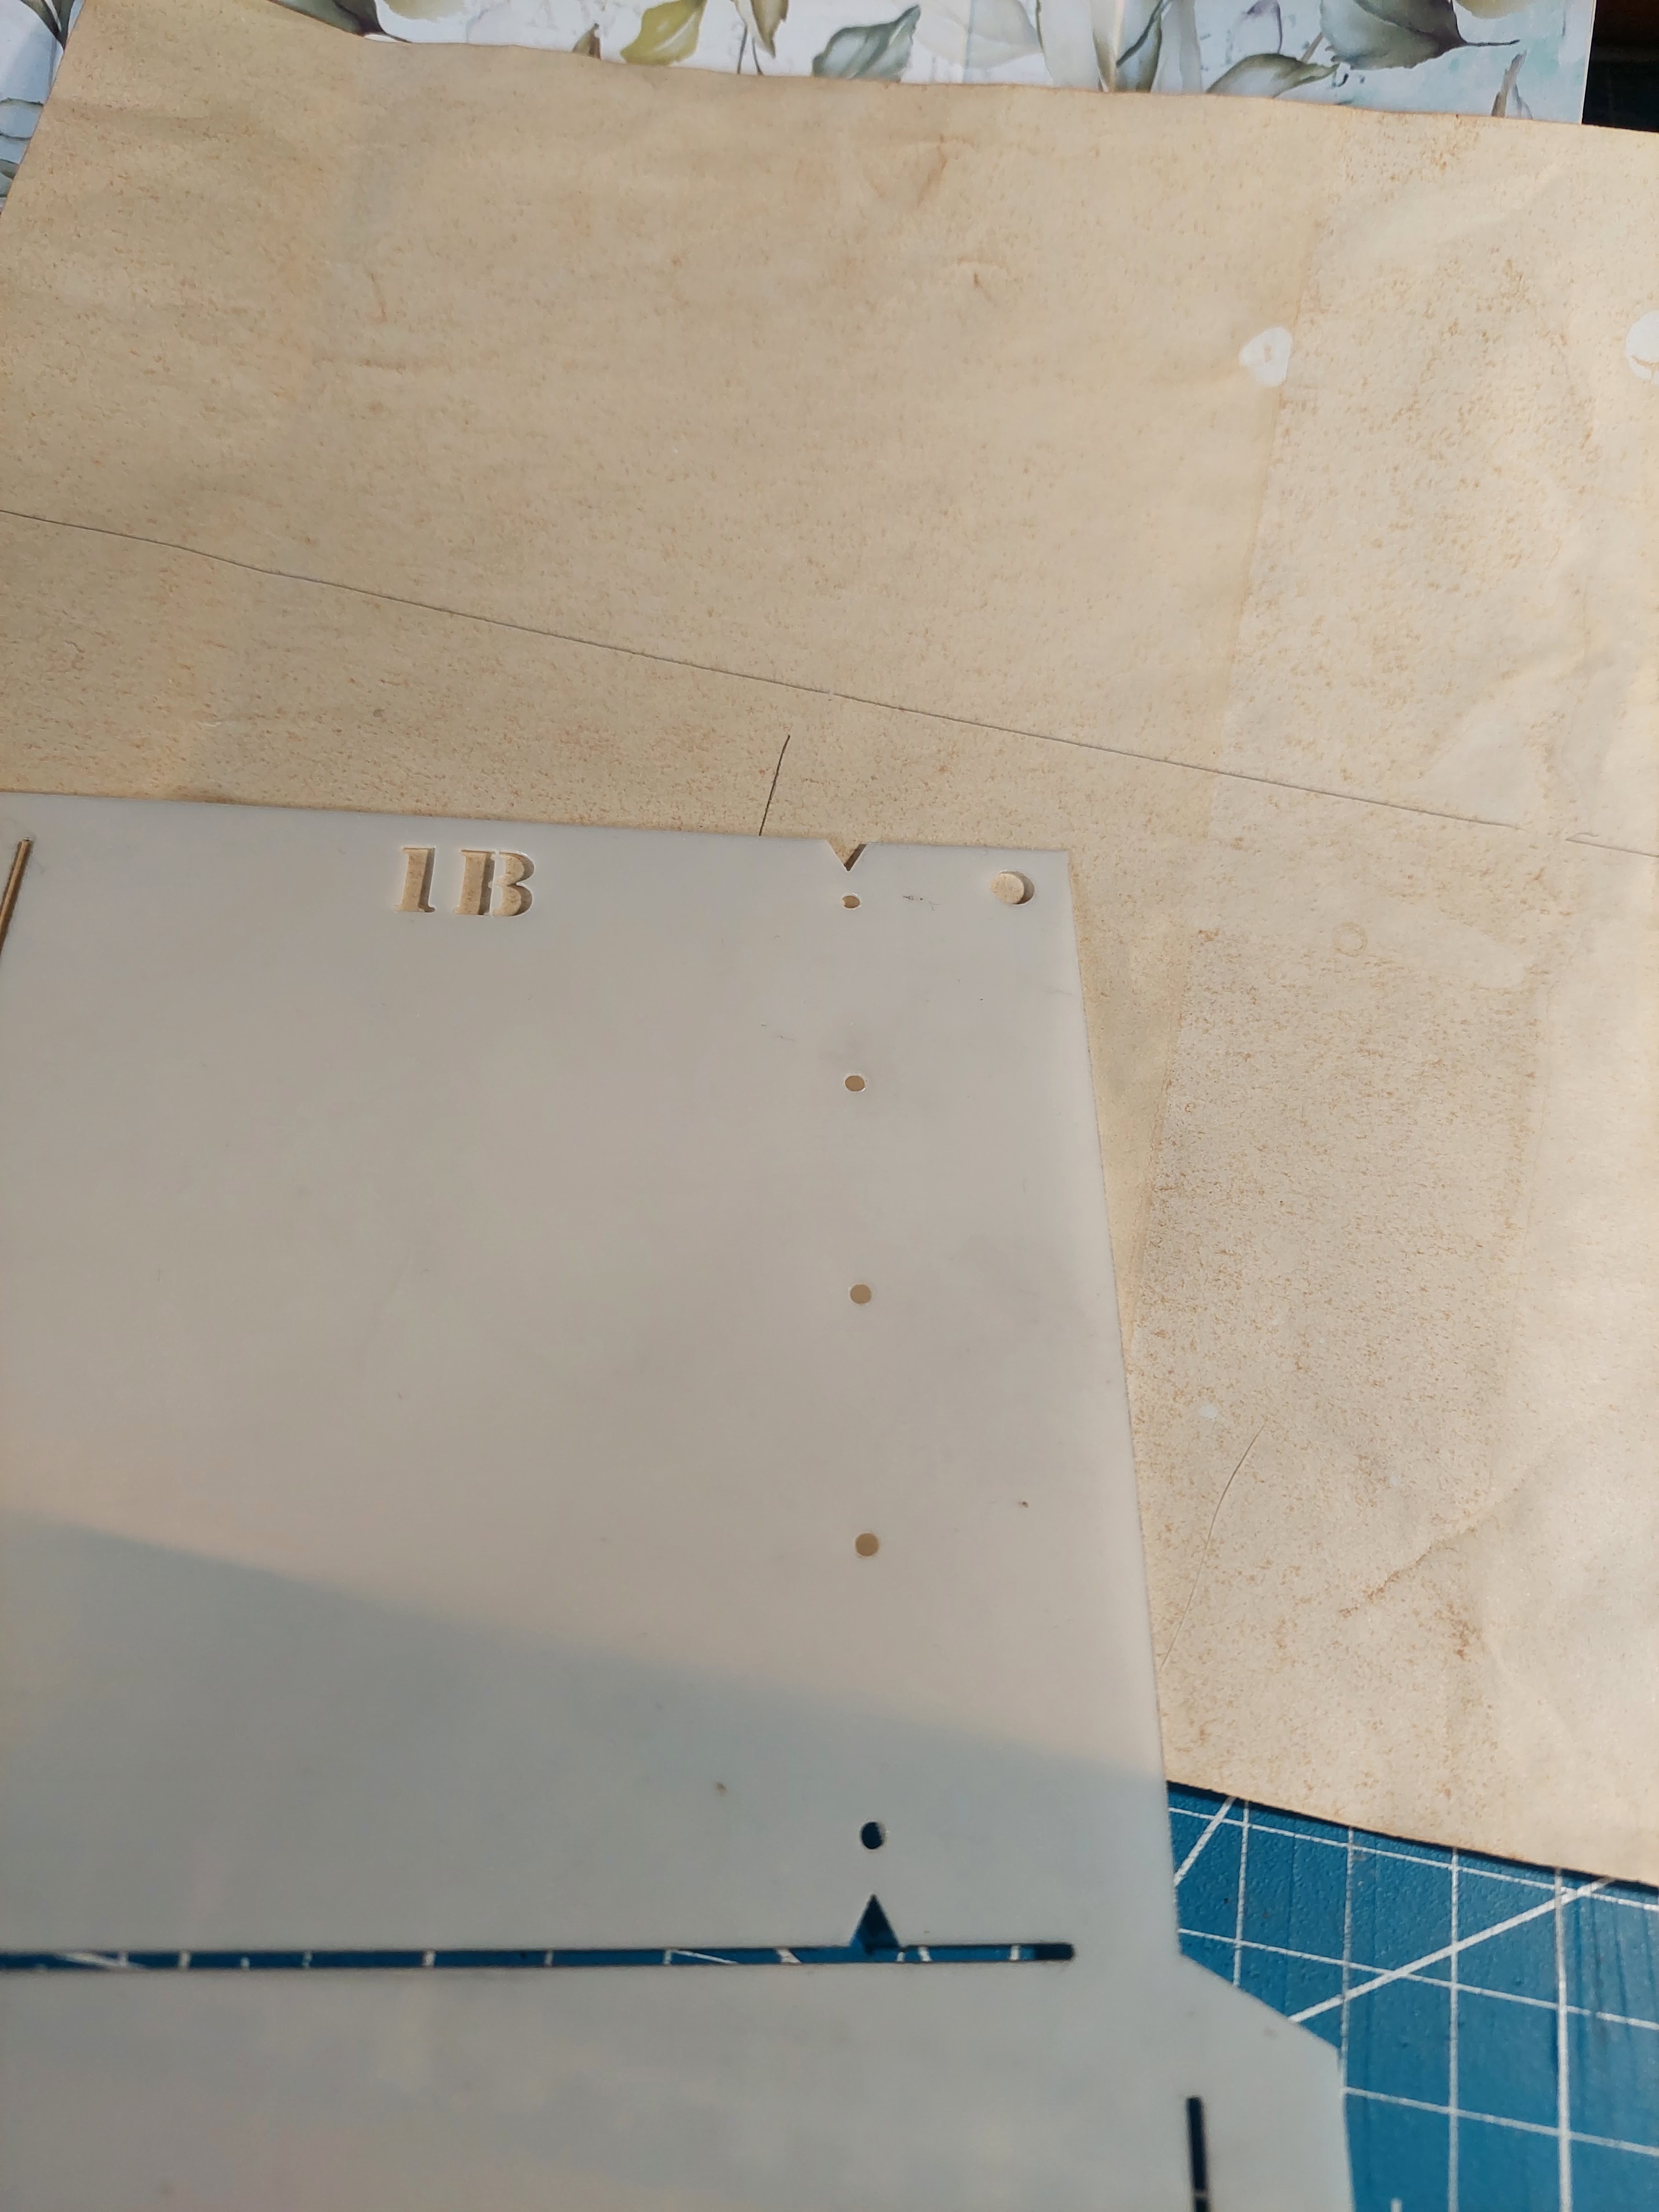
Using the Journal It gatefold cover template again, I lined up the notches where the stitch holes were and marked a set of 3 lines of stitch holes to the left and right spines of the cover, then poked through with a sharp pokey tool.


I used a simple pamphlet stitch to sew my signatures to the cover, making sure I started with the thread going from inside to outside.


For the front cover decoration I used a small element from the Hortensia A4 mould from Stamperia that I had previously cast using Ceramic Powder again from Stamperia (to see how I cast, please read last Monday's blog). I painted the oval element using That's Crafty! Multi Surface Paints in Light Blue, Ocean, Teal and White.


I cut a length of white ribbon and stuck it to the back cover across the centre with double sided tape, and to the right hand flap of the front cover. I then applied That's Crafty! 3d Gloss Gel Medium to the right hand side of the back of the ceramic disc (after flipping it upside down), then stuck this to the right hand side of the cover so that it overlapped onto the left hand side, making sure the gel didn't spread across the left hand flap. I finished by tying off the ribbon once the gel had set.


I really enjoyed making this journal, and I find stitching my pages in to be very relaxing. I hope you enjoyed, and please do have fun creating whatever you create!


0 comments
Thank you for taking the time to leave a comment on our blog, we really appreciate it.
Note: only a member of this blog may post a comment.