
Steampunk Funky Flowers by Fliss Goodwin
11:00

Hello!
I have a floral make this week with a bit of a difference as I felt like my steampunk hat should have an outing and I'm sure you all know how much I love flowers so I just had to combine with the theme I chose. This is the result which I hope you like.
Step by Step:
I chose to use an MDF Chunkie as my base and assembled the 8x8 size with That's Crafty! glue which is my go to adhesive for this type of work.
As I intended to cover the front with paper and the one I wanted to use wasn't quite large enough, I set to work decorating the edges. I used 2 shades of brown Distress inks, Walnut Stain and Rusty Hinge, patting them on each edge in turn and heat embossing them with clear embossing powder. It's best to do it a side at a time so the ink stays wet enough to emboss.

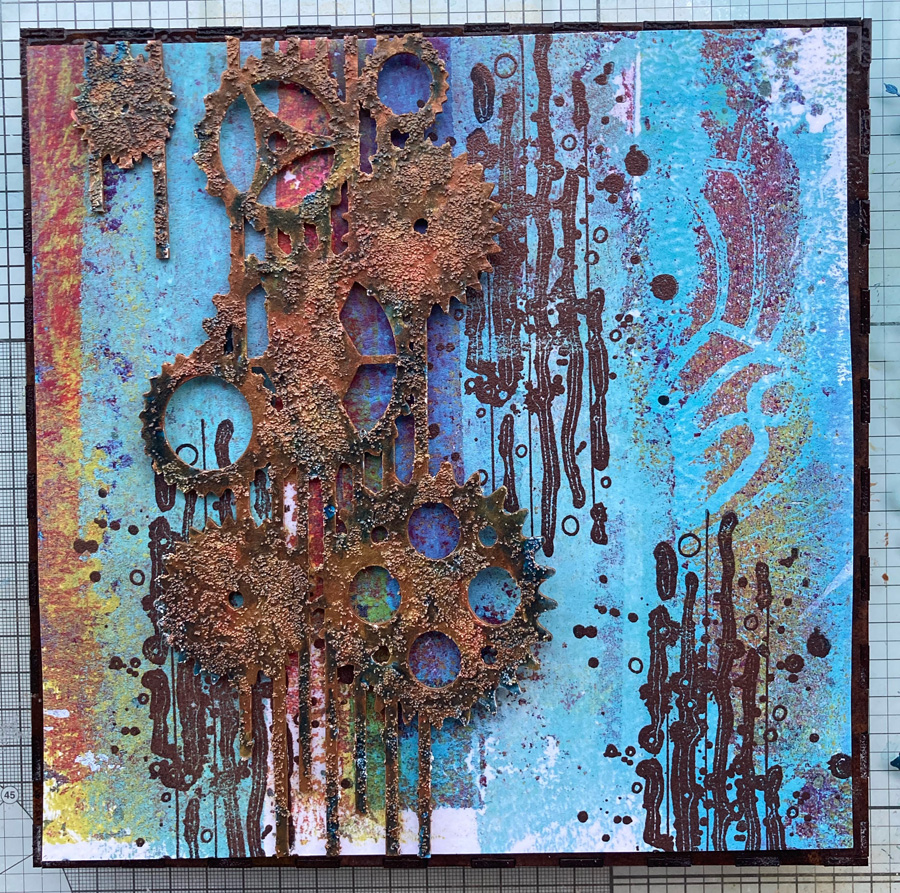
I next decorated up the paper I chose for the background which came from Melina's Pastels and Rainbow pack. I stamped on the lovely grungy image from the Funky Flowers Set 2 stamp set with embossing ink and heat embossed it with copper powder. It went a bit grungy but added to the effect.

I then took one of the AB Studio Chipboard Sets and set about grunging it up to add to the background. I used a tiny palette knife and my fingers (messy but fun!) to apply sand texture paste for a vintage look to the cog piece. As you'll see from the photo, I cut it to size and also used the extra piece.

I painted the piece with a mix of Pearl and Satin Inks, using Bronze, Antique Gold and Copper Pearl inks and Blue Satin ink. The blue was added last and toned down some of the metallic areas to give a lovely antique finish.
I stamped my chosen flowers with black ink and heat embossed the images with clear powder. I painted them with orange and red Satin inks and Bronze Pearl ink. The end result was a bit bright so I painted very watered down Antique Gold Metallic Paint over the top as a glaze which dulled them down a little. I also stamped some leaves with black ink and painted these with green and bronze inks.

I assembled the piece adding the background paper with That's Crafty! glue followed by the cog sections which I glued on with dimensional adhesive. I glued the flowers and leaves in place with a mix of the 2 glues and finished off with text stamped on black paper and heat embossed with white powder to finish.

Supplies:
Have a great weekend and see you next week.
Fliss x


0 comments
Thank you for taking the time to leave a comment on our blog, we really appreciate it.
Note: only a member of this blog may post a comment.