
Embrace Everyday by Amanda Pink
11:00Hi Everyone and Welcome
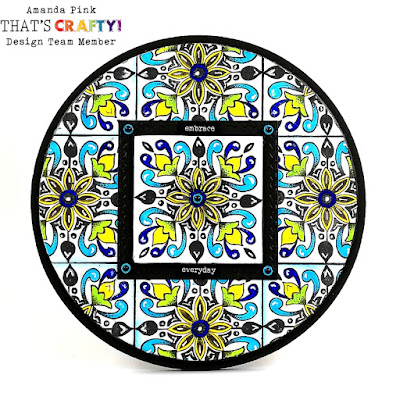
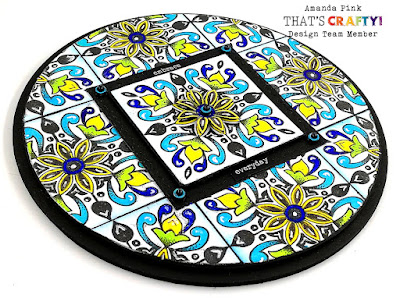
Today I am sharing a piece of 'Art on the Round' that I've created with acrylic paints, stamps and of course the ideal surface for this piece - a That's Crafty! MDF 6 inch round.
If you haven't already invested in any of That's Crafty's MDF surfaces I can highly recommend them and the term 'invest' isn't wasted on any of That's Crafty! MDF range. There are lots of of designs available and they can be found in the shop here.
I actually worked ' off' the MDF round on That's Crafty Ultra Smooth White Card.
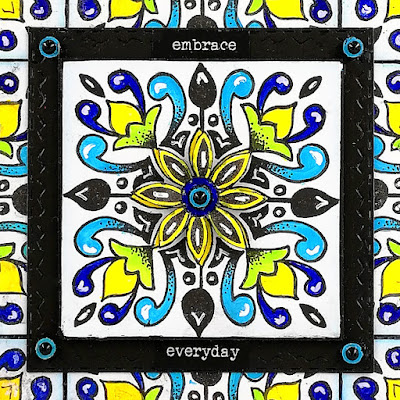
I cut the card into individual 'tiles' just a little bigger than the image I would be stamping on them. Working with one card 'tile' at a time and using a stamping platform I stamped the 'tile' with one of Tracy Scotts stamp designs from her PaperArtsy stampset TS050.
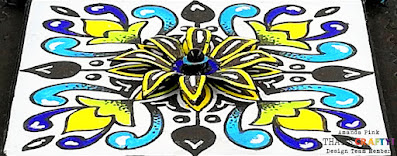
Keeping the stamped 'tile' and stamp in position on my platform I then coloured the design with Dina Wakley heavy body acrylic paints (Sky, Lemon, Lime, Lapis). Using a stamping platform and leaving both the 'tile' and stamp in 'situ' while painting allowed for me to overstamp the initial stamp design with precision for clarity after painting.
All the sides of the 'tiles' were caught very lightly with Tim Holtz distress ink (Broken China).
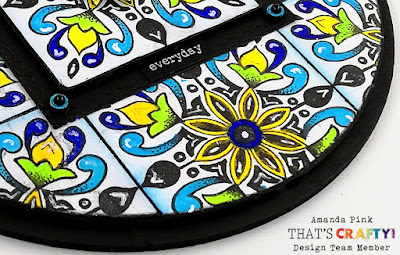
The 'tiles' were adhered to the MDF round working from the centre out using That's Crafty's multi- surface craft adhesive - a super adhesive all round and ideal for MDF ! Square 'tiles' meeting round MDF inevitably means there would be excess. This was simply trimmed off and sanded back.
I caught the circumference of the 'tiled' MDF round with black acrylic paint before mounting the round onto a pre cut circle of black painted card.


0 comments
Thank you for taking the time to leave a comment on our blog, we really appreciate it.
Note: only a member of this blog may post a comment.