
Collaged Cards by Fliss Goodwin
11:00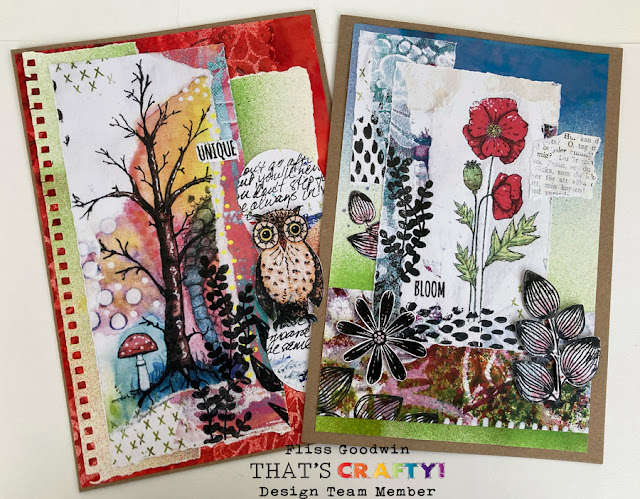
Hello!
Following on from my post last week which featured my collaged tags, this week I have some collaged cards to share. I absolutely loved playing with Melina's stunning new papers and just had to make some cards with them too.
Step by Step:
These cards are actually easier to make than you might think as the new papers are chock full of elements that can be torn or cut out and layered up to make a complete card in a jiffy.
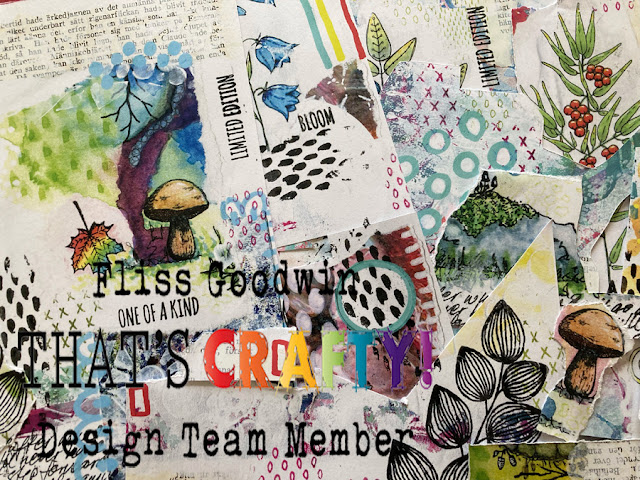
The photo above shows some of the papers and leftover bits and as you can see, I still have lots to create more projects with as I've already used them on my matchbox, the tags from last week and quite a few cards so they really do go a long way.
I don't have process photos for these cards as it was very much "go with the flow" but it's easy to see the layers which are as follows:
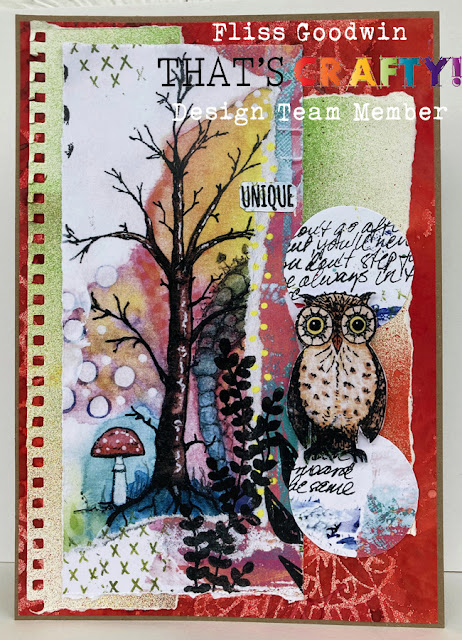
Layer 1 - A piece of overflow paper from my stash which has a bit of added stencilling with Tomato Flat Matte Spray and a couple of Melina's masks.
Layer 2 - An overflow mop up sheet torn from the paper pad and used to mop up Basil, Orange and Tomato Flat Matte sprays. I really like the torn edge as it adds fab texture.
Layer 3 - A piece torn from one of the collage sheets as the tree fit with my nature theme. You will see the piece has a torn edge element which makes it look like torn layers but in fact, Melina has done the work for you - it looks so real too!
Layer 4 - A couple of torn circles which were created using lighter areas of paper and tearing round a circle die. I added these to the background and finished off with an owl cut from a further piece of collage paper and the text block from another.

This one is really easy too and the layers are as follows:
Layer 1 - A piece of blue and geen overflow paper which has Bluebell and Grass Green Flat Matte sprays on.
Layer 2 - A couple of pieces of the collage paper torn out and added across the base of the green and blue paper and at the top left hand side.
Layer 3 - The poppy panel was torn from the collage sheet and added with some cut out leaves tucked underneath.
Layer 4 - I finished off with some more cut out leaves which were black and white and I added some pencil to create pink highlights on this one and the one tucked under the floral panel. I added a stamped cut out flower head to draw all the elements together.
Supplies:
Have a great weekend and see you next week.
Fliss x


0 comments
Thank you for taking the time to leave a comment on our blog, we really appreciate it.
Note: only a member of this blog may post a comment.