
Documented by Gill Humphrey
11:00
This post focuses on the development of textures and layers an integral part of just about all of my makes. I have chosen to make my project using a square That's Crafty! Skinnie from a set of 3.
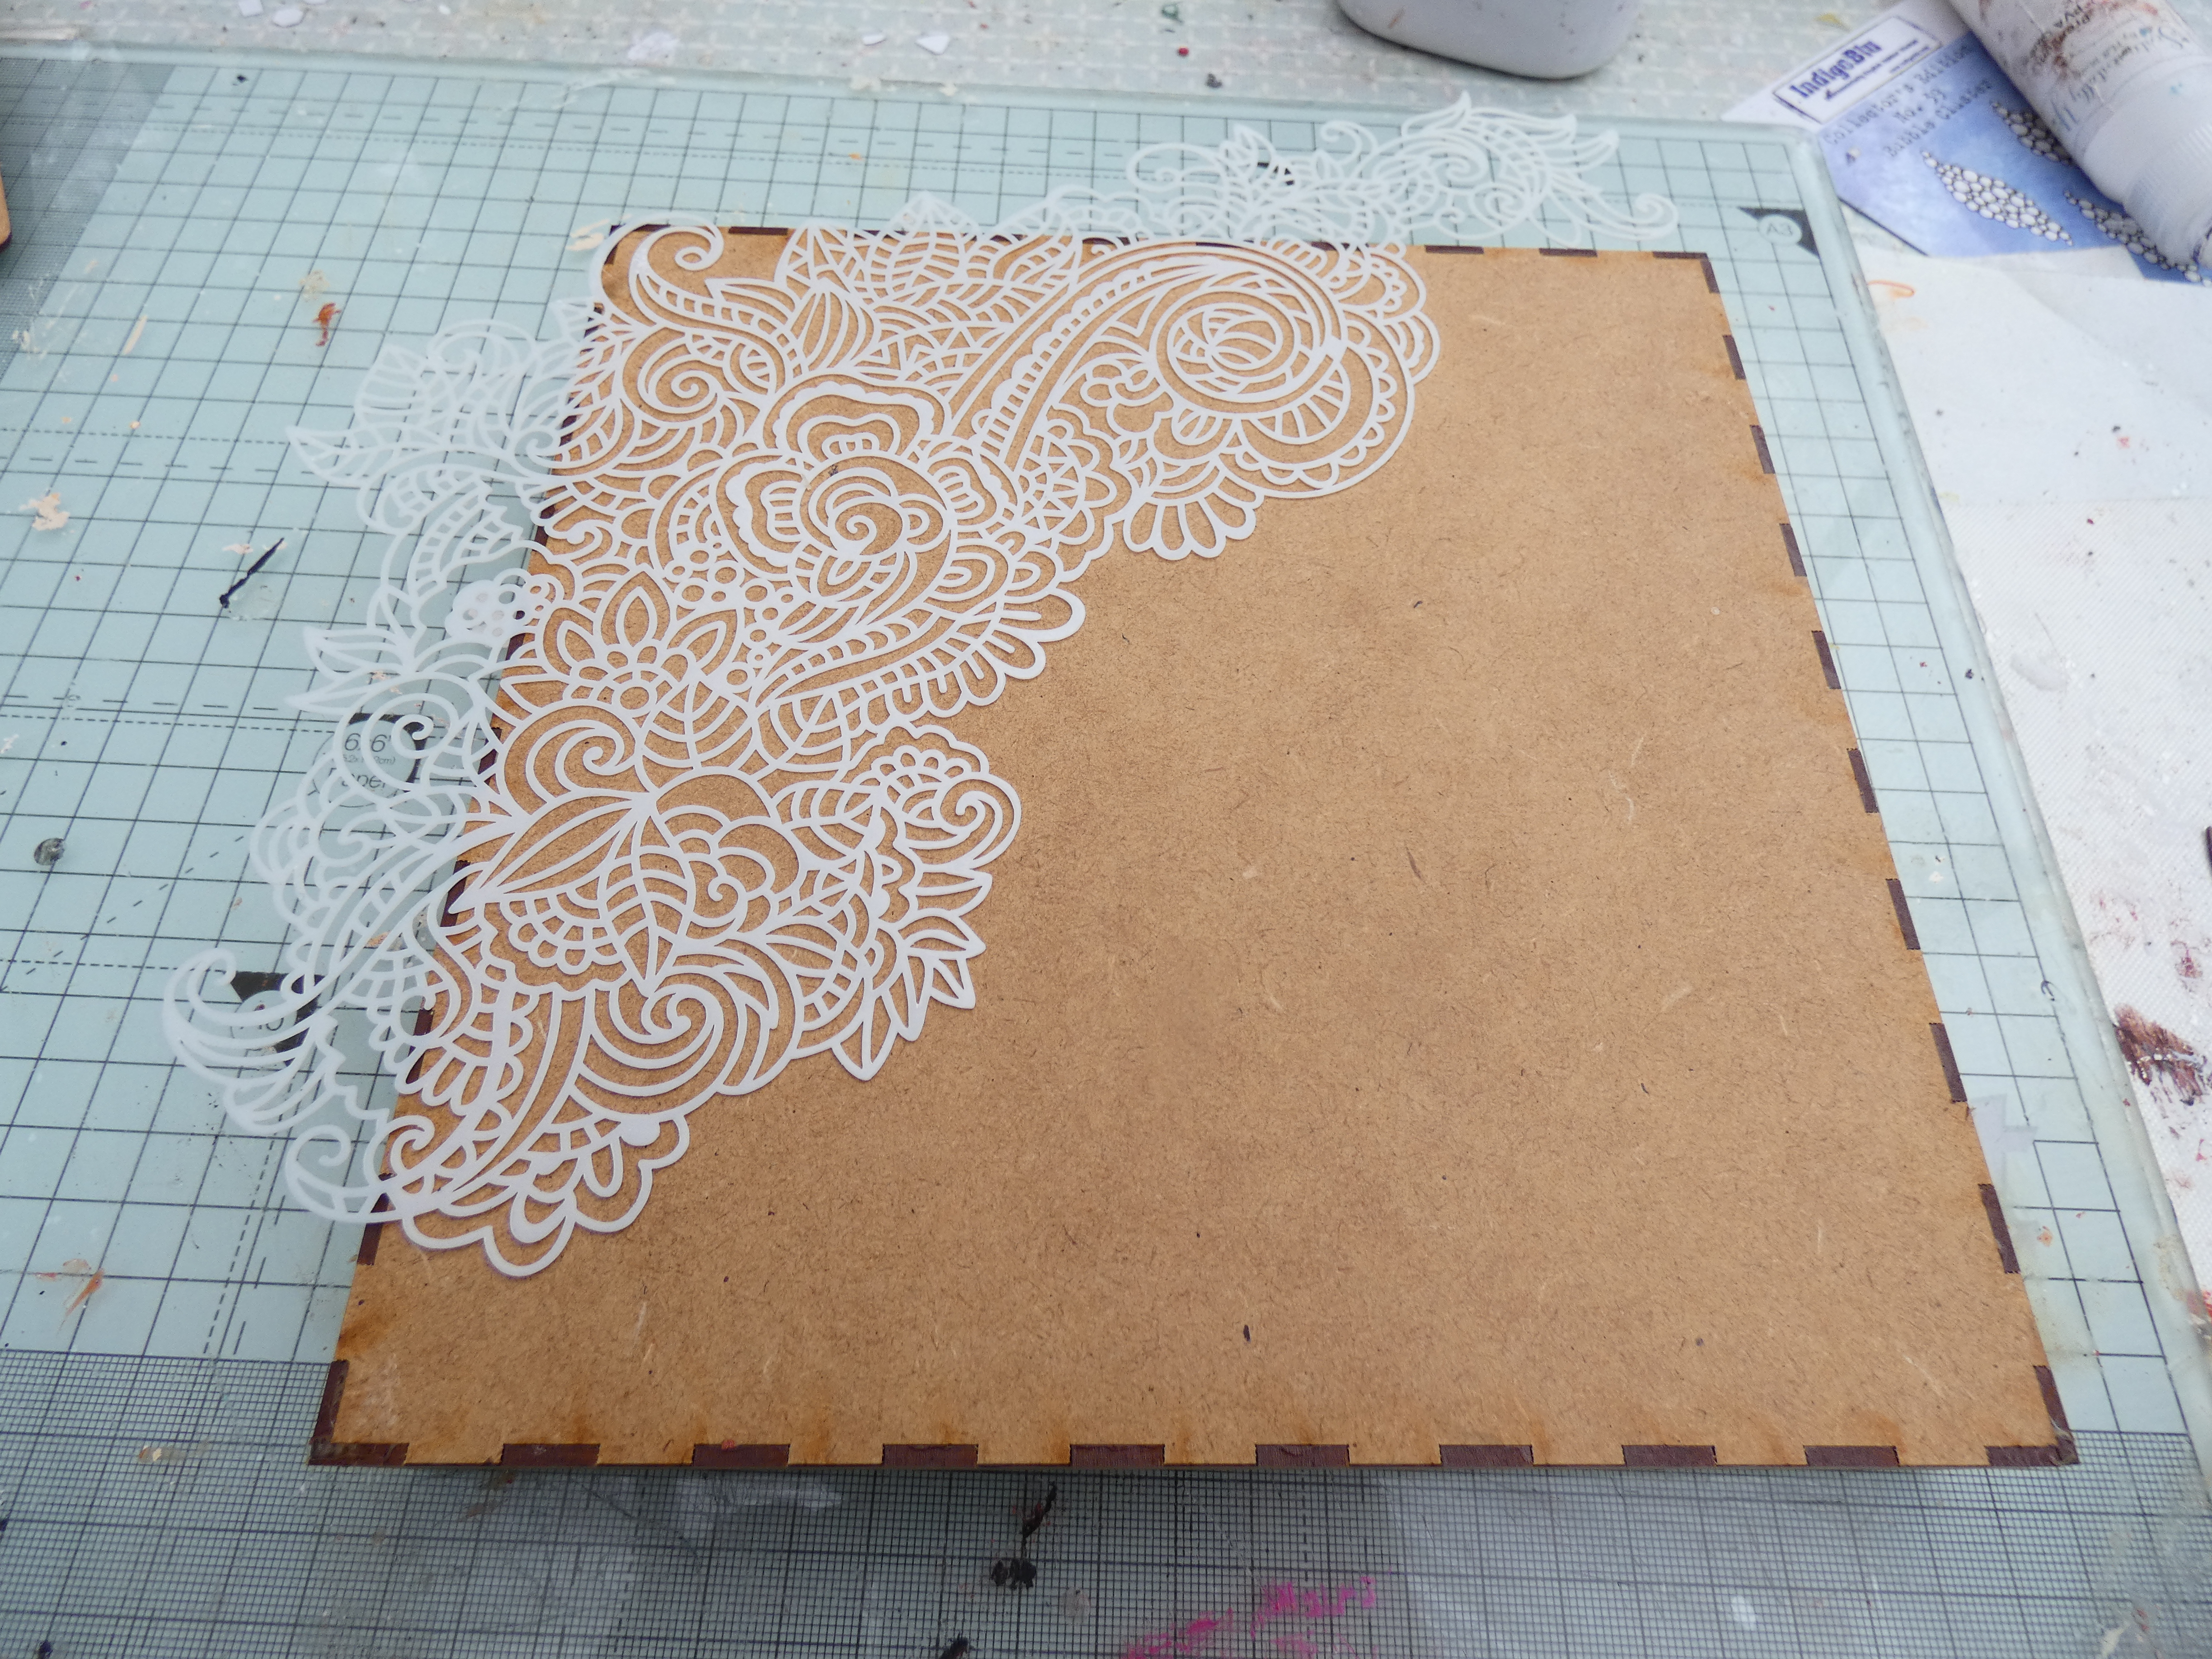
I started by constructed my surface using That's Crafty! Multi Purpose Glue Pen as I find that the applicator allows for more controlled delivery of the glue using this format and then added a layer of DecoArt Modelling Paste through a AALL and Create Twirling Tendrils Stencil. I placed the stencil as shown below and then repeated in the opposite corner before filling the gap in between with more paste. This was then left to dry completely.

My focal image was created by stamping the large floral element from AALL and Create Blooming Poppies Stamp Set on to smooth stamping card using Versafine Clair Nocturne Ink. This was then heat set with WOW Clear Super Fine Embossing Powder.
I coloured my image using Topaz 13 Arts Colour Glow Powder mixed with 13 Arts Acrylic Medium. I mixed a dark shade of paint using these mediums and then shade variation was created by varying the amount of Acrylic Medium. In some areas neat Acrylic Medium was applied to the image and then the mixed colour medium allowed to bleed into it. I was initially going to mix things up but actually by creating shades with one colour I found this was not required. However I did use the Blue Saphire Colour Glow for the smaller flowers. The leaves were then painted using the same technique using Emerald Colour Glow darkened with a little Analusite Colour Glow. Once the acrylic paint had dried thoroughly the image was fussy cut out.


To assembly my piece I added layers from Tim Holtz ideology Urban Layers Pack and some twine before using dimensional glue to add my floral element.

I wanted some more detail in the background and added some Remnant Rub Ons also by Tim Holtz, My title was then added from an old set of Quote Chips although I am sure that you could find something similar in the latest set. I added some Tim Holtz bulldog clips to my project before finally adding a good splattering of white paint with my trusty Posca pen.


1 comments
This is so pretty Gill. The textures are just gorgeous and really love the poppies in shades of blue.
ReplyDeleteFliss xx
Thank you for taking the time to leave a comment on our blog, we really appreciate it.
Note: only a member of this blog may post a comment.