
A Bitty Bot Book by Liz Wheeler
11:00Happy Monday lovely Crafty Folk!
Today's project has been created using my mini concertina book template from That's Crafty! Journal It! Templates Set 4 and the gorgeous new papers from Craft O'Clock - Robots Adventures.

It's a little journal that can sit on your desk or you can pop in your bag and use whenever inspiration comes.
I started by tracing template 2a (the cover) onto black card and cutting out. I scored all the score lines in the same direction, then folded the end of the cover over on itself and glued with That's Crafty! Multi Purpose Craft Adhesive.


I then used a couple of sheets of the 6x6 Robots papers to cut some mats for the cover, measuring them slightly smaller than each section of the cover. These were then adhered to both sides of the cover with That's Crafty! Adhesive.


I then took template 2b (inner pages) and traced the two end sections onto 3 sheets of cartridge paper, cut out and folded in half along the middle score line. This created a booklet of 48 pages.


I measured half an inch from both edges of the centre score line and poked out two holes.

Back to the cover I cut a small strip of Tyvek and adhered it to the centre spine. I then used the holes of the booklet as a guide and poked two holes through the Tyvek - this was used to strengthen the spine as I would be sewing the booklet to the cover (a strip of card would also work here).

I then stitched the booklet into the cover, starting with the thread on the outside of the cover, then sewing it through the holes inside, then back outside where I tied it into a knot then a bow.

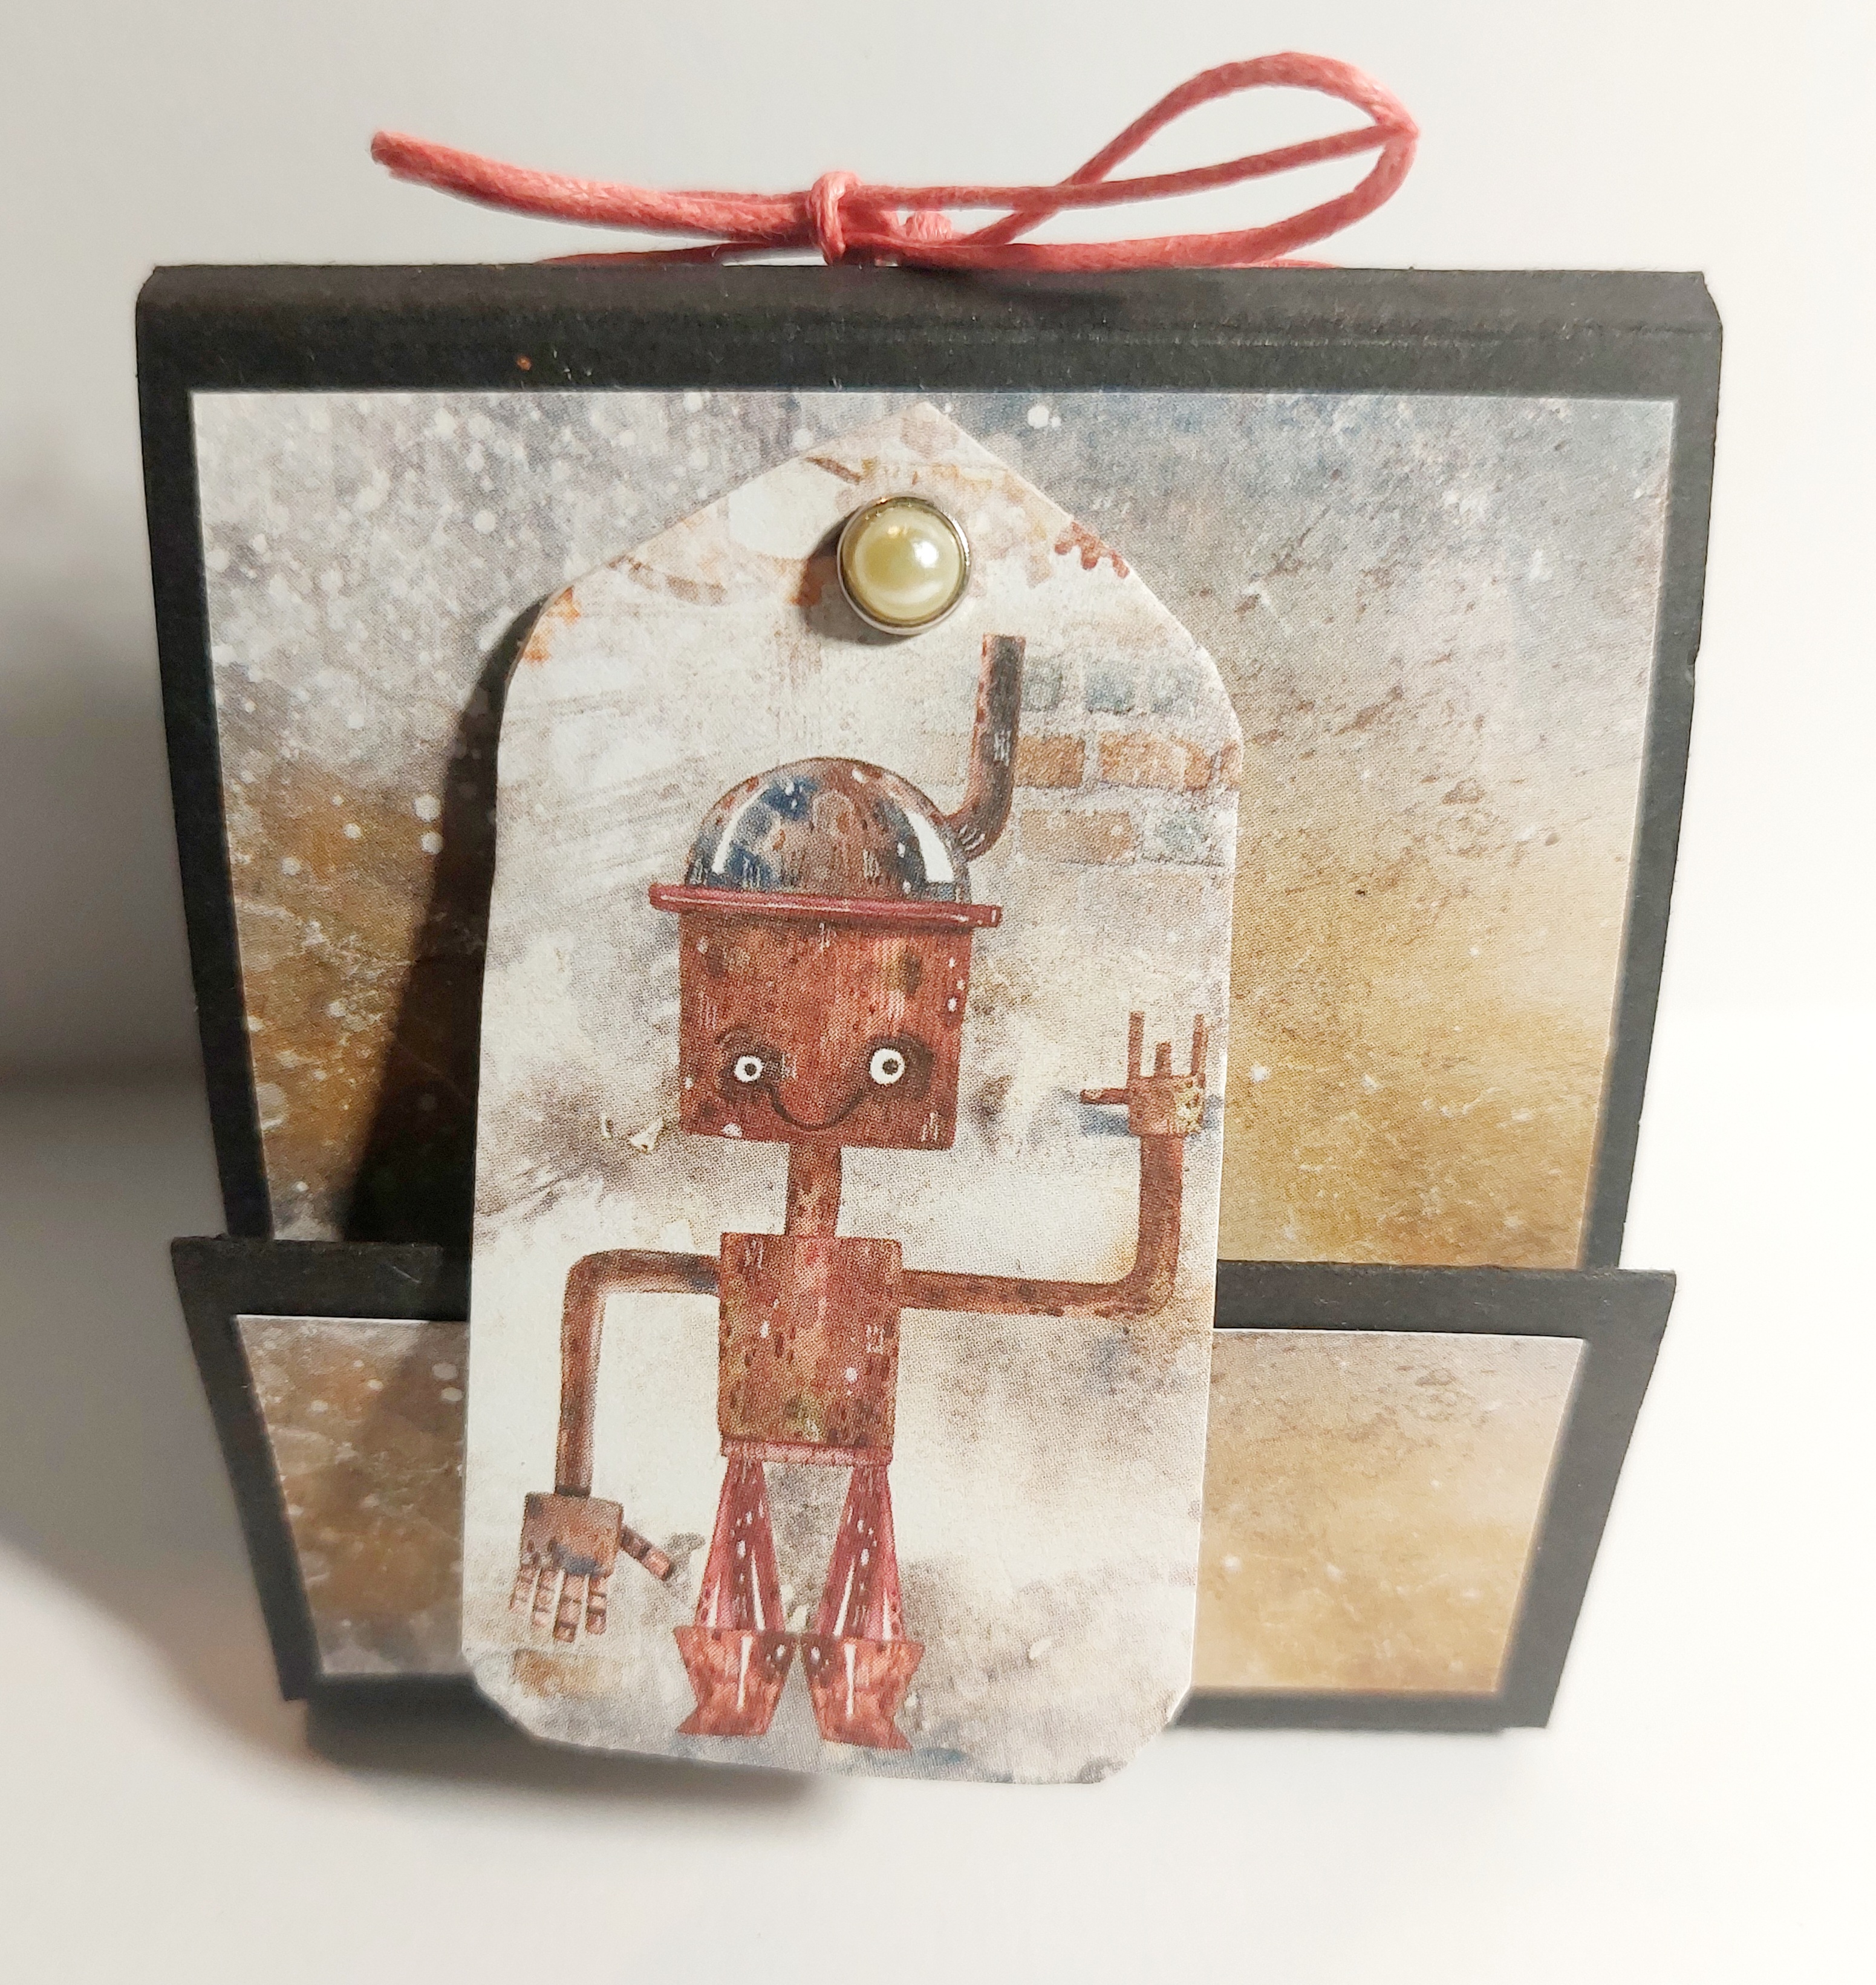
For the closure, I cut out one of the Robot Tags from the inside cover of the paper pack and glued it onto some mountboard, again cutting around the shape. I then pierced a hole through the top of the tag, then through the top of the cover. I added a decorative brad (or split pin) through the tag and cover, and opened the pin on the inside of the cover to secure.


To cover the legs of the pin and to create a secret pocket on the inside, I cut some of the 6x6 paper and glued 3 sides of it, then positioned this piece over the legs. I added another little tag from the back of the papers' cover and popped it in the little pocket.


And there we have it! A quirky little bitty journal, with a fab little robot tag closure and a secret pocket to boot!
I hope you enjoyed this and get tempted to have a go yourself. Happy Crafting!


0 comments
Thank you for taking the time to leave a comment on our blog, we really appreciate it.
Note: only a member of this blog may post a comment.