
Remember 21 - A Dutch Tab Memory Album by Gill Humphrey
11:00
And what might you ask is a Dutch Tab - well the title meant nothing to me until I saw the Journal It templates designed by Liz and all became clear - put simply they are a way of adding an edge to your pages a bit like file dividers. For this post I decided that I would use the circular dutch tab templates and co-ordinating weekday stamps to create a mini album just perfect for collating a weeks worth of holiday memories if you are lucky enough to have one of the small portable printers. Of course you could use a standard printer and cut your images to size but using a portable one means you can have scrapbooked your week of memories as you go making one less task for when you return to the hubub of everyday life.
I have used a mixture of papers
from Craft O'Clock Gray Mood and also Beauty Restless 12 x 12, 6 x 6 and Junk Journal Extras for
this make along side co-ordinating chipboard die cuts thoughtout the
whole of the album so that it has a cohesive feel - the relatively small
amounts of paper required make this an ideal make for using left over
papers although you will need fairly large pieces for the base layers of
the album and its pages.
The cover of the album is simply the cover template drawn around and the spine marked in the centre before cutting out and scoring and covering with papers (for sizes see my crafting supplies blog). I made sure that I adhered a long piece of ribbon in place before I
added my papers to the front of the cover. The decoration on the front of the album was made by drawing around template 8 from Journal It templates set 1 which was then cut out and a smaller piece of paper cut and placed on top. The ticket was cut using Ticket 1 from the same template set and then layered onto black card stock which was cut to leave a small border.
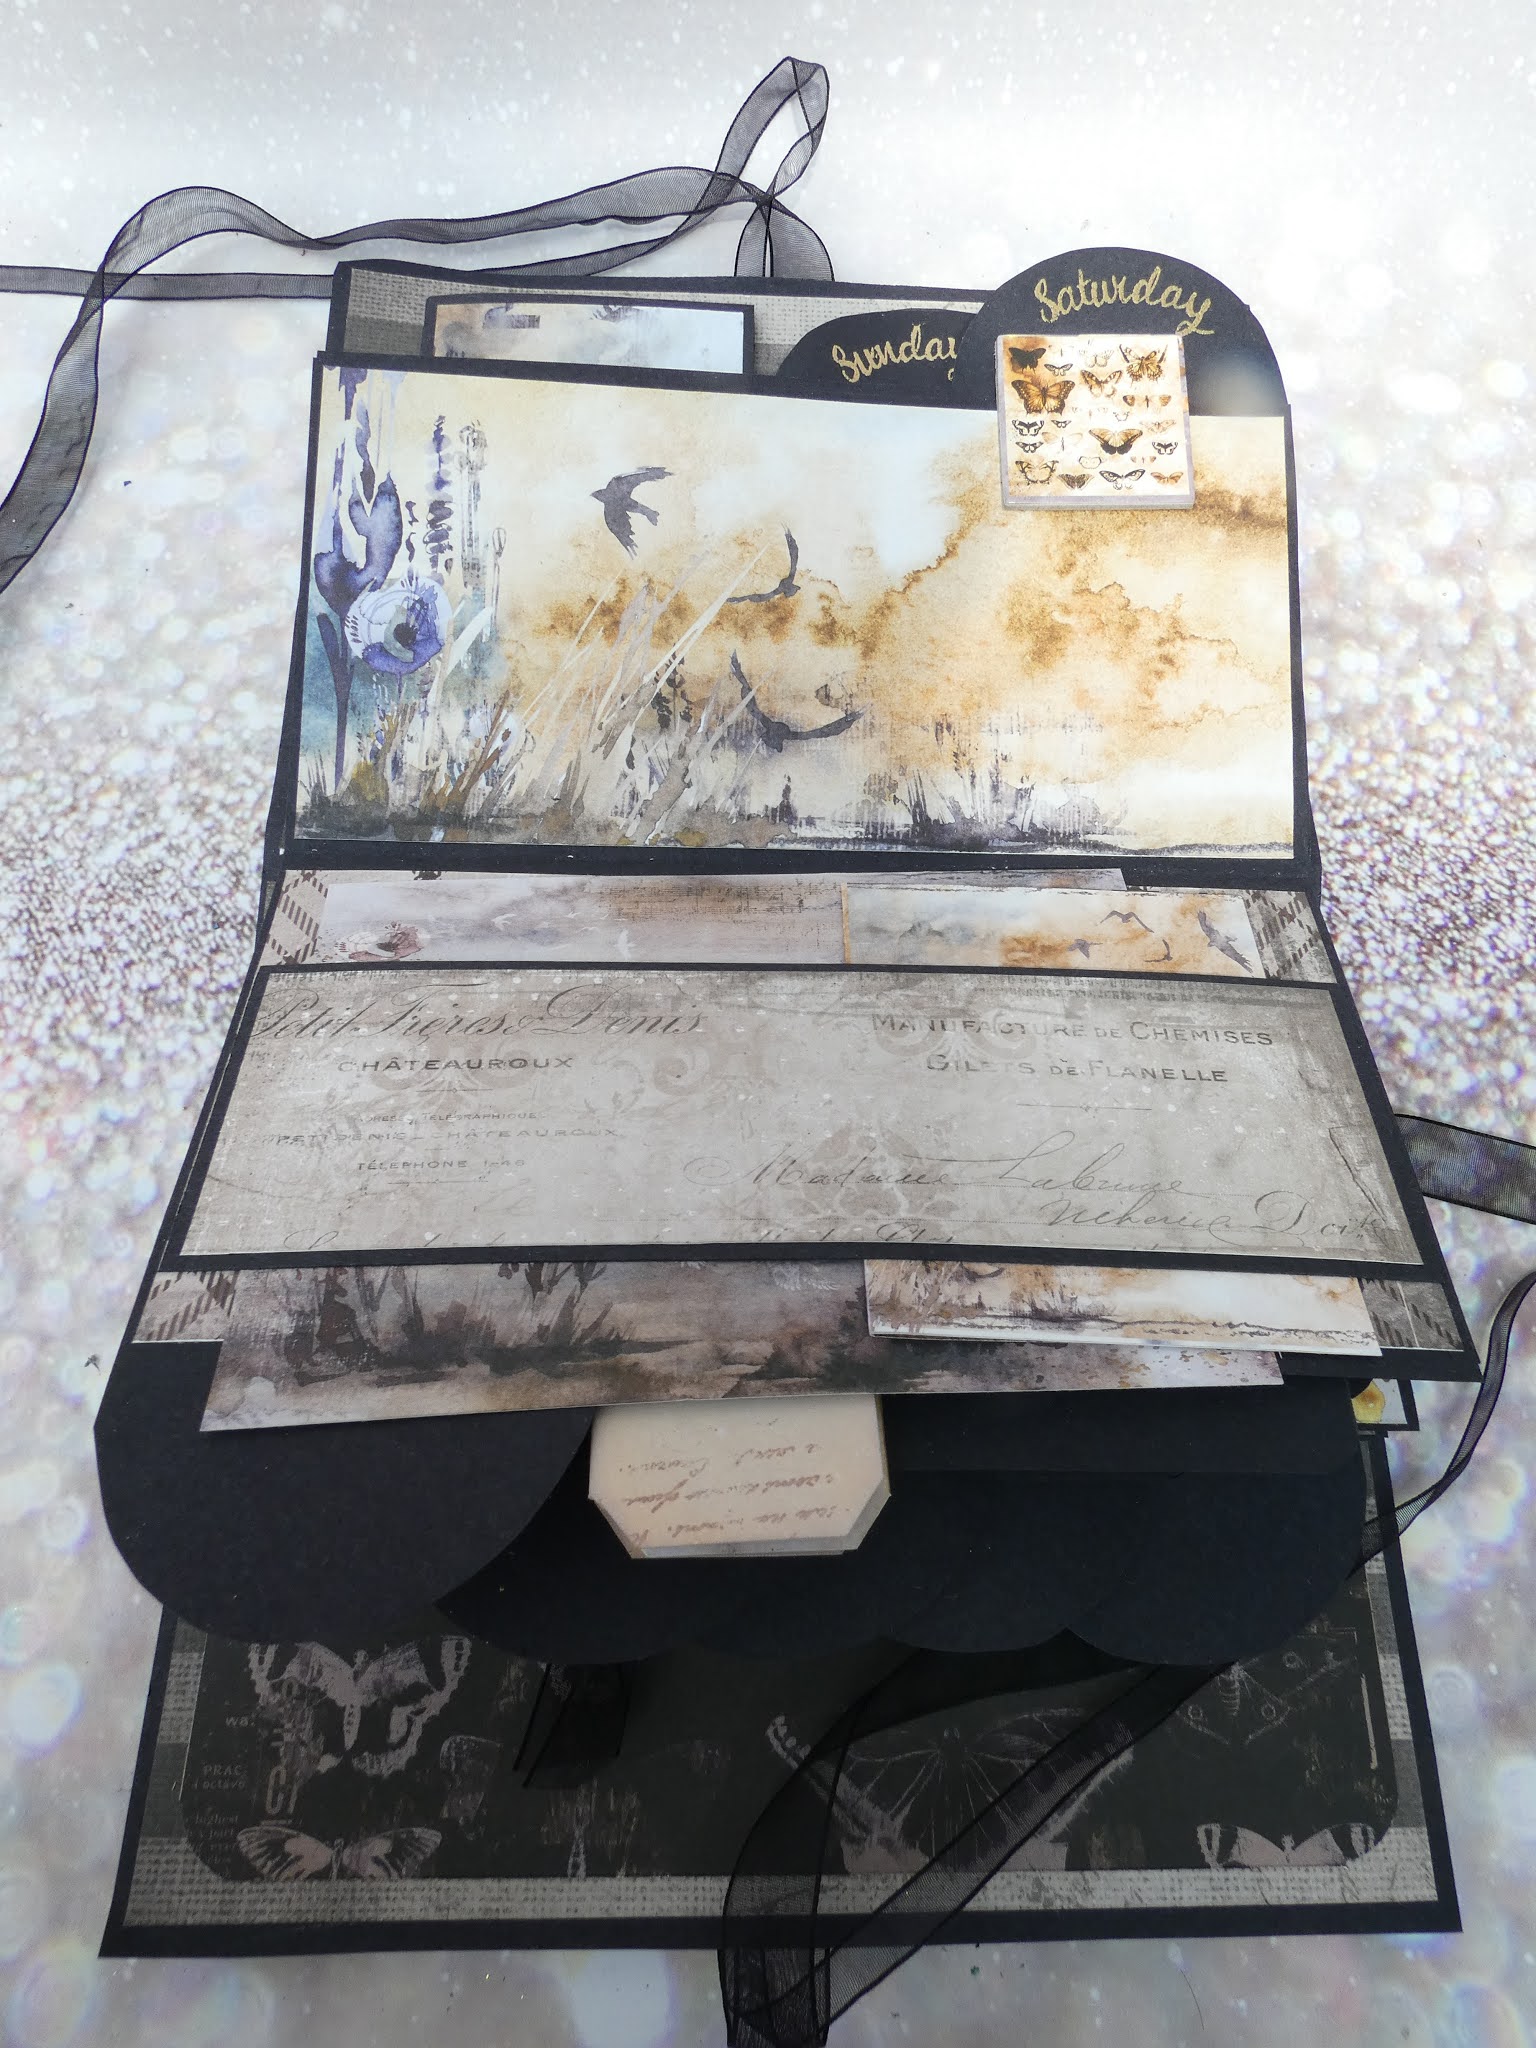
Now for the Dutch part - I drew around the page template to mark the size of my page and then took the rounded template and placed it so that the curve hit the top of the page and drew along the top line as shown. I then cut out the page and folded. To make the remaining tabs as I needed one for each day of the week I used the second of the rounded dutch tab templates using the first one as a guide as to how far I needed it to go so that it could be seen. I repeated this until the 5th one when I flipped the template and lined it up with the edge of the page. Page 6 is made in the same way as the first one and page 7 in the same way as the second one.


To identify the day of the week I took the day stamps and using Versamark ink stamped and then embossed with Wow Superfine Rich Gold embossing powder on to each of the circular areas. Having done this I adhered the back of one page directly to the front of the next page creating a stack of pages. The last page was then adhered in place on the back of the journal cover. I then covered the pages with papers before adding lots of pieces using templates from both template sets. Please see photographs below for the images of the pages.


I hope that I have now shown that you really do need these templates in your life - they may be named journal templates but they are also perfect for scrapbooking too - after all scrapbooking is after all just another form of journalling.


0 comments
Thank you for taking the time to leave a comment on our blog, we really appreciate it.
Note: only a member of this blog may post a comment.