
Wander, Step by Step a step by step using the new Pentart Antiquing Gels by Gill Humphrey
11:00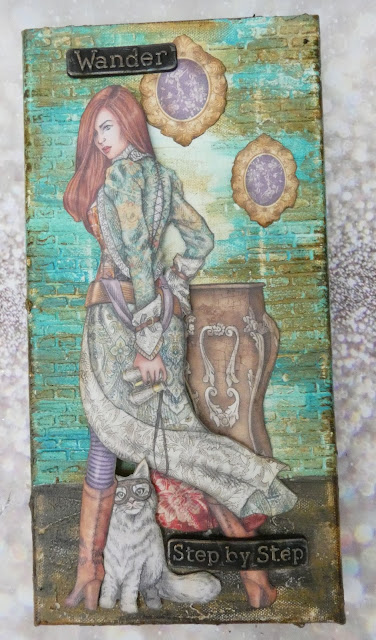
The lovely Laura has recently added lots of new Pentart products to the That's Crafty! website and so following on from last weeks blog by me using Velvet Powders and Eco Glitters this weeks concentrates on the antiquing gels. These come in a range of colours and are great for layering on to textured surfaces to create a distressed effect. Unlike acrylic paint washes which once dry are impossible to shift these gels can be lifted off once dry with a little elbow grease and a damp cloth.
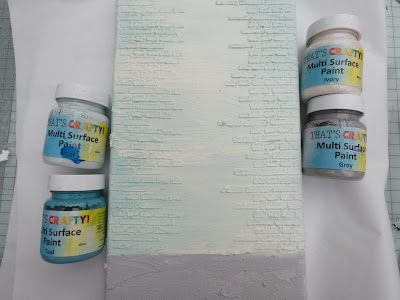
I have used a 6 x 12 inch canvas to create my make and started by adding texture using Structure Paste through the new Brick Wall Stencil - I love the length of these long stencils as they are perfect for tall canvases. I drew a line approximately 20% up from the bottom and smeared more of the paste to give an irregular surface. Once the paste was dry I then added a base layer of multi surface paint using - Grey for the ground area and a mixture of Ivory, Mint and Teal for the wall area.
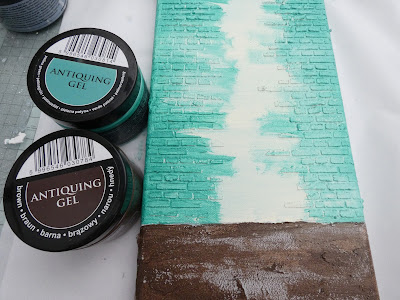
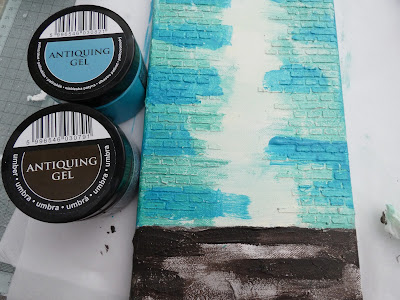
When the paint had dried I then set about using the antiquing gels to add colour and bring out the textures.I first applied Patina Green and Brown as shown in the photograph and let it dry (it is safe to speed dry with a heat tool. Once the gels were set I used a damp cloth and rubbed back some of the colours.
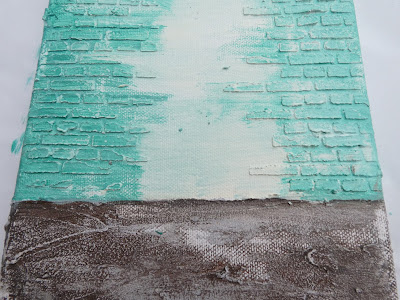
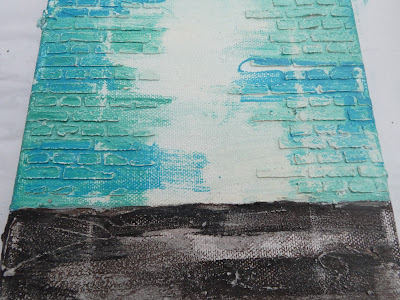
To add more colour I then randomly added patches of Patina Blue and Umber as shown below and once dry rubbed back again - if you are struggling you can spray the canvas directly with water to help lift some of the colour.
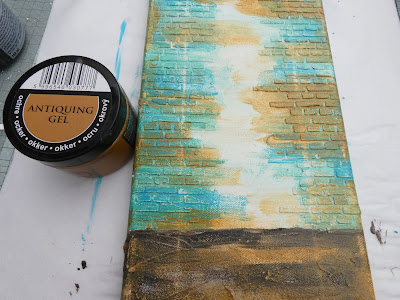
Finally I added some of the Ochre around the edges and floor area before drying and wiping back.
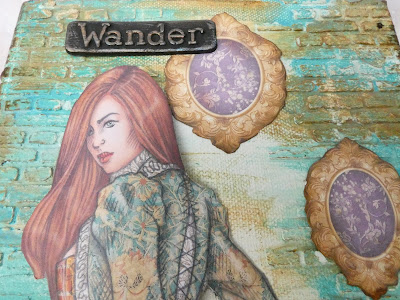
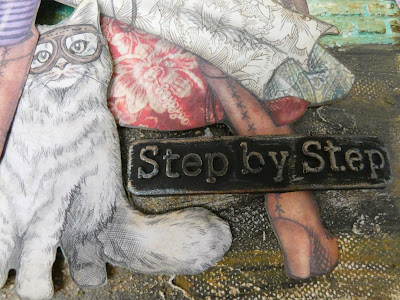
For my focal images I chose a large female from the Lady Vagabond Collectables pack of paper along with the furniture piece, frames and cat. I inked the edges of all of the paper elements with Vintage Photo Distress Archival ink before adhering them in place. The cat and Lady Vagabond were shaped with my fingers and added using a dimensional glue.
I created the title for my piece using the Alphabet mould from the same paper collection, casting the words in Amazing Casting Resin. Once set the moulded pieces were painted black and then highlighted with turquoise and bronze waxes. The word "wander" was added straight on to the canvas but the resin piece "step by step" was shaped by gently heating the resin piece before adhering it in place.
If you are a lover of texture or mouldings from the huge selection on the website then the antiquing gels will I believe be a brilliant addition to your crafty stash.


0 comments
Thank you for taking the time to leave a comment on our blog, we really appreciate it.
Note: only a member of this blog may post a comment.