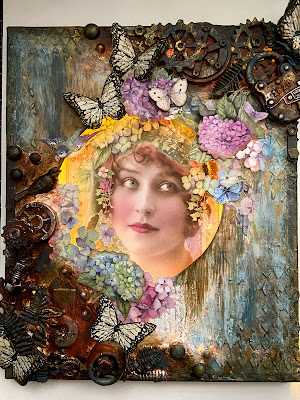
Illuminated Beauty by Rachel Harries
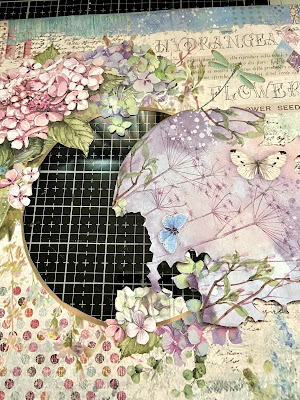
11:00For this weeks project I'm using the reverse side of a canvas along with Stamperia Hortensia paper pad.
I start by using masking tape to adhere some rice lights around the inner edge of the frame.
I cut down one of the pages with the face so that I will be able to roughly situate it in a central position on the frame.
I chose another piece of paper that had an area that would make a perfect aperture, I removed that area and trimmed the paper to fit the canvas, sitting on the outer frame.
I then used some That's Crafty! Light Texture Paste and the That's Crafty! Distressed Harlequin Stencil in areas on the edges.
I then used a selection of That's Crafty! Greyboard Cogs, along with some casts from Lady Vagabond Belts and Fasteners Mould and Lady Vagabond Mould, I also added a yoghurt pouch lid that I had and thought looked right. I then added just a few fern leaves and a bird from Prima Nature Lover Mould. Once everything was in place and dry I gave a good coat of White Gesso.
I then used a combination of That's Crafty! Multi Surface Paint and Pentart Rust Effects Kit.
I cut out some of the elements from the paper elements page in the paper pad (this is usually on the inside front cover).
I added the extra elements and then used the butterfly from That's Crafty! Texture Stamps Set 3. I stamped onto some old book pages and added a few to me composition and there she is.


0 comments
Thank you for taking the time to leave a comment on our blog, we really appreciate it.
Note: only a member of this blog may post a comment.