Continuing on my theme of repurposing items from last weeks post, this week I have taken a wooden box and decorated it as a gift box - it's a simply way of taking a perhaps expensive but may be insignificantly looking gift and presenting it in a way that really does celebrate the present in size. Again this is an entirely customisable project based on the rice papers you choose and the embellishments you add to it. I have chosen to make mine for some one who is a train addict.
Firstly I chose my rice paper - map from the around the world collection and cut it to fit the panels of the box. I decided not to prime the wood box before adhering the rice papers in place using Matte Decoupage Glue and then sealed the rice paper on top with another layer of the decoupage glue before leaving it to dry.
For my embellishment I cast the train from the mould of the same name with Amazing Casting Resin and let it cure. I then primed the resin with Bonding Primer and let it dry.
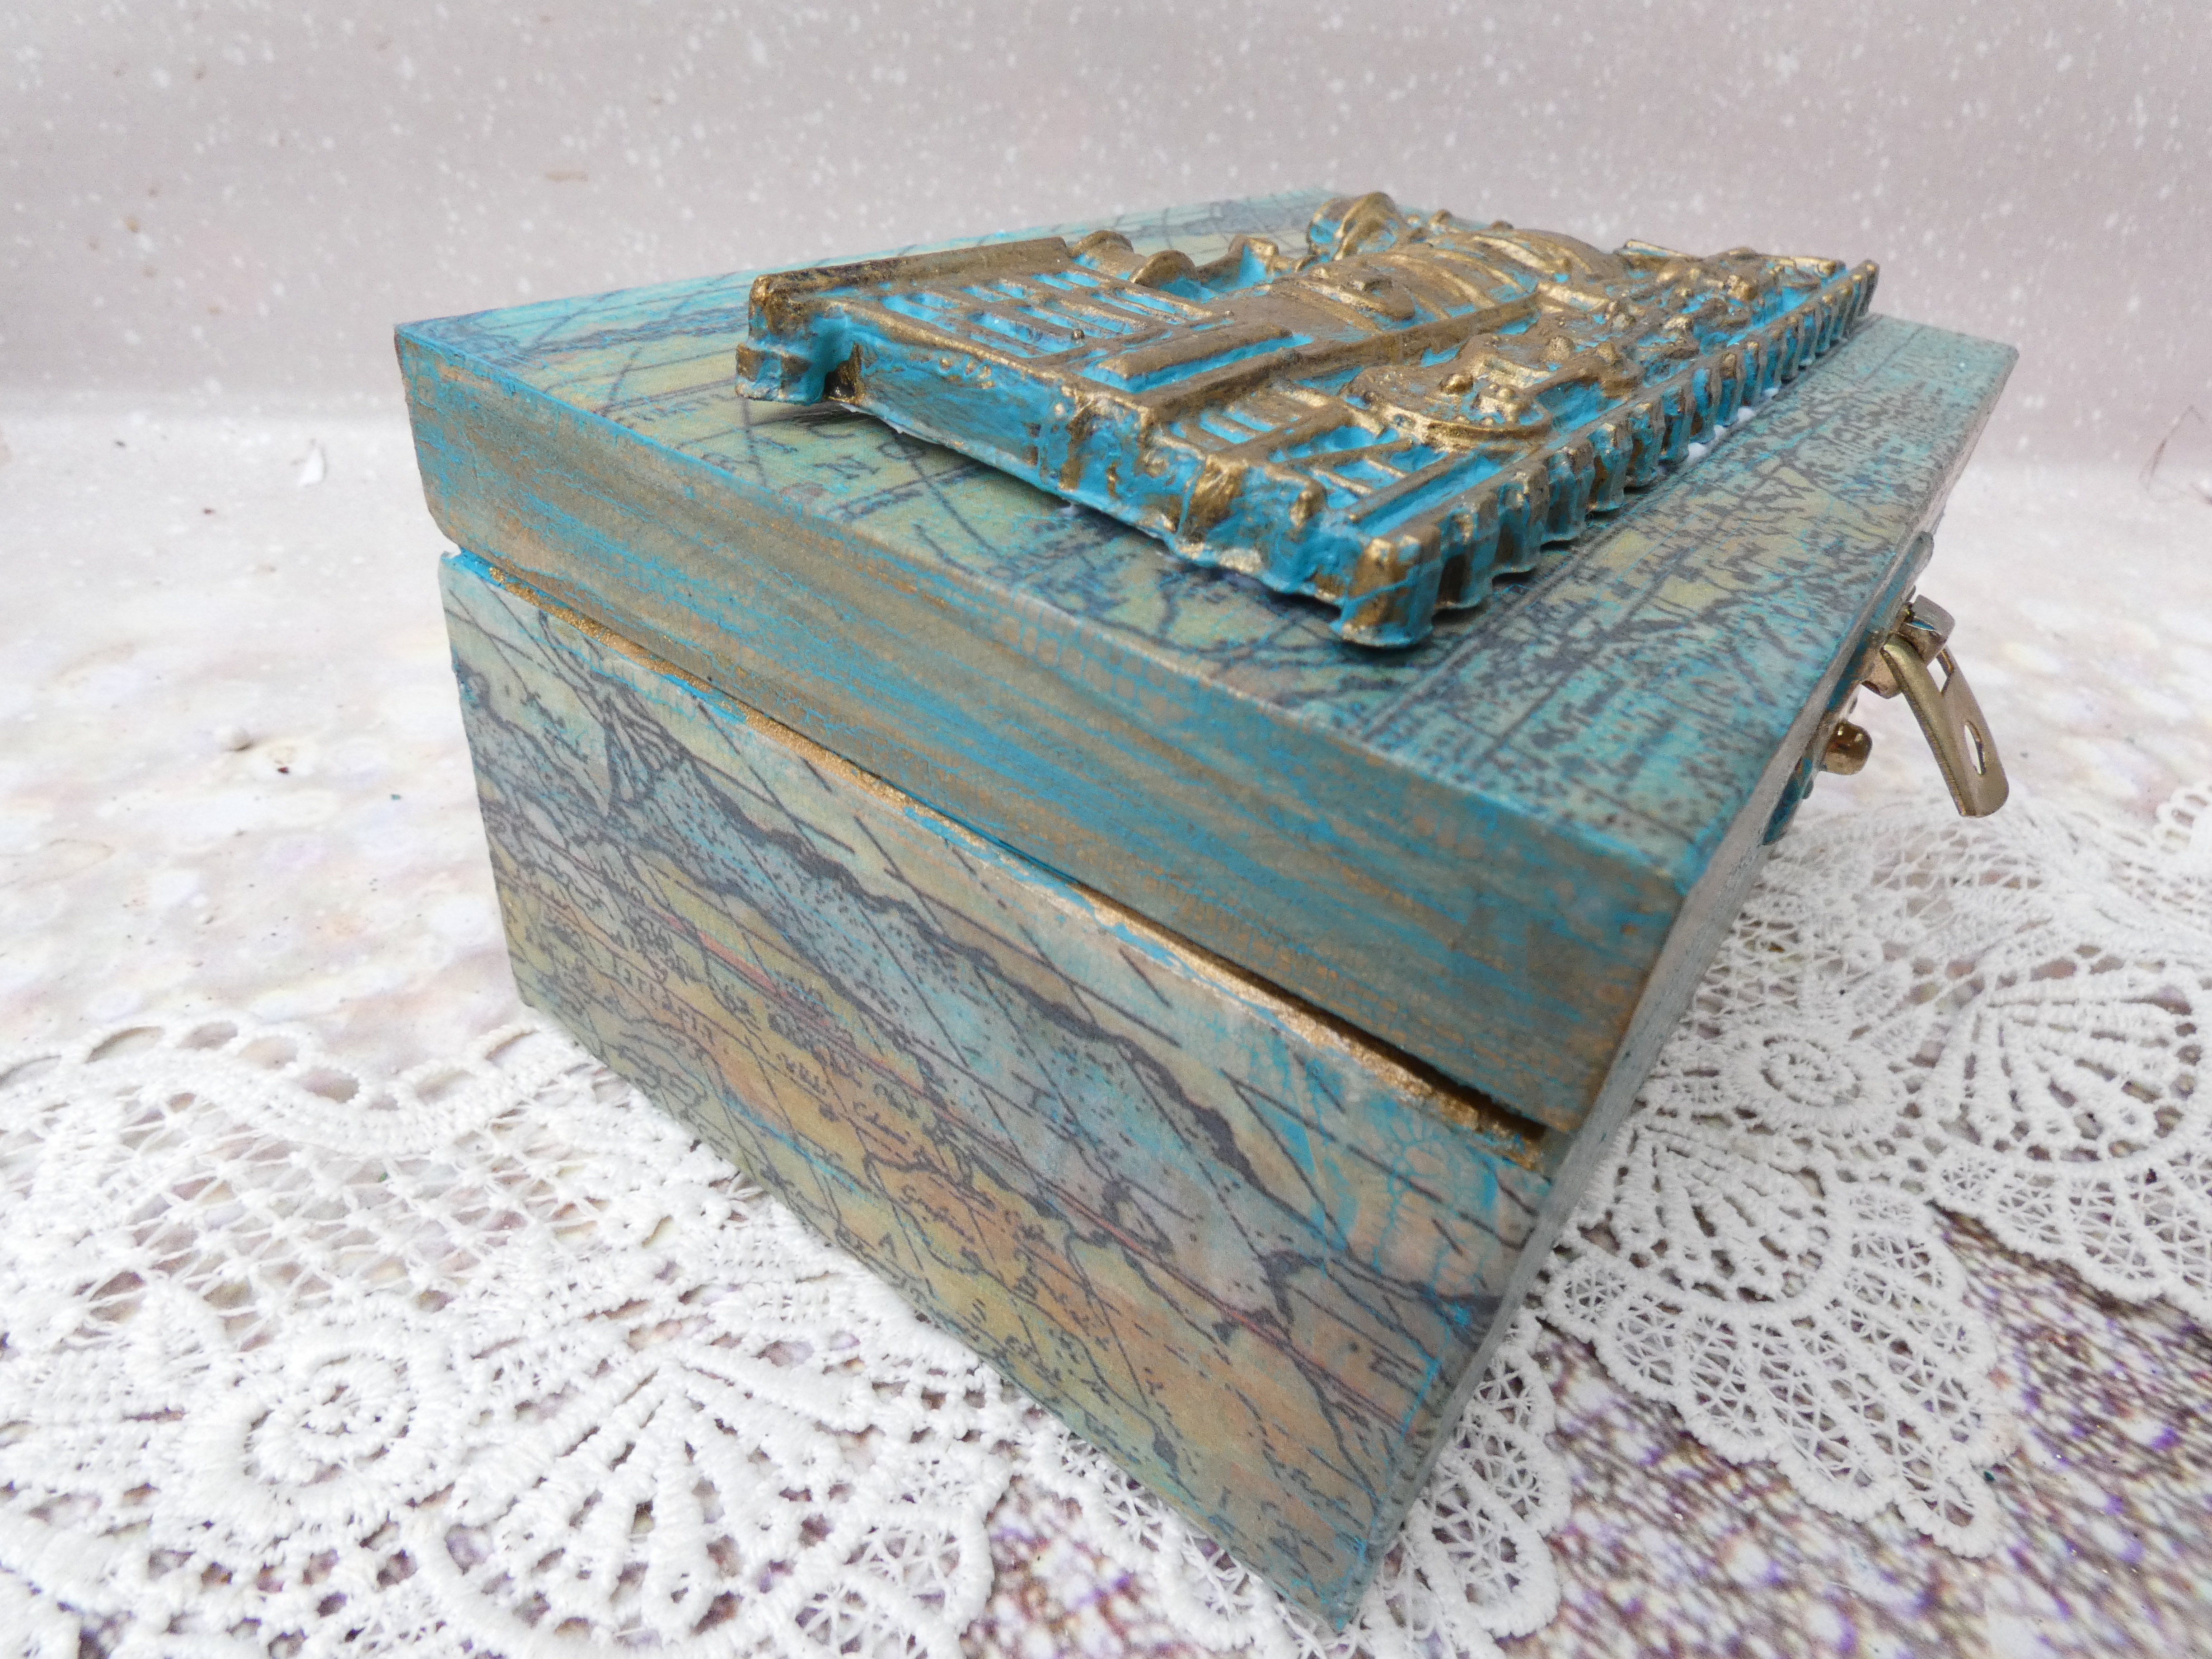
I then turned my attention to my now dry box painting the small pieces on the top edges of the box and the inside flat pieces with Pigment Fix mixed with Antique Gold Metal Pigment powder. My next step was to add step one of the Classic Crackle Varnish in a thin even layer again leaving it to dry (heat setting is okay) Once step one had dried I applied step 2 and left it to crackle naturally - this layer create a very fine tightly placed crackle effect. To fill the cracks I then rubbed over Patina Blue Antiquing Gel wiping off the excess before it could dry - the Classic Crackle is water stable unlike the Fine Line Crackle.
As you can not save premixed pigment/metal powder I then painted the now dry train mould and once it was dry used the Patina Blue Antiquing Gel to bring out the details and co-ordinated with the crackled box. Before adhering the train in place I painted the inside of the box with the Antiquing Gel which acts as a permanent wood stain and added a beautiful pop of colour.
I now have my box ready for a special present and hope you will be inspired to make customised packaging for presents in the future especially when you know that wrapping paper with foiling and glitter can not be recycled.