
Memories Folio by Gill Humphrey
11:00
A few blog posts ago I created an album and openly said that I had not made it up as the kit was intended however the instructions in the set were wrong and the post shared why and what to do instead. I rescued that set by raiding extra bits from another canvas album set which of course left me with bits to use up essentially a whole kit minus two pages. Never one to let an opportunity go to waste I therefore had a play with to see if I could make the basic kit more versatile and think that I have come up with another way of using the products. The piece could be made just as easily by cutting greyboard or Craftyboard to size and covering with fabric so even if you have not got a kit this folio is easy enough to make.
I took one of the original cover piece measuring 165mm wide by 215mm high and cut a piece 5" wide for the central panel.

I then took the second of the cover pieces and cut off a 21/2 strip this gave me a piece for the left side and a smaller one to go on the right side as you are looking at the cover.

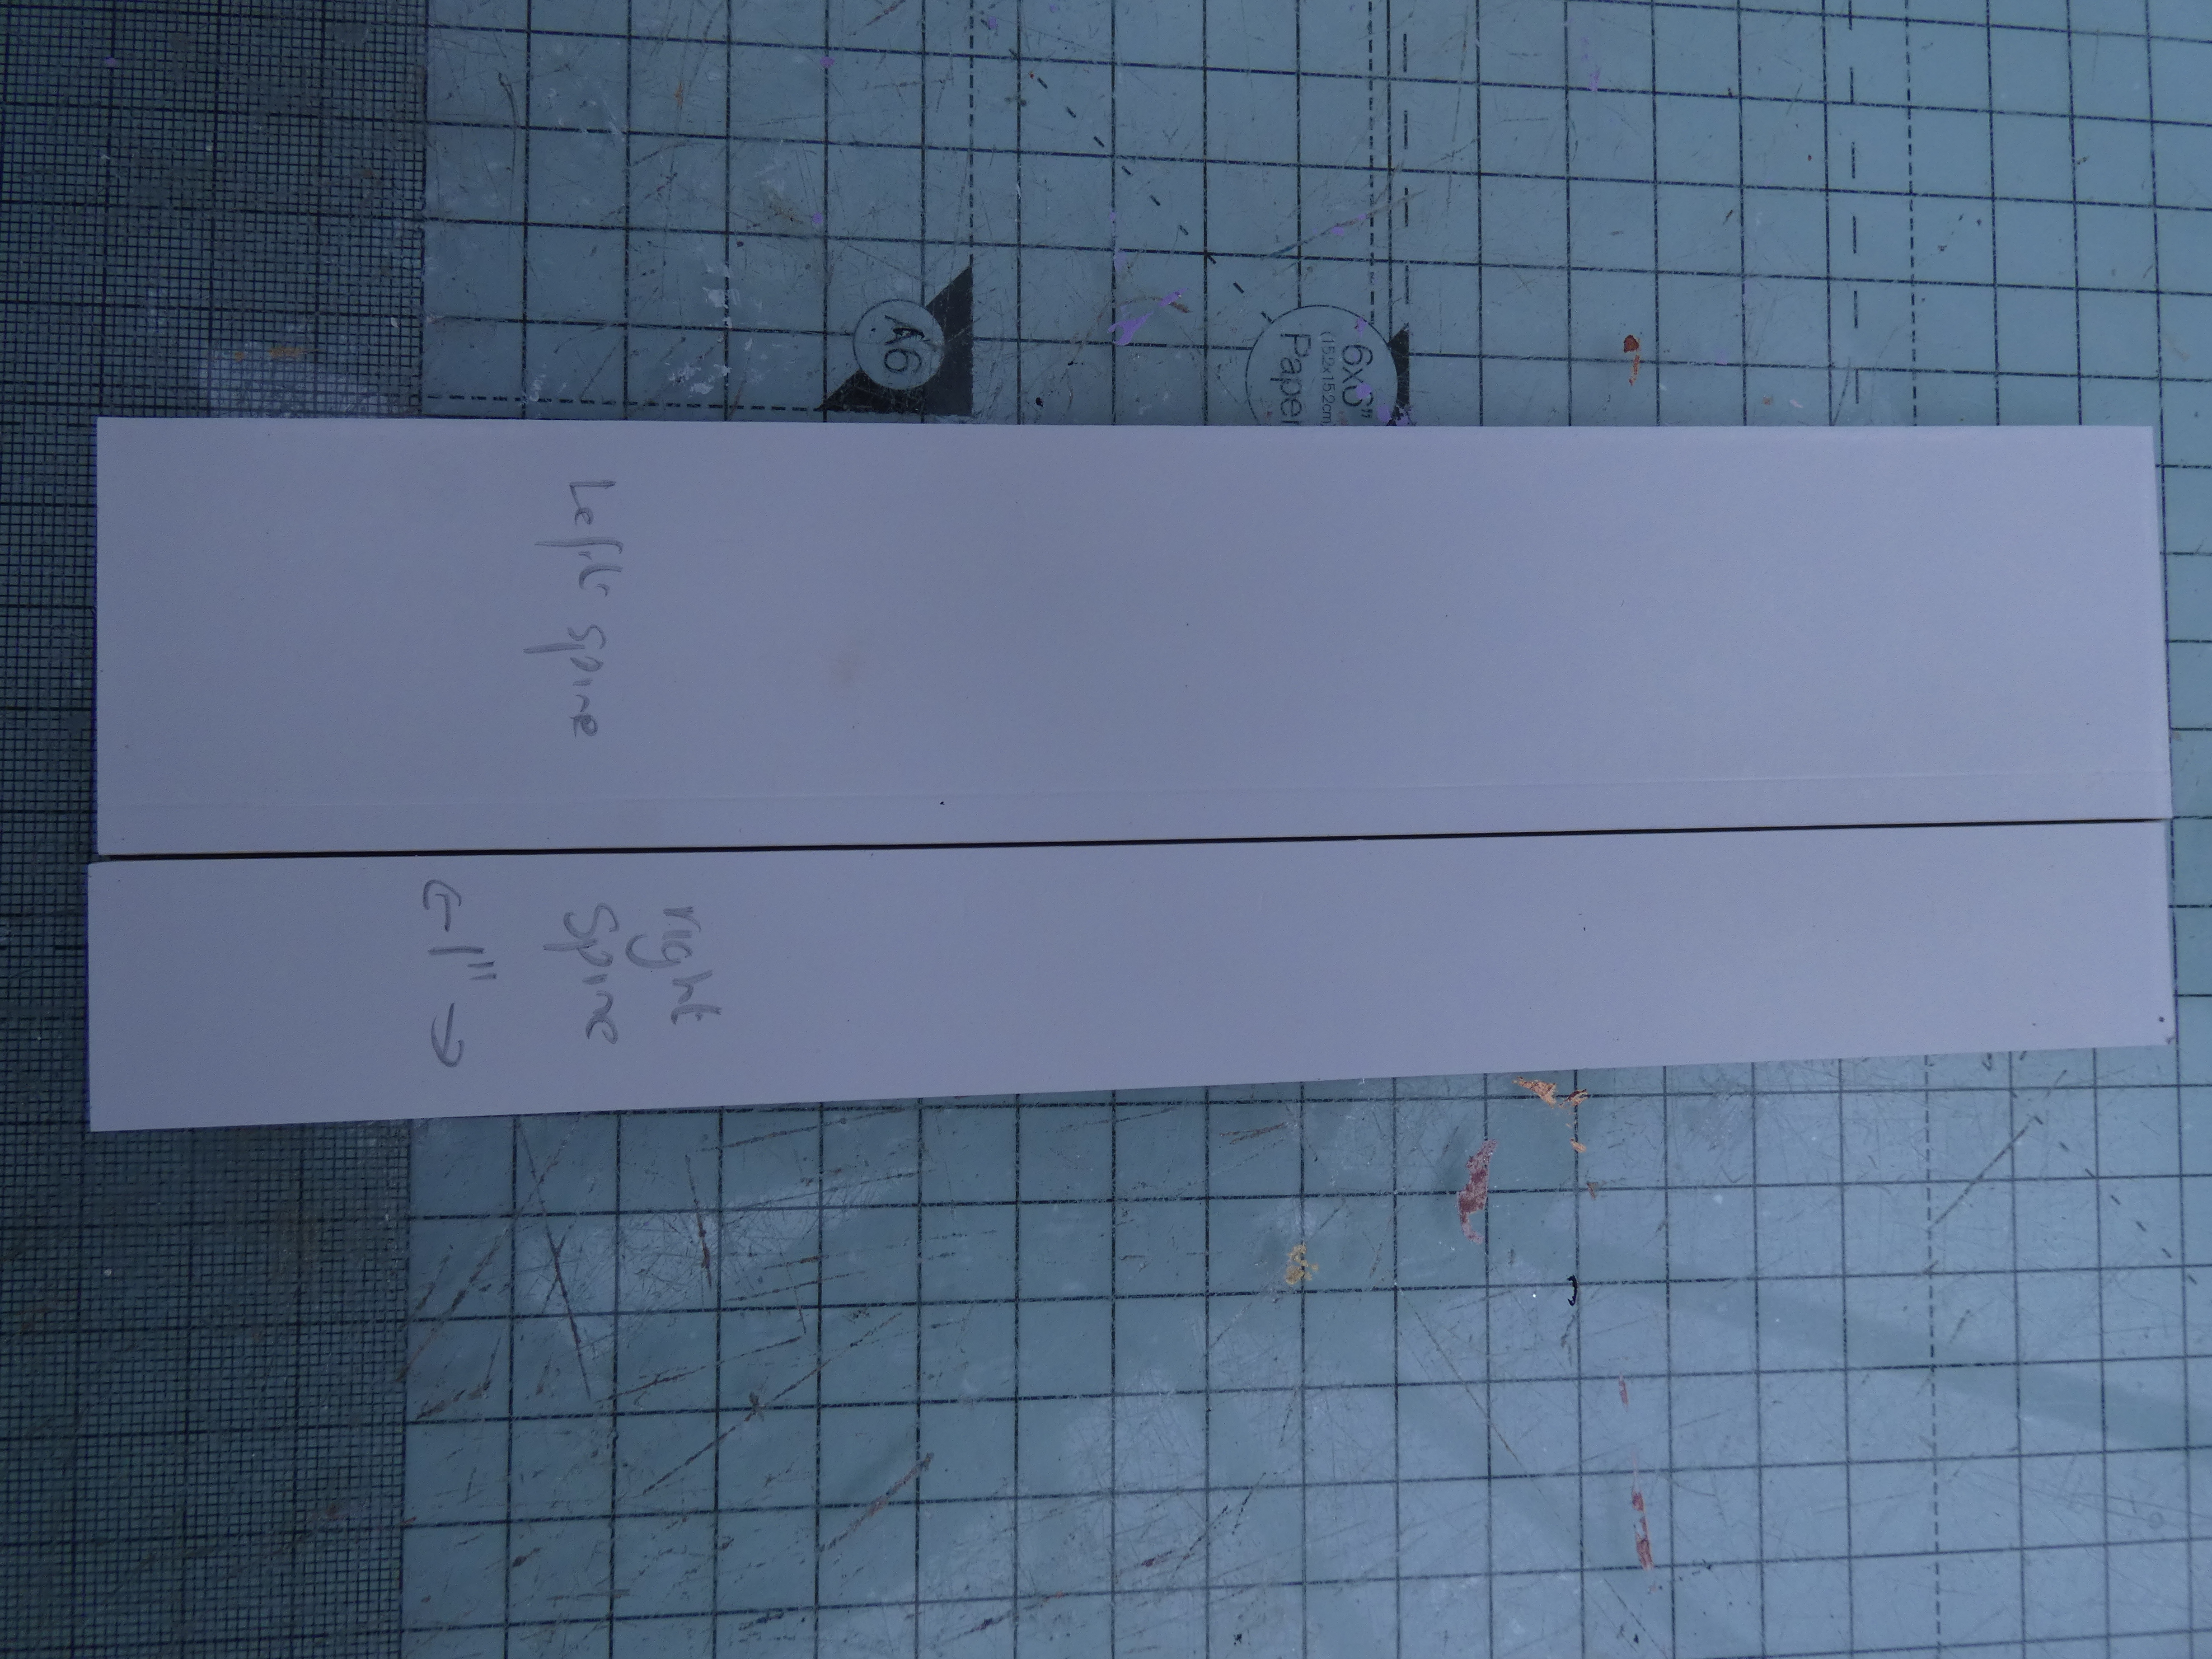
To create two spines one for each side I divided the spine piece from the kit by cutting off a 1" strip for the right side spine leaving the bigger piece for the left hand spine.
When laid out on the canvas in the kit with 1/4 spaces between the boards your piece will look like this:

I mitred the corners of the canvas then before adhering it added strips of Tyvek across the spine areas which helps reinforce the spine hinges once that is done your piece will look like the image below.

As I was creating a folio I did not need to add the page hinges instead I had three areas on the cover which I could add flips and flaps to. Through out the folio I used Vintage Photo Distress Oxide ink on all edges of paper and the cover itself.
For the left hand flap I cut a piece of white card 20.5cm by 9.5cm, one piece of card 9.5cm wide 17.5cm long and scored it at 16cm and 16.5cm before adhering the small 1cm tab to the bottom of the 20.5cm piece. I then cut another piece of white card 9.5cm by 20cm scoring it at 18cm and 19cm and then adhered then adhered the once cm flap to the top of the 20.5cm piece. The 20.5cm piece was then adhered in place on the cover. Before adding decorations I added magnets to the flaps so that they would stay closed until you want to reveal what is inside.

The outer flap was covered with paper and then added a decorative chip from the memories set, resin feather made using the Feathers mould and coloured with Rust Vintage Patina and then a word quote form the Our Way collection. I used papers from both the Our Way 12 x 12 and 8 x 8 packs for this make.

The lower flap was simply matted with paper from the collection.

Inside the flaps are 10 waterfall flaps made from white card 8cm wide by 9cm tall scored at 8cm to give a 1cm flap to adhere in place. Each flap was then covered on both sides with elements from the paper collections.
To make the flaps for the central panel I cut a base piece of card 12cm by 20.5cm and to the right had side added another piece of card cut to 20.5cm tall by 13cm scored at 1cm and 0.5cm adhering the 1cm flap behind the cetral panel. For the right had accordion flaps I added a piece of white card 20.5cm high by 14cm wide with a score at 12cm and 13cm and then adhered this in place to the central panel. I then added a piece of card 20.5cm high by 25cm cm wide scored at 12cm and 24cm leaving a 1cm flap to adhere to the free edge of the previous panel.

These panels were then decorated with more elements from the collection adding in more flaps using the square toppers in the 12" paper pad and scoring them at 10cm so that flaps were created for adhering in place behind the decorative papers. The flaps were then decorated with co ordinating ephemera and paper elements.

The opened out flap to the left should look like the photo above

The single flap to the right has a belly band into which an element from the 12" papers was tucked with ephemera and a word icon form the papers used to decorate. When opened this flap reveals that the central panel has two pockets 10.5cm high and 8.5cm high into which more paper pieces have been added. Teh pocket was then decorated with ephemera pieces. The other panel has another belly band with ephemera and a word panel.

When the left hand flaps are opened to the right you will see two extra places to put photos and ephemera - one has a flap and the other two more pockets as shown.

For the smallest panel to the right as you look at the album I cut white card 20.5cm high by 6cm wide and then added a flap to the right with card cut 20.5cm by 6.5cm scored at 5 and 5.5cm leaving the 1cm flap to adhere behind the first piece of card which was then adhered in place on the cover. The panels of this piece were matted with papers from the collection along with ephemera. When opened the flap reveals another resin feather and more decorative chips.


For the outside of the album I added paper to the front cover - for the larger panel I adhered a piece of ribbon in place before adding the paper taking the ribbon around the back of the album and round to the smaller right had spine area where it was secured with fussy cut elements form the papers. On the back of the album I added torn strips of paper and one of the larger square toppers from the 12" collection. The flaps were then layered with ephemera, decorative chips and resin pieces.

I do hope you have enjoyed reading how I made a canvas journal into a folio and have a go at making something similar.


0 comments
Thank you for taking the time to leave a comment on our blog, we really appreciate it.
Note: only a member of this blog may post a comment.