
Window Box by Rachel Harries
11:00

I start by using gesso around the edges of the back plate and covering the base plate of the Upright.

I then adhere the paper to the back plate, then sand and ink the edges to give a nice finish.


I stamped on the base, coloured and inked the edges.


I glued the upright together.

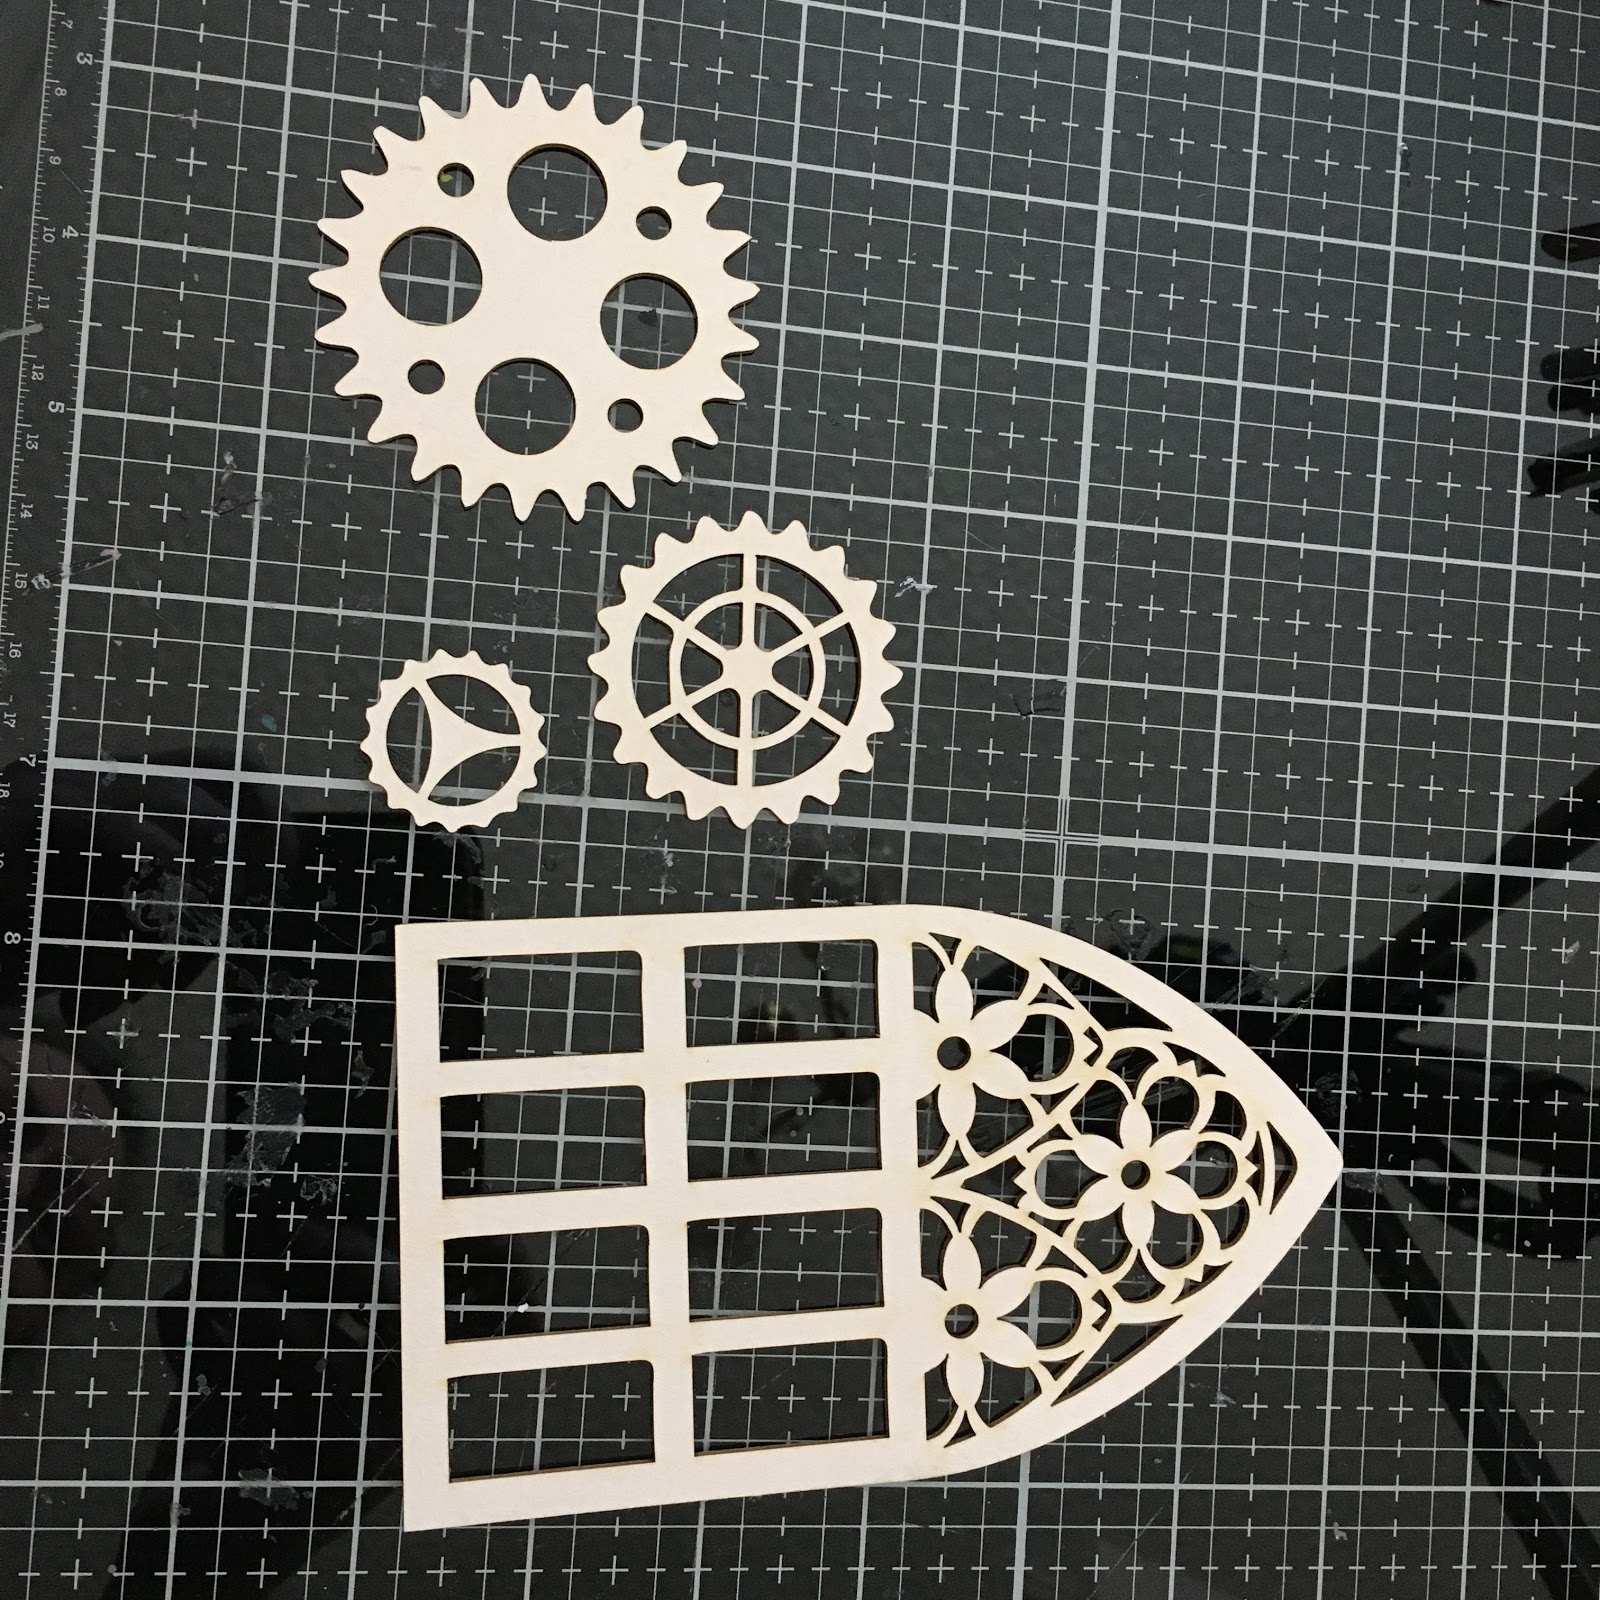
I then added a little Sand Texture Paste to a few places on the window and cogs.

I assembled the cogs in a way that was pleasing to me adding some extra pieces.

I took a small piece of greyboard and moistened it with a water spray before running through a woodgrain embossing folder.

I then popped the pieces in my spraying box and used Ayeeda Mist in Pastel Blue and Patina Bronze for my first layer.


I Dry brushed a little white gesso on the window box element and added some touches of a rusty coloured paint on all the pieces and started to assemble.

I stamped, coloured and fussy cut some of the flowers.

I added the flowers to my piece and then stamped on the upper part of the upright just to give a little more balance to the overall look.

and that's my window box.


2 comments
Love it! And a fabulous rust technique
ReplyDeleteLove
Amanda x
Absolutely gorgeous Rachel. The embellishing is just so beautiful and love the look of the window and cogs. A perfect piece of home decor.
ReplyDeleteFliss xx
Thank you for taking the time to leave a comment on our blog, we really appreciate it.
Note: only a member of this blog may post a comment.