
Bunny Book by Liz Wheeler
11:00Happy Monday lovely That's Crafty Creatives. Today's project is all about the Bunny!

For this project I have made a little notebook with a fun little woodland scene.
I started by cutting 2 pieces of mountboard 5x3 inches and 1 piece 5x 3/4 inches. Then with a piece of A4 paper I drew a horizontal and vertical line the width of my ruler. I added That's Crafty! Multi Purpose Adhesive to the back of one of the larger pieces and lining it up with the drawn lines I stuck it to the A4 paper. I measured a space of 1/8th of an inch then added the thin piece of mountboard - again using the Multi Purpose Adhesive, then measured another gap of 1/8th of an inch, then finally adding the last large piece of mountboard.
I scored along the sides of the mountboard and folded the paper inwards, then cut each corner off the paper.


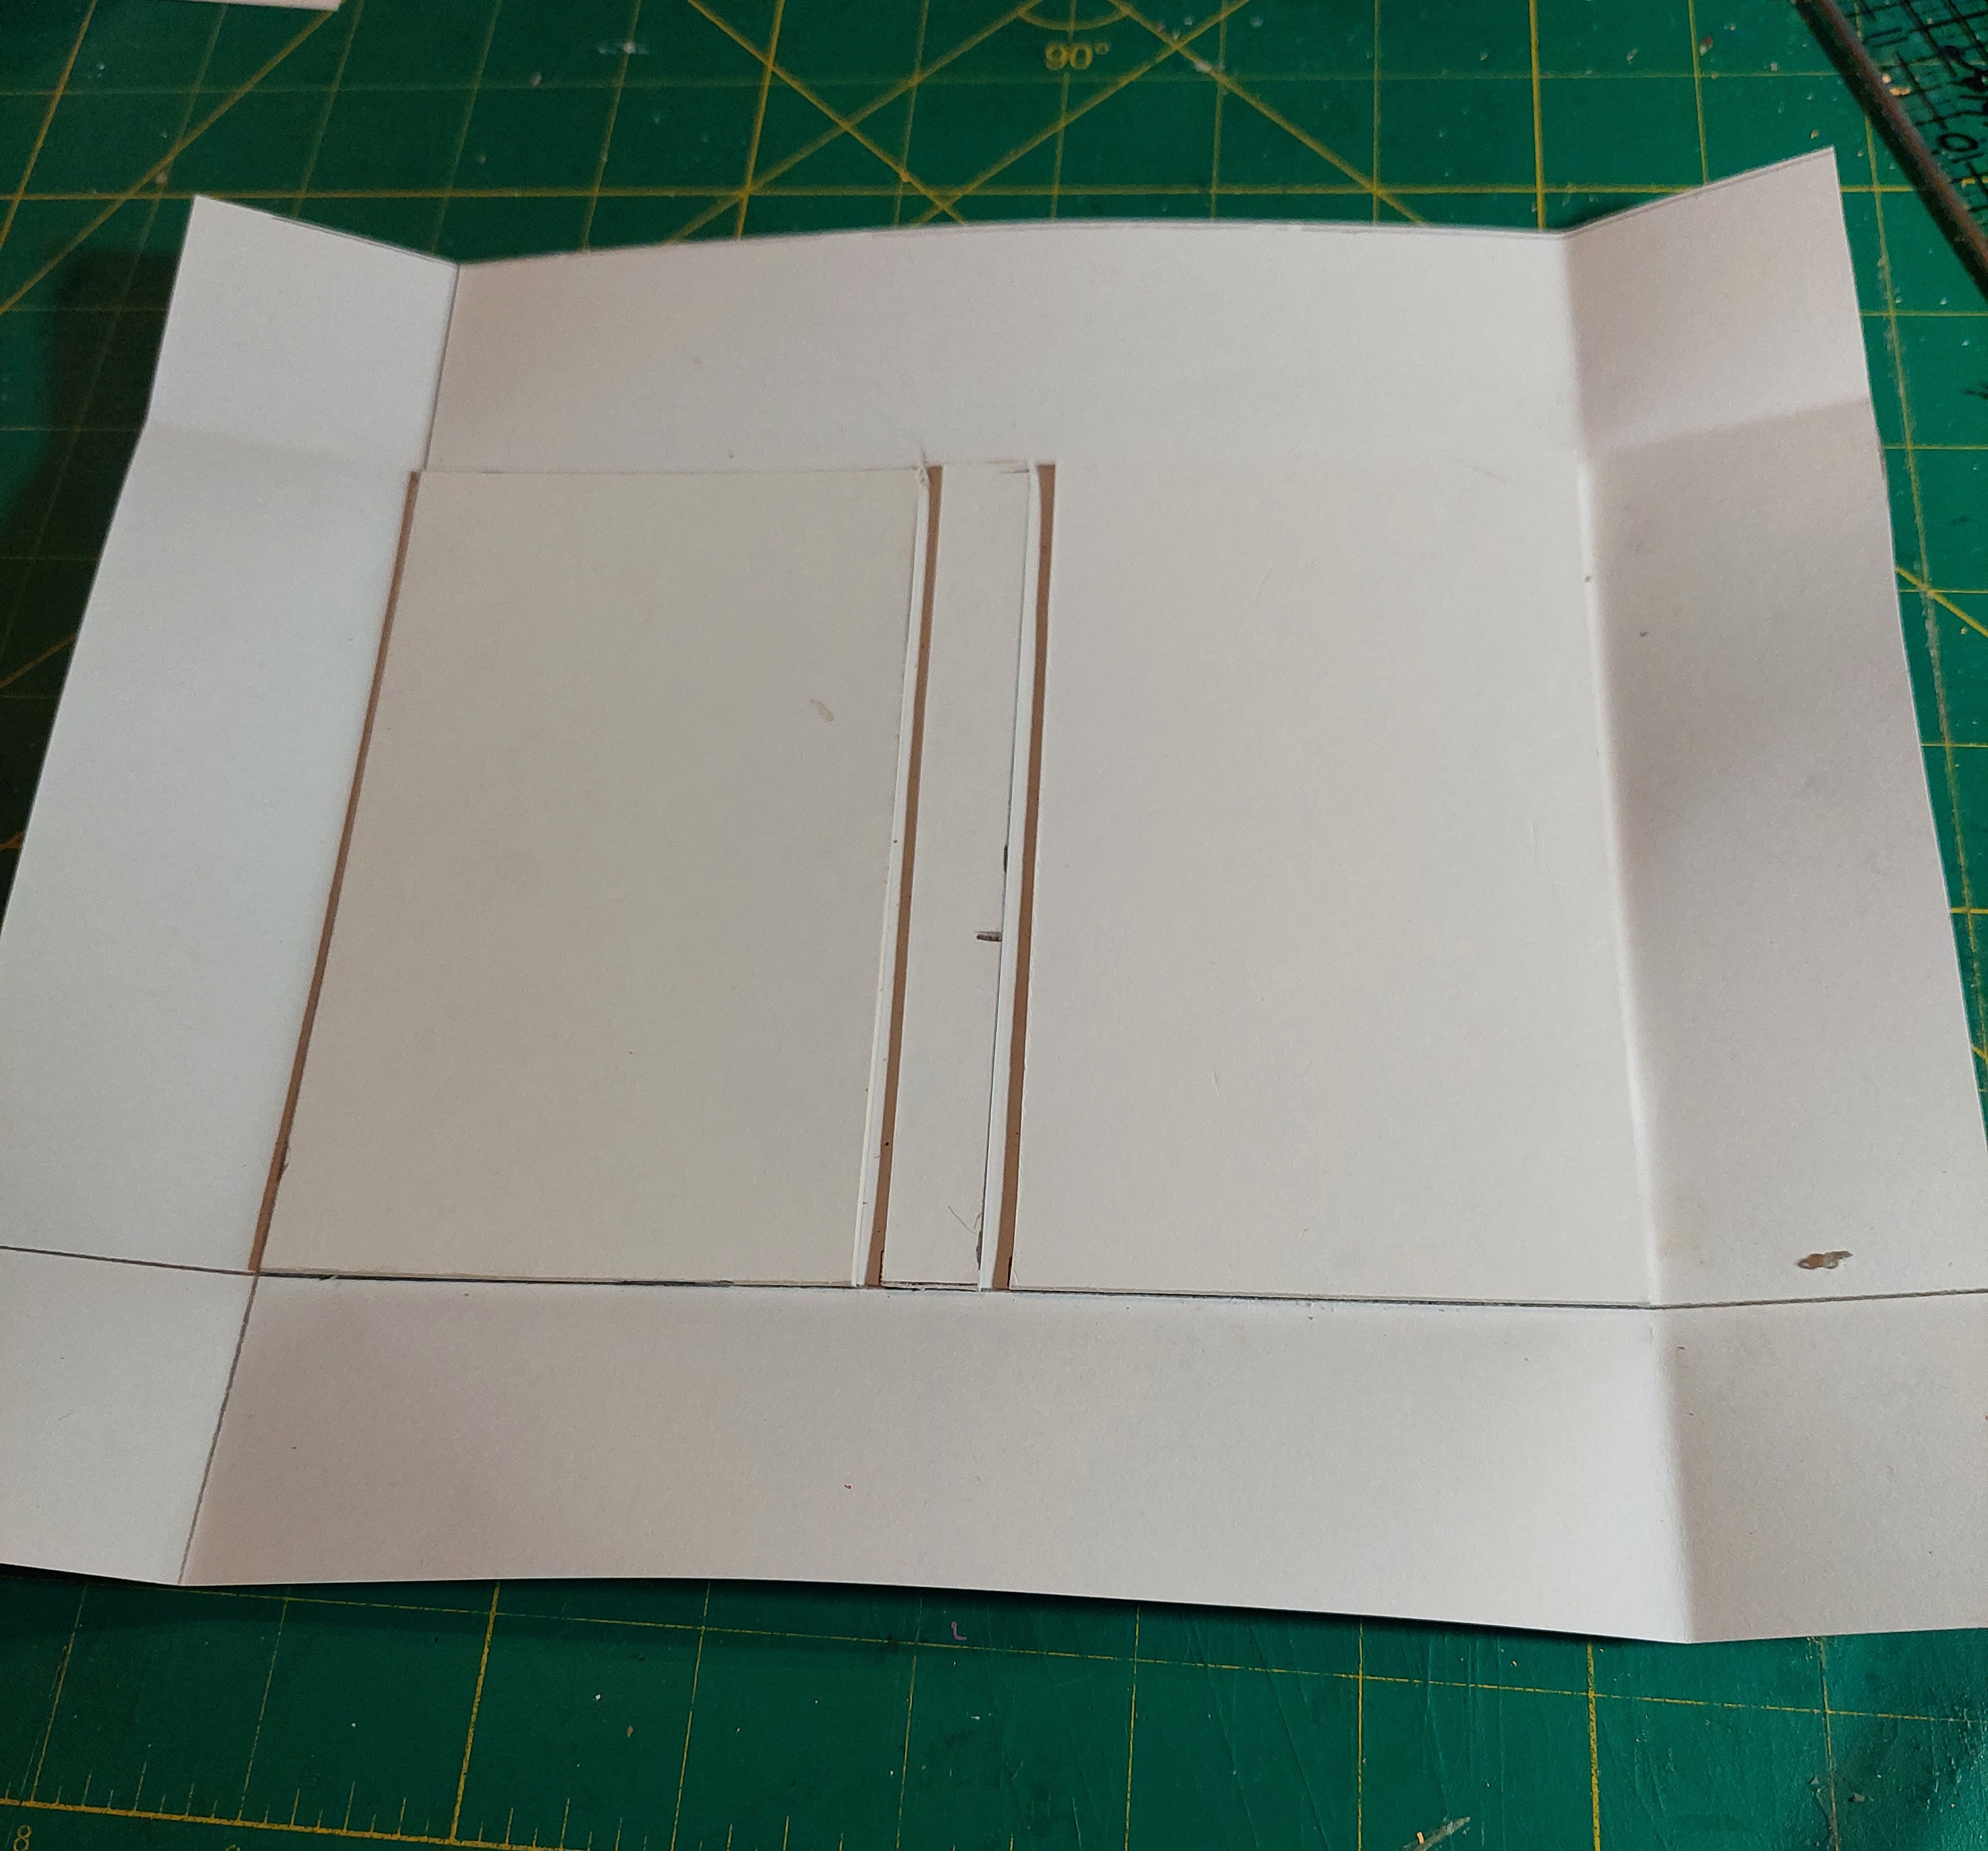

I added glue to the sides of the paper then stuck all sides down. For the inside of the book cover I traced around the outline of the cover onto another piece of A4 paper then cut approximately 1/4 inch off one long and one short side. This was then stuck to the inside cover.


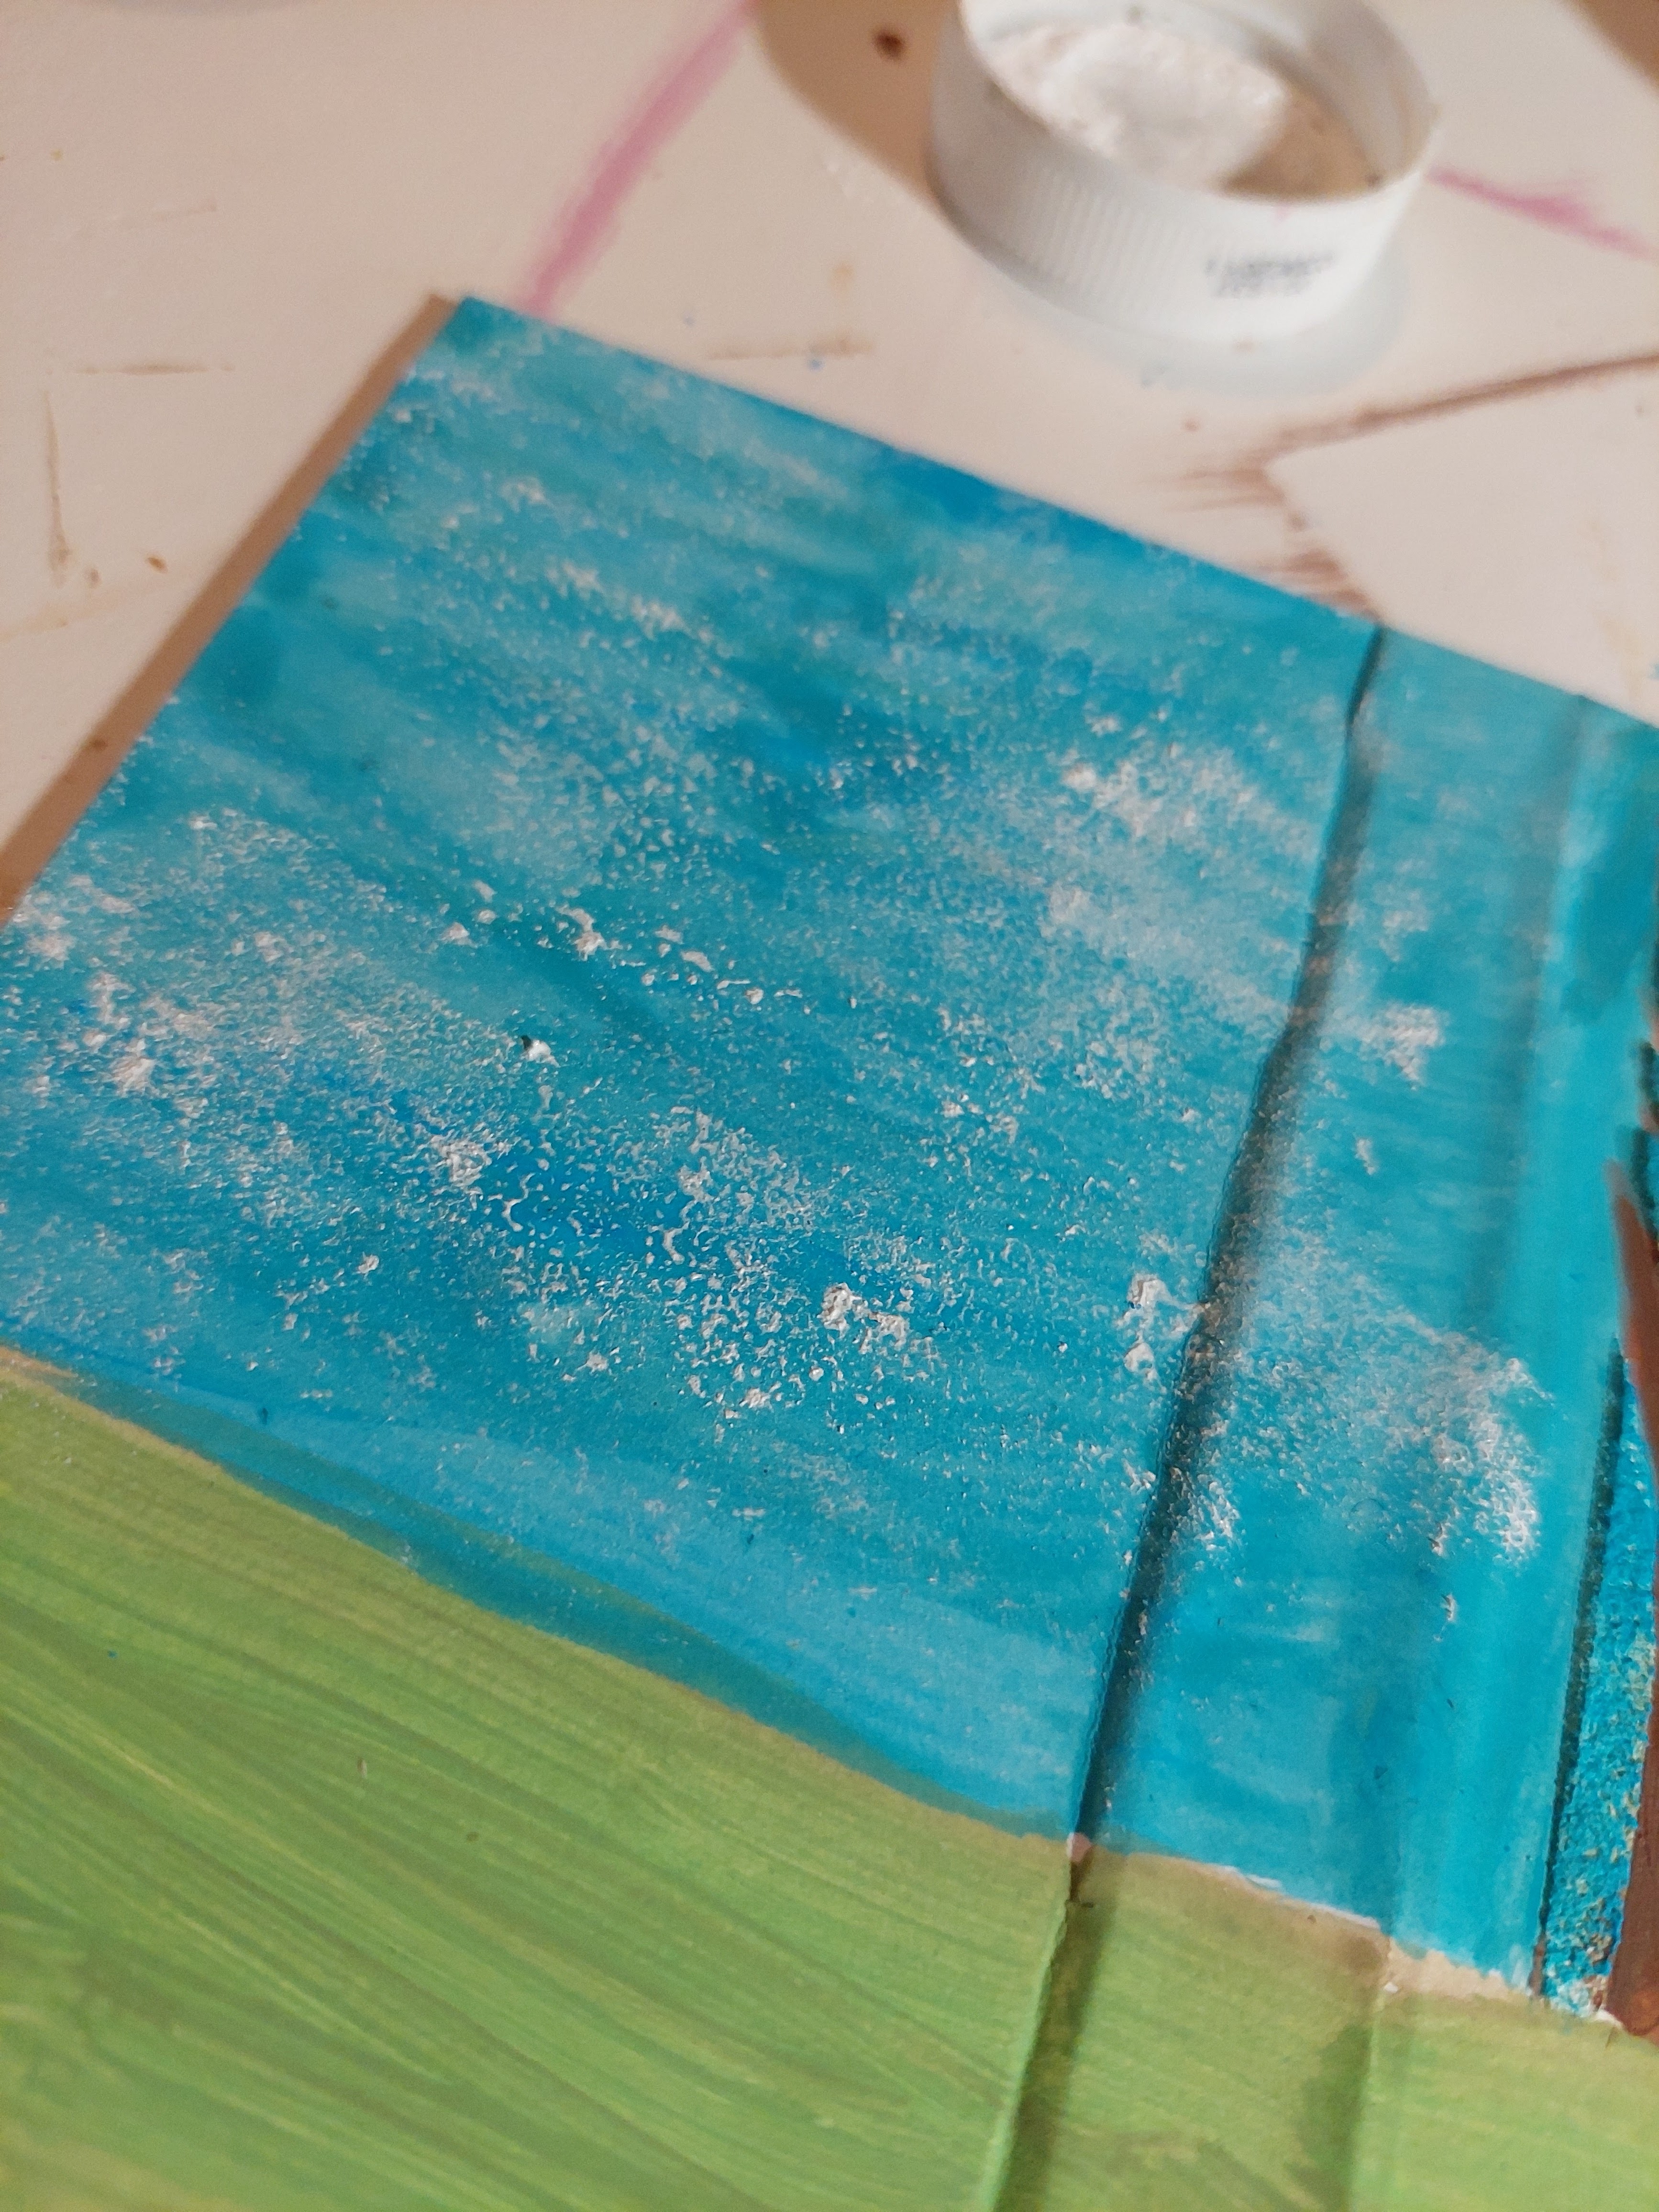
Once dry I painted with Pentart Matte Acrylic Light Blue, Leaf Green, and Light Brown. To add texture, I cut down a cheap sponge scourer and lightly sponged over the blue with Pentart Matte Acrylic White.


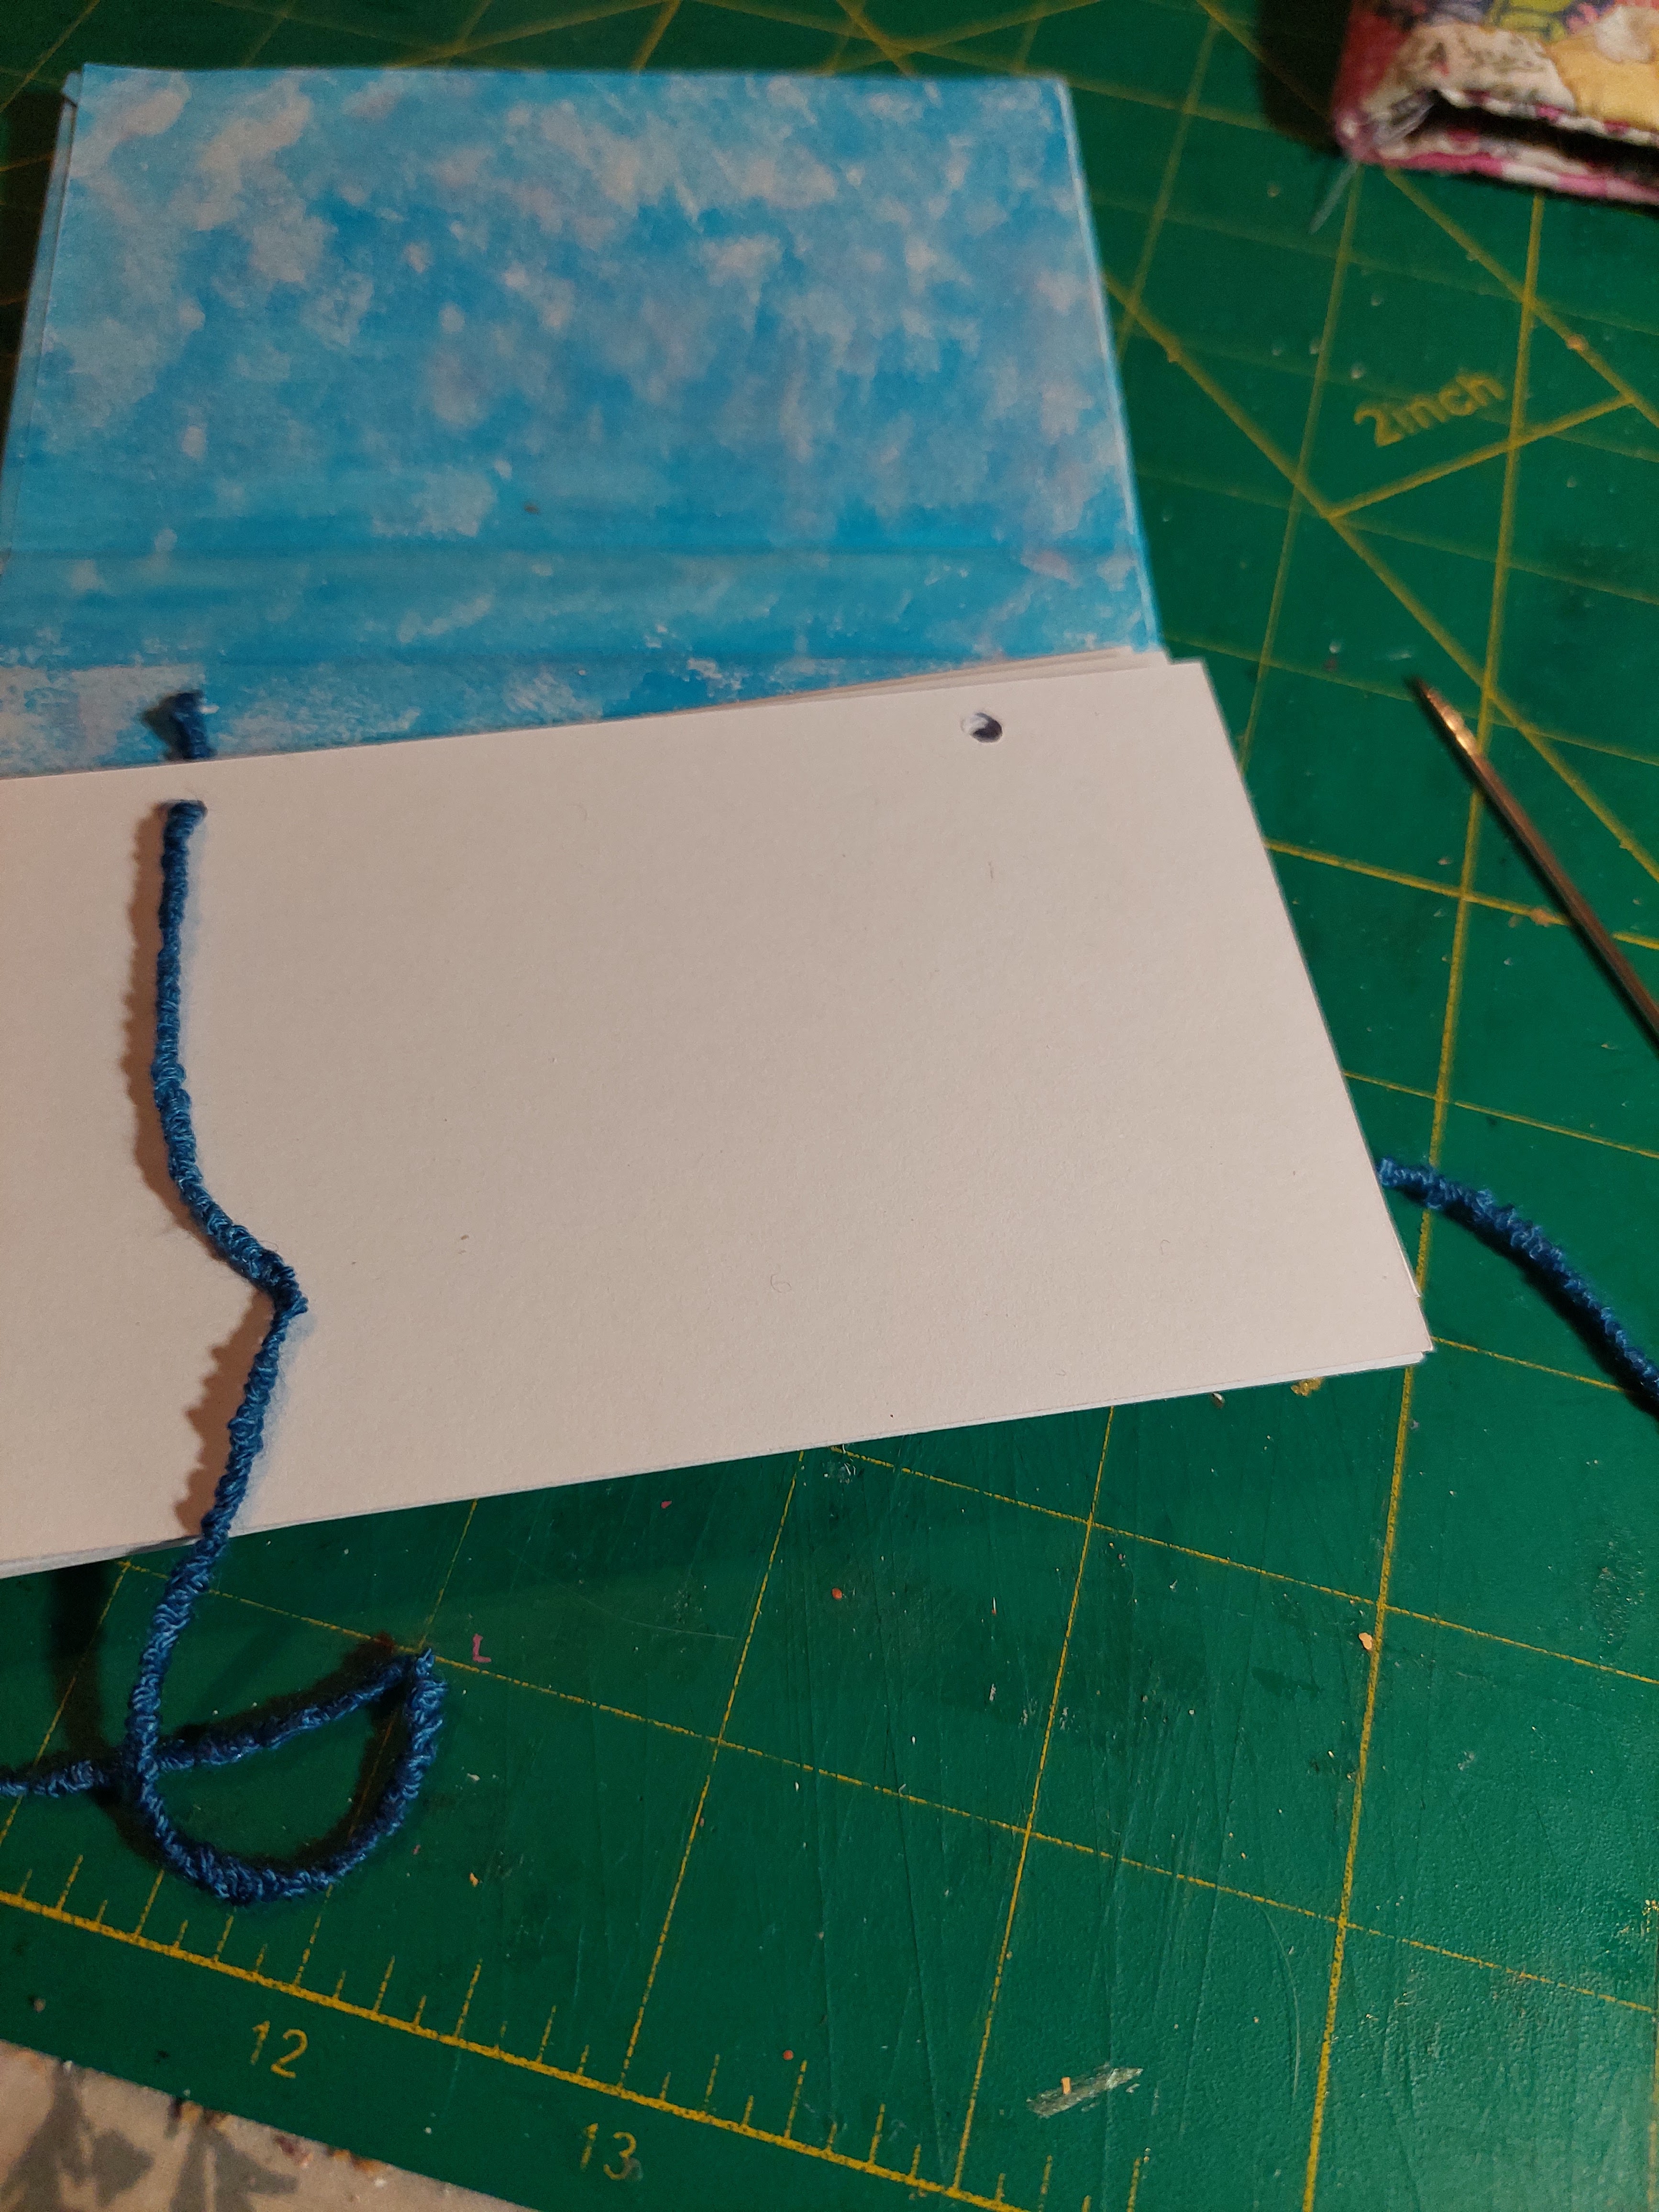
For the pages I cut 30 sheets of paper measuring 4 7/8ths x 2 7/8ths (just short of 5x3 inches). I punched holes in the sheets to match up with the cover, then cut a piece of thread approximately 16 inches long. I threaded through the top of the pages, down into the cover to the back then up through the pages again - I repeated this a second time then fastened with a bow.


To finish the front cover I cast a bunny from Stamperia's Wonderful Season Mould with Delight Air Dry Compound. Once set, I painted with the brown acrylic paint, and added lowlights with Rich Hobby Metallic Black Paint, then glued it onto the front cover with the Multi Purpose Adhesive. To add texture to the grass, I added more texture paste, let it dry then painted with the green paint.


A really lovely little book - and one where you can add more pages too just by undoing the string.
Happy Crafting!


1 comments
Liz, too cute, your bunny book and cute bunny mold is amazing, almost looks like chocolate, xx
ReplyDeleteThank you for taking the time to leave a comment on our blog, we really appreciate it.
Note: only a member of this blog may post a comment.