
Under The Sea by Rachel Harries
11:00
I'm using the mermaid mould this week, I've used resin in this one and I am not the best when it comes to resin as you need to be relatively quick and steady and I am neither of those things, it is however very forgiving and I do enjoy using it. With the mermaid I must have had an air bubble in the nose section as the poor love came out with a hole in her nose which I did a little bit of work on, I tried texture paste first but then went for a tiny ball of air dry clay which eventually gave her the nose job she deserved.
I then use a matt paint to paint her face and torso.

I then paint the rest of her and the other elements in a combination of metallic and matte paints, I also have an orange net that I add a few bits of paint to just to knock back the brightness. This is the first coat of paint so Im not worrying about it being perfect its just giving me the first coat, I'll be coming back to these pieces later to tidy up and finish off.

I then put my Upright together, using adhesive to keep it in place.

Next I add some packing noodles from a recent package, it doesn't have to be these it could be scrunched up paper or tin foil, anything that will give you some shape for a sandbank.

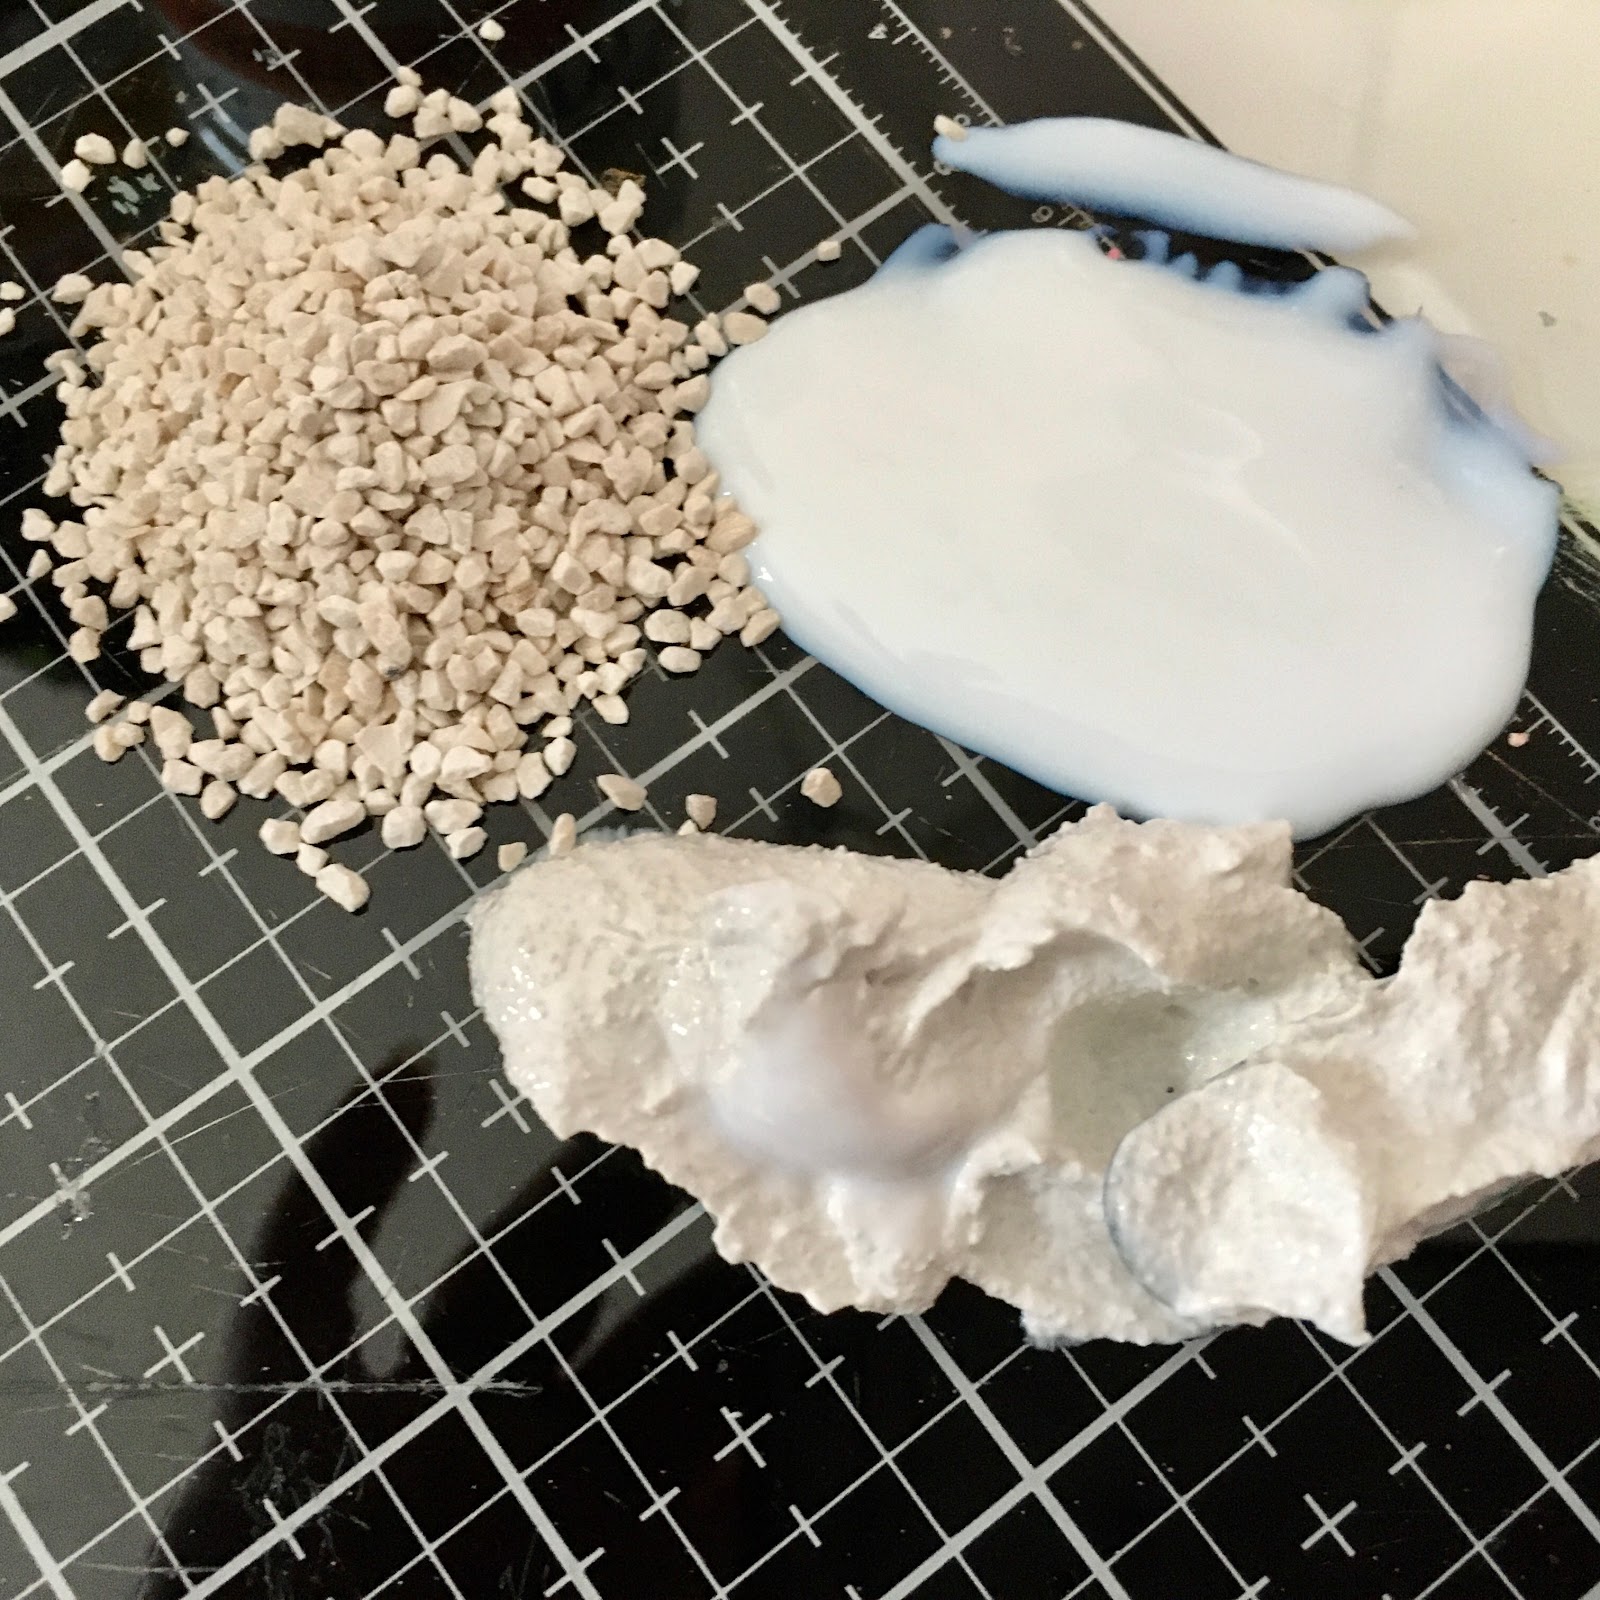
The next thing I do is make a mixture on my glass mat of Grity Bitz, Texture Sand Paste and 3D Gloss Gel Medium.

I then use this to cover the structure I made with packaging noodles and also up the sides a little.

Now this is where I had a little internal conflict as you could potentially paint your background first and add to it later but as I wanted to set some of the pieces into the wet texture paste I decided to forego the opportunity to paint the background at this stage for the sake of having firmly anchored elements.

I also added the main pieces and used clip to hold them in place until everything has dried.

I left everything overnight to thoroughly dry out and then started by painting the background in a variety of black, grey and blues that are all in the That's Crafty! Multi Surface Paint set.

Dont panic if you go over any edges it can all be put right when you do the finer detail. I then use waxes on some areas on the mermaid and the pearls I've imbedded, stars and other areas of interest.

I then use distress markers and a fine detail brush to add the finer facial detail. I also add a few confetti stars and the odd sequin just to give it a bit more magic.

I hope you like this project and that you might give it a go, stay safe.

2 comments
Wow! Rachel a stunning make, love it
ReplyDeleteLove
Amanda x
An absolutely stunning piece of artwork Rachel! You always make the most amazing 3D pieces and make me want to give moulds a try.
ReplyDeleteFliss xx
Thank you for taking the time to leave a comment on our blog, we really appreciate it.
Note: only a member of this blog may post a comment.