
Altered Glassware by Gill Humphrey
11:00
It is relatively easy to find old glassware in charity and reloved outlets and so as we approach the beginning of a new year and with the current financial situation upcycling or repurposing should be part of our crafty habits.
Before working on glassware make sure it is completely grease free - cheap hand sanitizer as it has alcohol in it will act as a suitable degreaser and is easy to come by. Let the alcohol evaporate off and wipe with a clean dry cloth any residue form gel forms then apply 2 coats of Bonding Primer. It is best applied with a sponge and in two thin layers allowing the layers to dry thoroughly before proceeding with the second one. Now you have a surface that will sustainably hold other mediums (Gesso does not give the same durability).
Choose a suitable design to add to your glass ware at this stage - I use rice papers and for the Poinsettia vase above I used 2 sheets of A3 Winter Tales White Poinsettia paper and fussy cut out the elements I wanted to use.
For the second piece I used 2 A4 sheets of Romantic Birds rice paper - re orientating the directions of the foliage to form borders at the top and bottom. Instead of fussy cutting out the elements I used a waterbrush to allow me to pull out the required elements.
Having decided on the placement I then adhered the images in place using Decoupage Glue Matte - I knew I was going to seal my finished project with varnish but I would suggest if you are going to miss that step you use the Decoupage Glue - Ceramic and heat set in the oven to give a washable surface. Both of these glues act as both a glue and sealer so make sure you add a layer on top of your rice paper images to seal them in place properly and protect the surface for the next steps.

The reason I fussy cut the poinsettia out of the rice papers was because I wanted to create a very different background to the one on the rice papers. - I painted carefully the remaining areas covered with bonding primer with Baby Blue Allegro paint and let it dry. I then added stencil details with Blue Aviation Allegro paint through a swirly stencil. Given the curved nature of my vase you will definitely find adding the stencil detail easy if you have a soft flexible stencil rather than one made of mylar but the stencil most like the one I used You and Me Texture which is mylar will work if you use it in small sections and hold it down carefully. To link the papers to the base I then added lots of splatters with watered down White Allegro paint. Finally I added two coats of Glossy Varnish. If you want a completely smooth glass like finish you will need to do multiple layers of varnish sanding in between each layer after the second one so you build up a thick layer and build up depth to cover the surface variation caused by the layers of paper and paint.

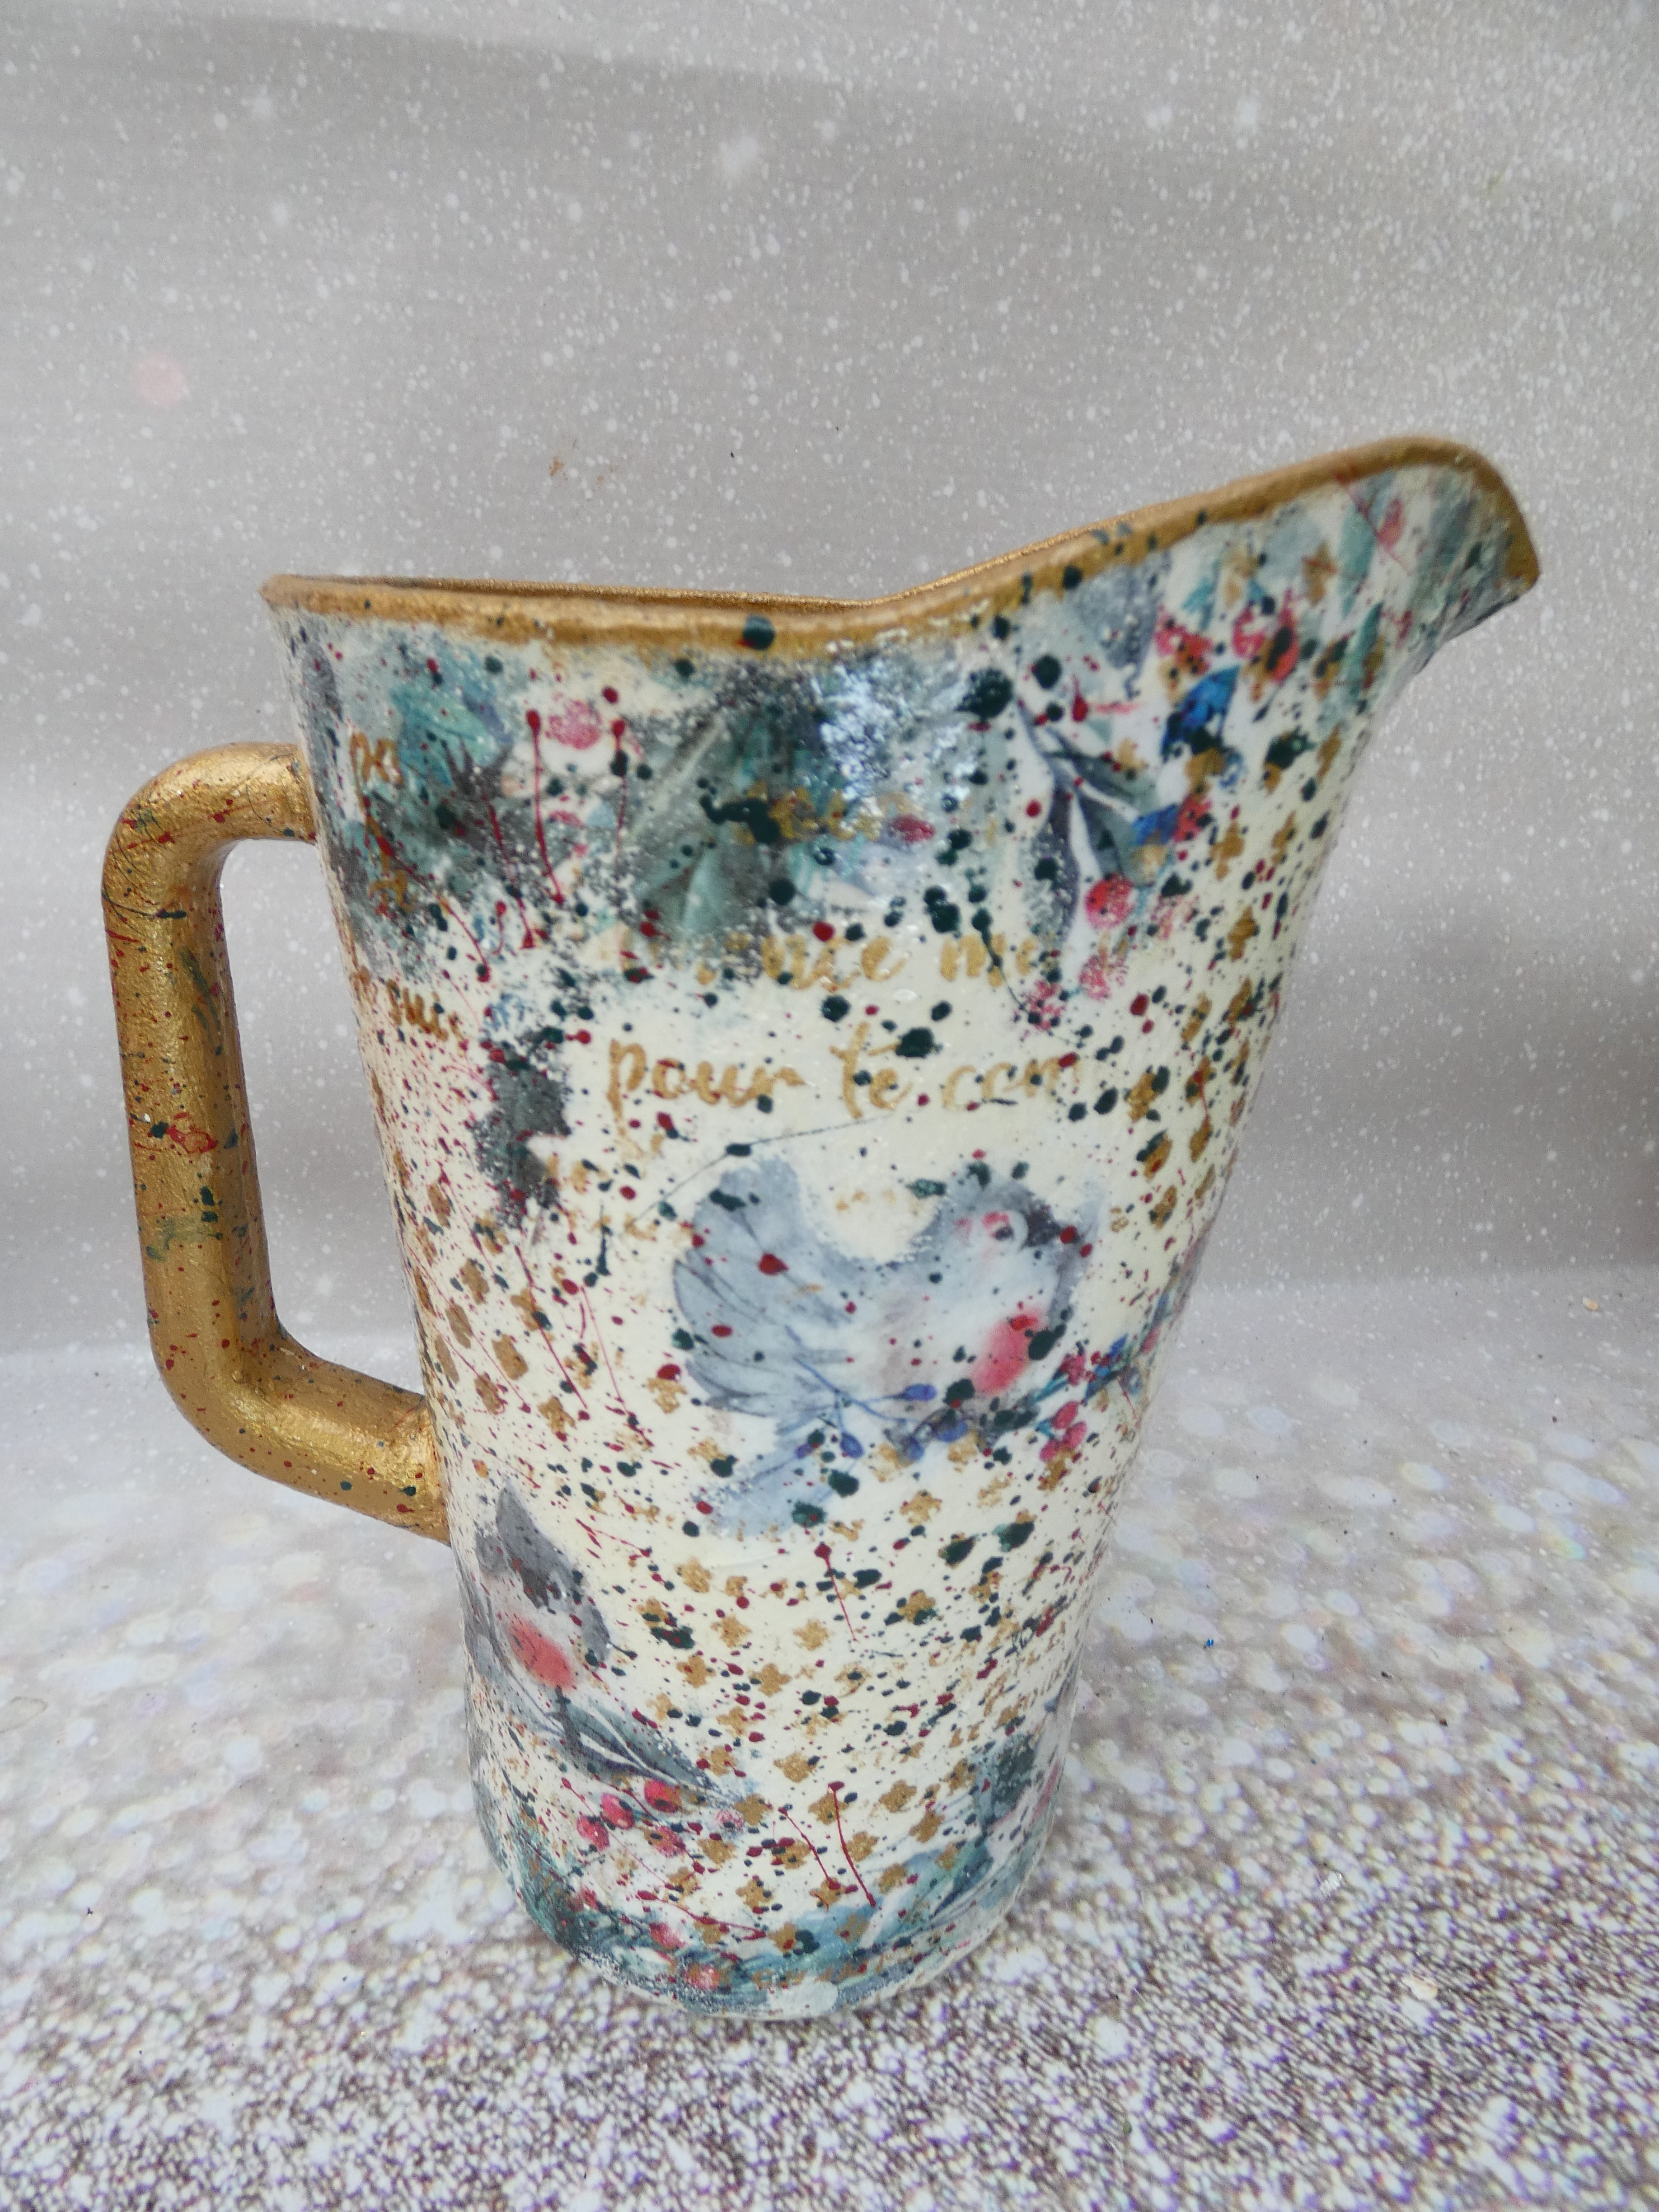
For the jug I used a different approach to build my layers and disguise the transitions of the torn rice papers. I applied Ivory Allegro paint using a dauber - having loaded the dauber I started in the blank areas and as the amount of paint reduced gradually took this over the rice paper edges. Once the paint had dried I then added Super Gold Allegro paint through parts of the Flowers and Frames stencil and again let it dry. This time instead of using white for my splatters I chose colours that were in the rice paper - Petroleum Green and Coral Red for my splatters. I then chose to edge the top of the jug and paint the handle with the gold paint for contrast before varnishing as before.


I hope you find the tips here for upcycling and blending rice paper edges helpful and as this is my last post before Christmas wish you all a safe and happy time spent with those you hold dear and look forward to seeing you all virtually in the New Year.


0 comments
Thank you for taking the time to leave a comment on our blog, we really appreciate it.
Note: only a member of this blog may post a comment.