Hi!
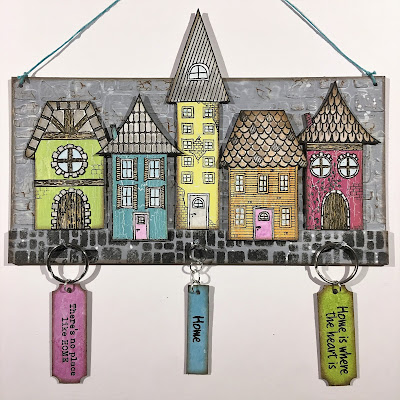
It´s Melina here today sharing a key hanger I made using the new House Collection stamp set
and the matching white/greyboard sheet.
Here´s what I did:
I give the white/greyboard houses a coat of That´s Crafty! White Gesso.
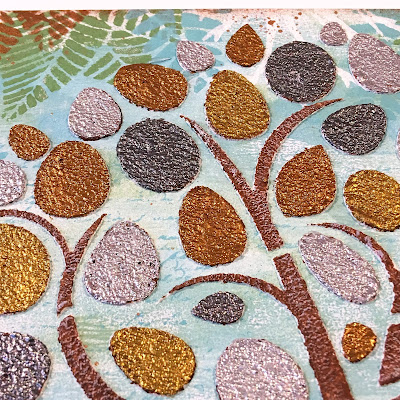
I apply That´s Crafty! Texture Paste through TC7024 stencil on a 9x4,5" white/greyboard panel.
I cut a piece from another panel and adhere at the bottom of my main panel to make the bottom part thicker.
I give the panel a coat of white gesso and make two holes in the top corners.
I give the houses a coat of That´s Crafty! Crackle Glaze. When dry I apply That´s Crafty! Multi Surface Paints Teal, Lime, Magenta and Orange and wait for the cracks to appear.
I use the house stamps and stamp once directly on the house shapes and once on a piece of watercolour paper. I use watercolour pencils to colour the houses on the paper, and then I cut out bits and pieces and adhere to the house shapes using That´s Crafty! Multi Purpose Craft Adhesive.
I blend white and black gesso to create a grey colour for the background, and also use the crackle stamp from That´s Crafty! Textures Stamp Set 2 to grunge it up a little.
I use Dinky Stencil TC111 and black gesso to add some patterns to the "road" at the bottom.
For this house I cut out the stamped roof, windows and door and glued to the white/greyboard piece.
Now it is time to assemble my piece. I glue my houses down, two in front of the other three.
I make some holes with an awl, put some glue on the nails and push them in place.
I use the rectangle white/greyboard pieces from the House Collection sheet, make holes in them, paint them and turn them into key-rings. The middle one is made from a piece of "waste" white/greyboard from the same sheet. I stamp the quotes from the House Collection stamp set.
Done!
Hope you like these new houses and the little village I created using them :)
Thank you so much for stopping by today!
xx Melina
Products used:
That´s Crafty! Stencil TC7024 (coming soon!)
That's Crafty! Dinky Stencil TC111 (coming soon!)


