Today sees the launch of fantastic new stamps from Blue Woods Design. There are 4 new sets to add to the very popular Alexa's Faces series and they are ready to order today!
This week, I am playing with a lighter colour palette and had fun with That's Crafty! Pearl Inks, the more I work with them, the more they work for me.
On this collage I used them to create splatters, create a wash onto cotton rag paper, a stippled effect onto re-cycled tissue paper and for mark making.
Instructions
Apply Gesso to MDF panel, tissue paper and cotton rag paper.
Now for the Pearl Ink! Gathering scraps of handmade paper and the cotton rag paper, the Pearl Ink, mister bottle with water and paintbrushes.
First, creating fine splatters onto two pieces of cotton rag.
Onto another piece of cotton rag, first mist with water before creating a wash of Silver Pearl Ink. For the tissue paper, apply the Pearl Ink with a scrunched up piece of cloth.
On the handmade paper scraps, create marks with the Pearl Ink.
With those elements beside me, the assembling begins, aiming for balance with the composition.
With the light colours, the word "Hope" connected with me, from the fabulous ATCoin Set 11. Stamped onto scrap of cotton rag, inking edges with Watering Can ink, layering onto scrap of sari ribbon stained with Lustre Aubergine.
Working upwards, another scrap of this, layered with a rusted washer, encased within a circle of eco dyed cotton covered copper wire, all layered onto a piece of handmade paper with the mark makings on it.
Further elements at the upper side of the collage, another strip of mark makings on handmade paper. Layers of scrap calico and the prepared papers, topped with dried blossom and twig.
Although there are several elements on this collage, a lightness remains and the shimmer from the Pearl Inks.
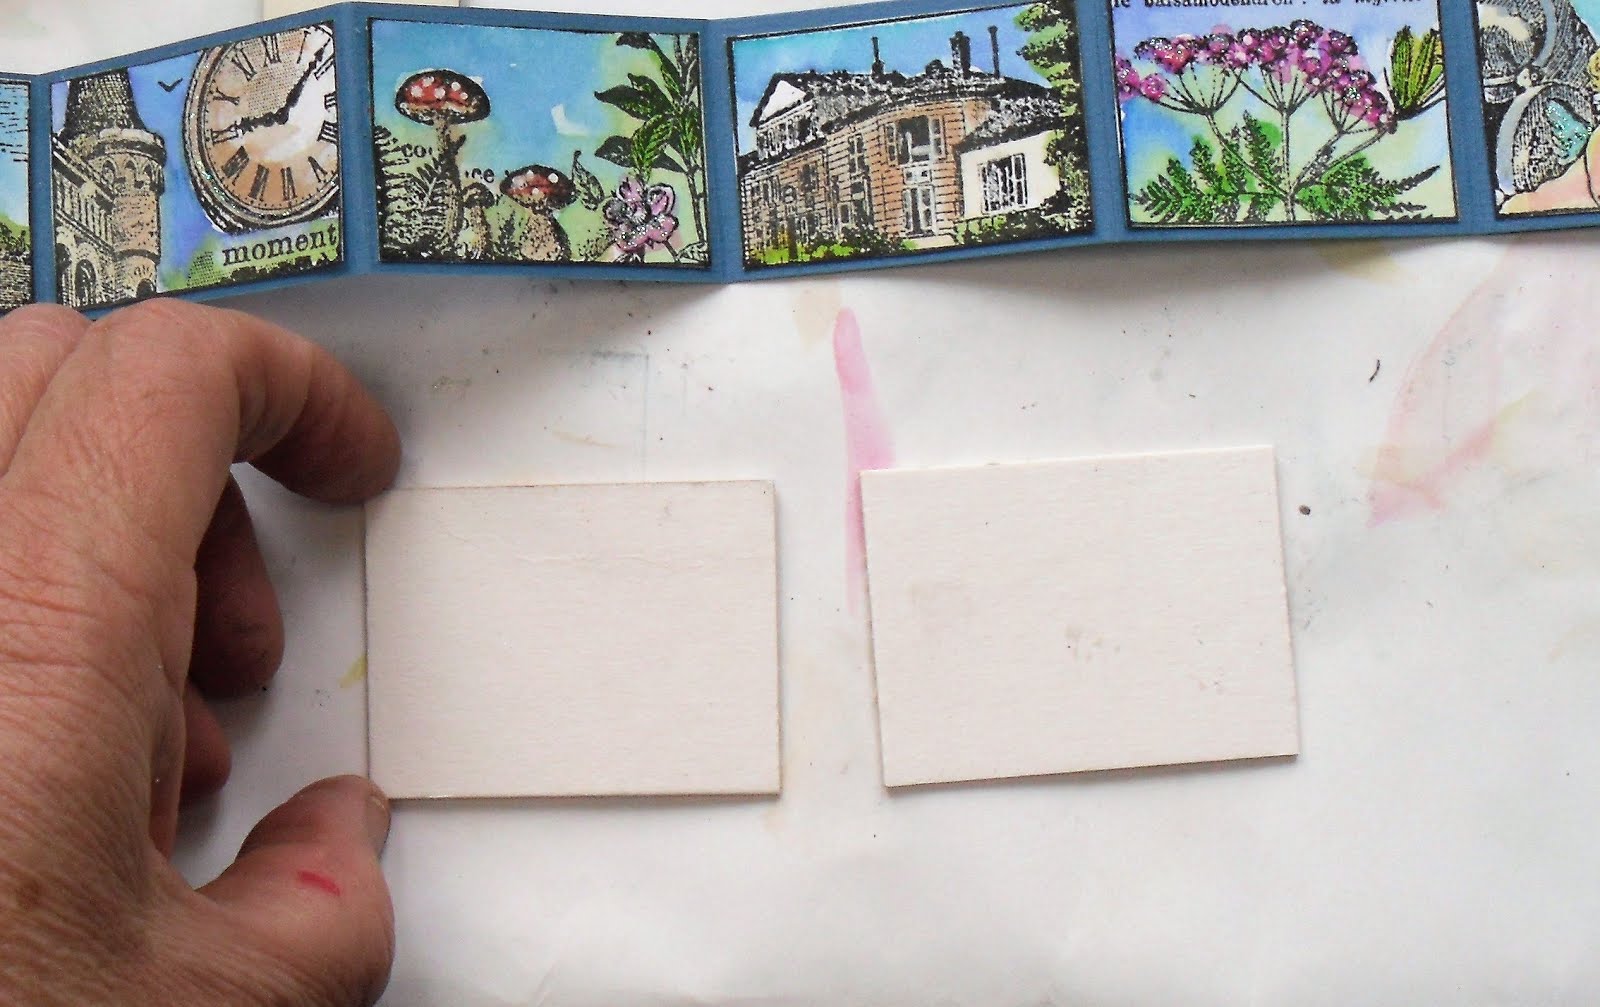
In this post I'm making a mini book using one of the new Carabelle Studio border stamps:
Stamp the whole set of images and colour with Distress inkpads:
Layer onto concertina folded card
Cut out two covers from mountboard:
Then cover these and the smaller MDF dominoes with some paper scraps - I used 13Arts papers:
Stick the cover down:
Put tape on the edges of the MDF domino leaving a channel for the ribbon:
Stick onto cover:
Repeat on back cover allowing enough ribbon to run all the way along the back. This can then be pulled tight to close the book. Stencil the text on the front cover in black texture paste.
I hope you caught the shows on Monday which featured the launch of some new and gorgeous background stamps doodled by Melina. I just know I'll be inking these up a lot as they're so versatile as you'll see over the coming weeks.
What I Did:
A the block pieces are made from MDF, I decided against stamping directly on them although you could if you wanted to, especially if you're using paint as the first layer. I chose to use flat matte sprays so felt it best to cut some squares of thick cartridge paper slightly smaller than the finished block size which in my case is 3 x 3 inches.
I used the stamps from Just Doodlin' Set 2 on my block and stamped the harlequins and climbing circle images side by side on 2 squares using black ink which I then heat embossed. I repeated this with 2 further squares using the spiral squares stamp which happily fit perfectly. The remaining square for the top using the climbing circle image again, stamped first in the centre, then on either side to give a complete pattern on the square.
I then got to work with some ink sprays, using lilac flat matte spray on the squares stamp pieces, grass green and saffron on the top piece and bluebell and tomato on the remaining side pieces. Some of the colour was a little strong, so I misted on some water and blotted the pieces with a paper towel until I was happy with the effect.
I assembled the box using my go to glue, That's Crafty! Multi Purpose Adhesive, which is perfect for gluing MDF surfaces together. I painted the box around the edges with metallic black multi surface paint then glued the papers on with the same adhesive.
I had a stamped butterfly in my bits box in shades of red and blue so I brushed it with Holographic Gel Medium and glued it on top (the bling doesn't really show up in the photo but it is there! I stamped the dream text twice on ink spray scraps and cut them out into word tiles then glued them on the lilac sides to finish.
It may seem like a lot to do but it's really simple so hope you'll give it a go.
If you missed the shows and would like some inspiration, you can watch them on rewind. Really worth it to see the lovely Jo Channon playing with the new stamps and stencils.
I've been trying to reorganise my art space recently to make it more lets say 'user friendly' and in doing so I came across my distress spray stains that I haven't used in such long time. So todays project sees me using some of them to create a textured stencilled art panel which has a warm earthy grungy feel.
I worked on a 6x6 panel of heavy white card stock. It needed to be heavy so it would stand up to the wetness of the ink sprays and water I intended to use. Alternative substrates you could use would be either mixed media paper or watercolour paper both of which That's Crafty! carry and can be found here and here
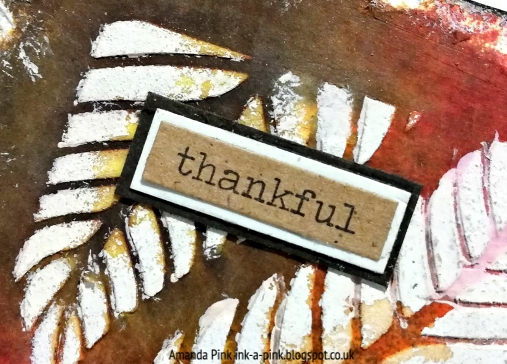
To create the textured leaves I applied texture paste through That's Crafty's 6x6 stencil: Leaves. This is such a fabulous design that can be used either in full as I have here or in part by using only sections of it; be a single leaf or a cluster of leaves.
Once the paste was thoroughly dry I added colour by spritzing the textured panel with Distress Spray Stains. I worked with warm rustic colours but any combinations of colours could be used. I then spritzed the ink with water to help move it around the panel so it covered both the stencilled leaves and the open space. When using sprays of any kind I like to spray within the confines of a box- less mess and clean up! A pizza style box is ideal.
I continued the process until I was happy with the depth and intensity of colour. I then used a sanding block to remove the colour from the textured leaves and make them stand out.
I also sanded away some of the colours from the outer edges of the panel to add to the whole earthy grungy vibe.
I kept the decoration simple with just a rusty heart sat on some natural twine
and a single word - 'Thankful'.
The panel is mat n layered on cream and brown card stock before being mounted onto a panel of corrugated card whose edges I caught with Archival ink.
Established in 2005, we are a craft retailer based in Suffolk in the UK. We sell a wide range of mixed media and papercraft supplies, as well as our own range of stamps, stencils paint, mediums and substrates.