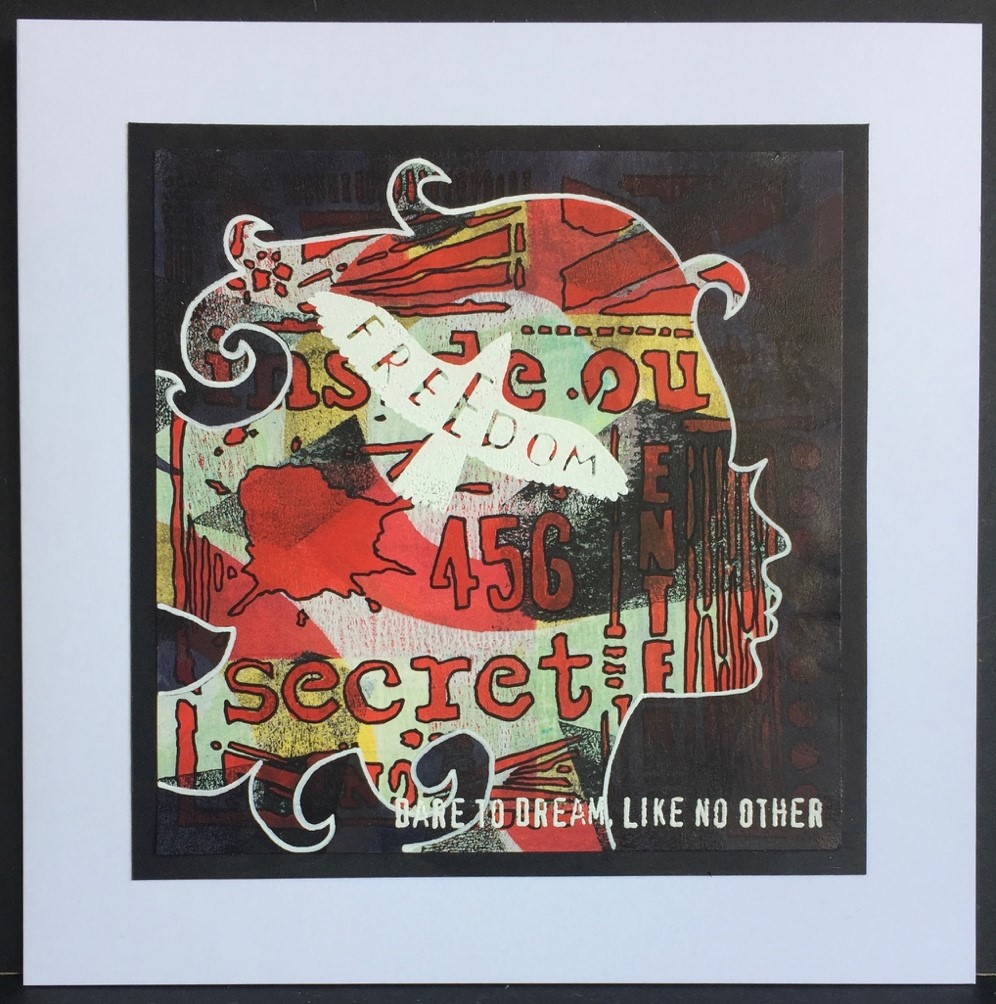
Hi Everyone
I have, for this week’s post, been playing with one of the
acrylic stacks by That’s Crafty! and some of the newly released Laurel Burch
stamps by Stampendous. I forget how much fun creating these stacks are and
really should play with them more often.

Here’s What I Did:
Each layer of acrylic is covered in a protective film so I removed just one side of film from each of them. I have 2 methods of painting the images on the acrylic, one is to stamp on the acrylic and paint the reverse side, the other, which is the method I have used this time, is to stamp the image and then paint over the top, this is easier but you have to remember that as you will show the other side your image will be reversed so you can’t do this if the stamped image includes text.
So I stamped my images, some of the new Laurel Burch stamps, with black Stazon which can be a bit slippy so this is so much easier using the Tim Holtz Stamping Platform. Stazon is the best ink to use on acrylic as it is so fast drying and permanent. Once I was happy the images were all stamped in the right place on the acrylic, I stack them together before colouring just to check, I then started colouring my stamped images with Posca paint pens. I then painted the MDF as my background for my acrylic layers. I have used PaperArtsy Fresco paints and the That’s Crafty! Dinky Bubbles stencil. Once happy remove the rest of the protective covering.

Here you can see all the backs of the acrylic layers, the
other advantage is that you can go over the lines at bit as you won’t see it
when they are the right way.

Here’s the layers now the right way around (remember these
are reversed)
Once you are happy with the finished painted look and your
paint is totally dry just stack them all together and secure with the included
bolts as in main picture.
What I Used:-
I hope I’ve inspired you to have a play with some of the
acrylic ranges produced by That’s Crafty! they really are fun to play with.
See you next week
Love
Amanda X