It's a little more Alice inspiration this week I just can't resist, I started off with a cotton bud tub this week and cut the outer cardboard in half before reassembling with adhesive and also some masking tape.
I then used some Air Dry Clay and created some impressions with the Azulejos Stamperia Mould, the Plaquette Stamperia Mould and the Lady Vagabond Pipes Stamperia Mould along with some That's Crafty! Sand Texture Paste and Stamperia Decorative Chips Door Panels before giving a coat of That's Crafty! Black Gesso.
I then used the Pentart Rust Effects Kit.
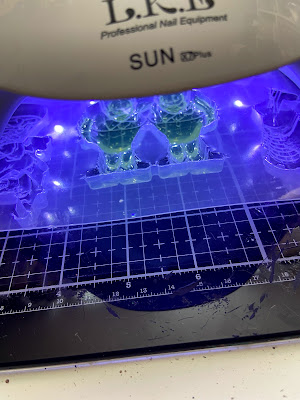
It was at this point I realised I hadn't cast the moulds the day before as I had planned. I like working both with resin and air dry clay but I do find resin casts make painting fine detail a lot easier. I knew my standard resin would take a while to cure so I improvised. I used the Stamperia Alice King Mould and while it would be quite a task to fill the whole mould with UV resin as this would have to be done in a few layers it was quite simple to add a thin layer of Pentart UV Resin once that was cured under a light I filled the rest of the mould with air dry clay. This gave me the fine detail I wanted alongside a substantial cast that would be able to stand.
I painted this with some black gesso before using the Stamperia Alice Paint set. I added them to my scene along with a few cards cut out from the Stamperia Alice Pad some That's Crafty! Sisal a couple of Tim Holtz Toadstools and as a finishing touch I used the butterfly stamp from That's Crafty! Textures Stamp 3. I hope you like the project.


No comments:
Post a Comment
Thank you for taking the time to leave a comment on our blog, we really appreciate it.
Note: only a member of this blog may post a comment.