This weeks blog post is the beginning of an exploration, whenever I get a new medium I like to see what it can and can't do, with any types of colour I like to create swatches so I know exactly what I have to use in my projects so for the next four weeks I thought it might be fun to document the process. I would ordinarily experiment in my journal but for these posts I thought it might be nice to create a stand alone journal using the That's Crafty!
6 x 6 tabbed journal.
The media I've chosen to explore are the rather gorgeous 13Arts watercolour set which is a full pan set of 16 colours.
I'm also using a rather lovely 8mm round brush from 13Arts and some Strathmore Cold Press Paper.
Once I've got these gorgeous little pans of loveliness unwrapped I want to see what the colour looks like and document it so I have a reference when using them.
I start by punching myself lots of circles of water colour paper, you can use all kinds of different surfaces for a more throrough exploration of how the colours behave. For the purposes of this post I'm going to use three circles of watercolour paper for each colour.
for each colour I'm going to do a sample of using the paint on a dry piece of paper(wet on dry), using the paint on a wet piece of paper (wet on wet) and I'm also going to do a swatch for wet on wet and sprinkle some coarse salt on it and leave it to thoroughly dry as this creates an effect I find really pleasing and acts differently with different colour.
I left my circles to thoroughly dry and set to work on creating the pages where I will be sticking them, I'm working on the pages as I use them so I'm not worrying about the rest of the journal right now, we will get to that over the next few weeks.
I then used the absolutely stunning new
"Kitsch Flamingo" Distress Paint on a dry brush just to add a little here and there on the page, starting with the edges and and gently brushing in.
Once my page background was finished, I brushed the salt off my fully dry circles and adhere them to my surfaces.
I then added some numbers to correspond with the numbers on the package so that I can identify the colours.
That's my Swatch pages and next I work on my front cover, I cut a piece of water colour card to size and use some
masking tape to edge the paper so I will have a border around my finished piece.
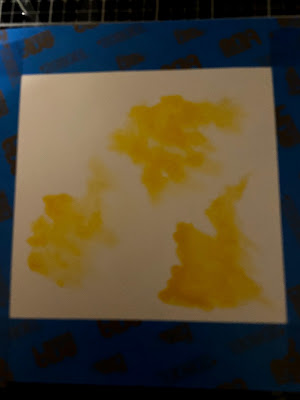
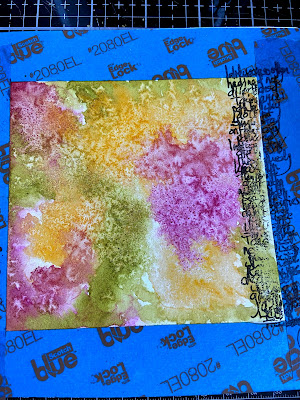
I wet the whole area and chose three colours to blob into the wet surface.
I then sprinkled salt over the whole painted area.
I left this overnight to dry to make sure its thoroughly dry.
Once I brushed the salt off I did a little edge of stamping using Lynne's scribble stamp set and some
black ink.
I carefully removed the tape and added the word explore from
That's Crafty! Lots of Words Stamps I popped a post it not over the first "E" of the word as I want to make a feature of it.
I lined the edge of the painting with my black pen and then cut out a large letter "E" from a book page and adhered it to the page, I then outlined the "E" with black pen.
I then took some
Kitsch Flamingo Distress Oxide and using a blending tool went around the edge of the page a used my
spray bottle to activate the ink once it had dried I used some more Kitsch Flamingo Distress ink to do some partial stamping in areas with Lynne's scribble stamp.
I adhered this page to the front of my journal and used a hole punch to create the holes, going from the other side of the page so I could see where they should be. I also added black card hole reinforcers.
Next week I will do some more exploration working in the journal, I really hope you enjoyed this post.


A fabulous idea for the circle swatches xxx Love the cover xxx
ReplyDeleteThank you ❤️
Delete