

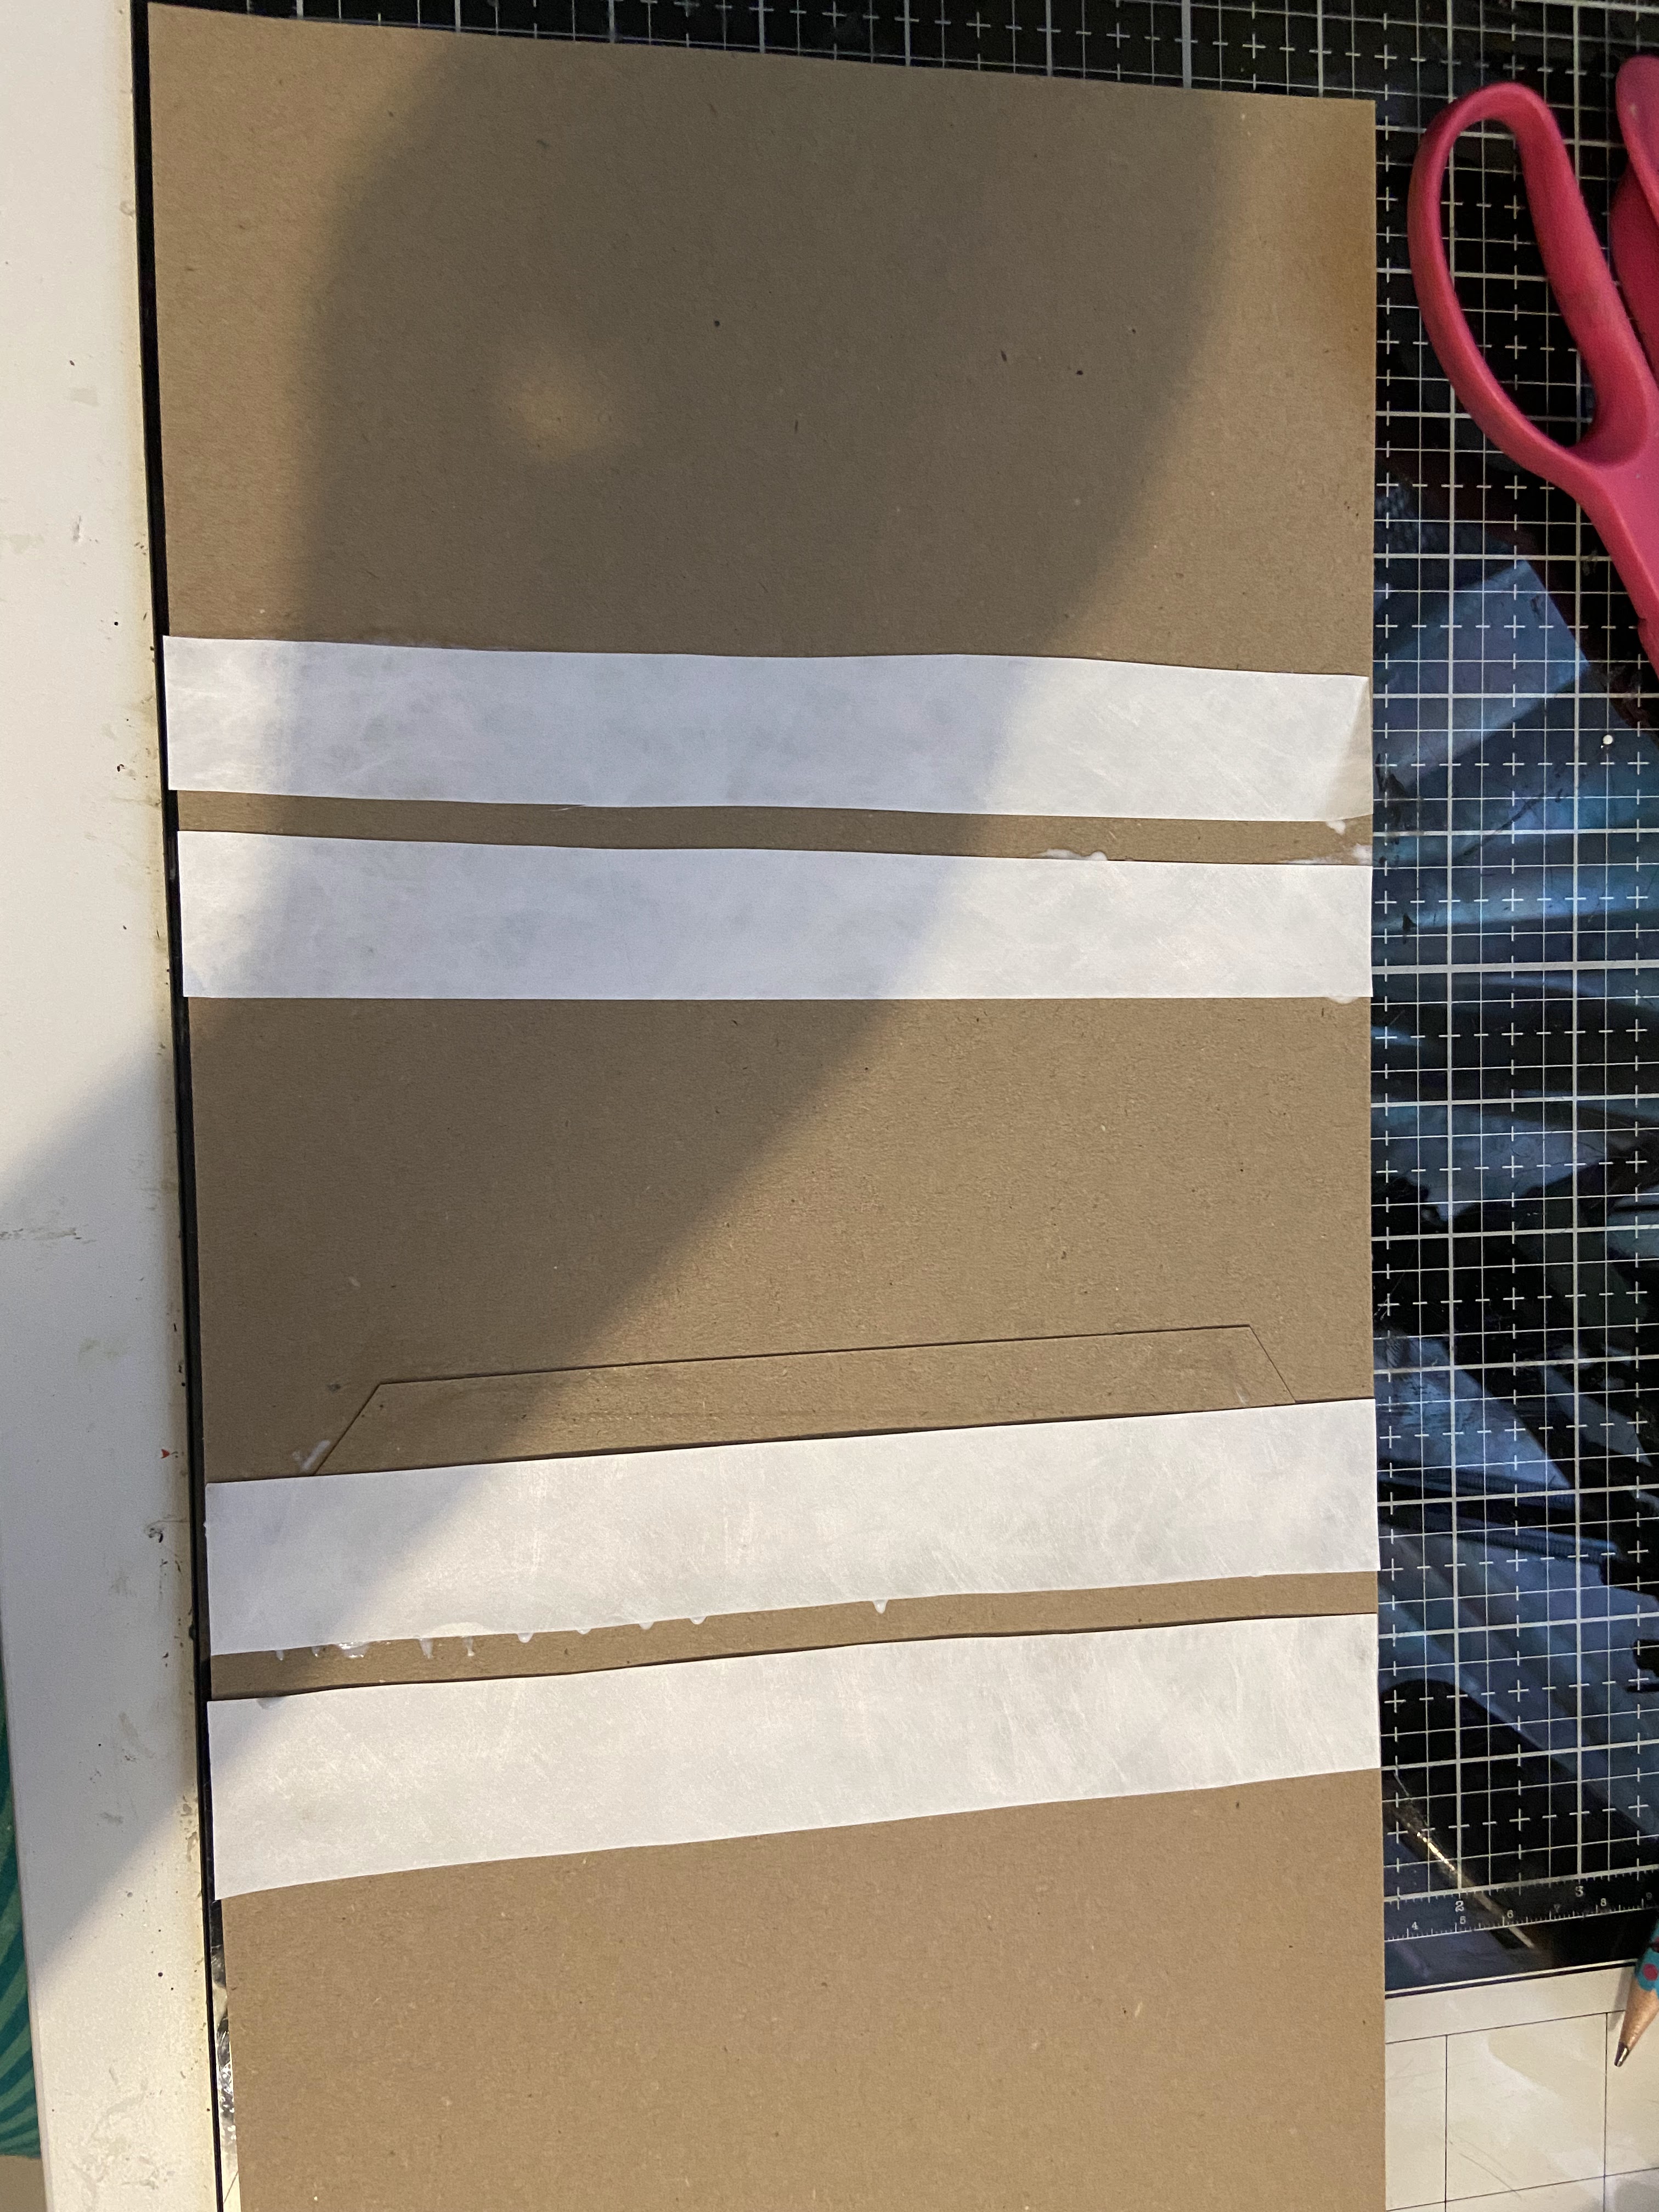
For my post this week I decided to use Liz Wheelers fabulous "Journal-it" templates this project uses Set two. I really love these templates, they allow me to quickly and easily make journals without even thinking about it, I draw around, cut out and add whatever else I want to add. For this project I'm using the markings for the tall travel journal, I'm using A4 cardstock so when using my template horizontally the template is a little taller the the card but I'm good with that, I mark out one travel journal and on another piece of card I mark out part of the travel journal again, just the spin, a side and an extra piece to serve as a flap to adhere this to the main piece, as I want to create a try-fold journal.


Once I've adhered these pieces together I cut some strips of Tyvek and stick them on each crease to add strength.

I pick some papers from Stamperia Lady Vagabond 12 x 12 Paper pad trimming to fit and folding around all the edges to create a nice finish, for the inside I cut panels of paper to fit and adhered them in position, taking time to re-crease my folds as needed.


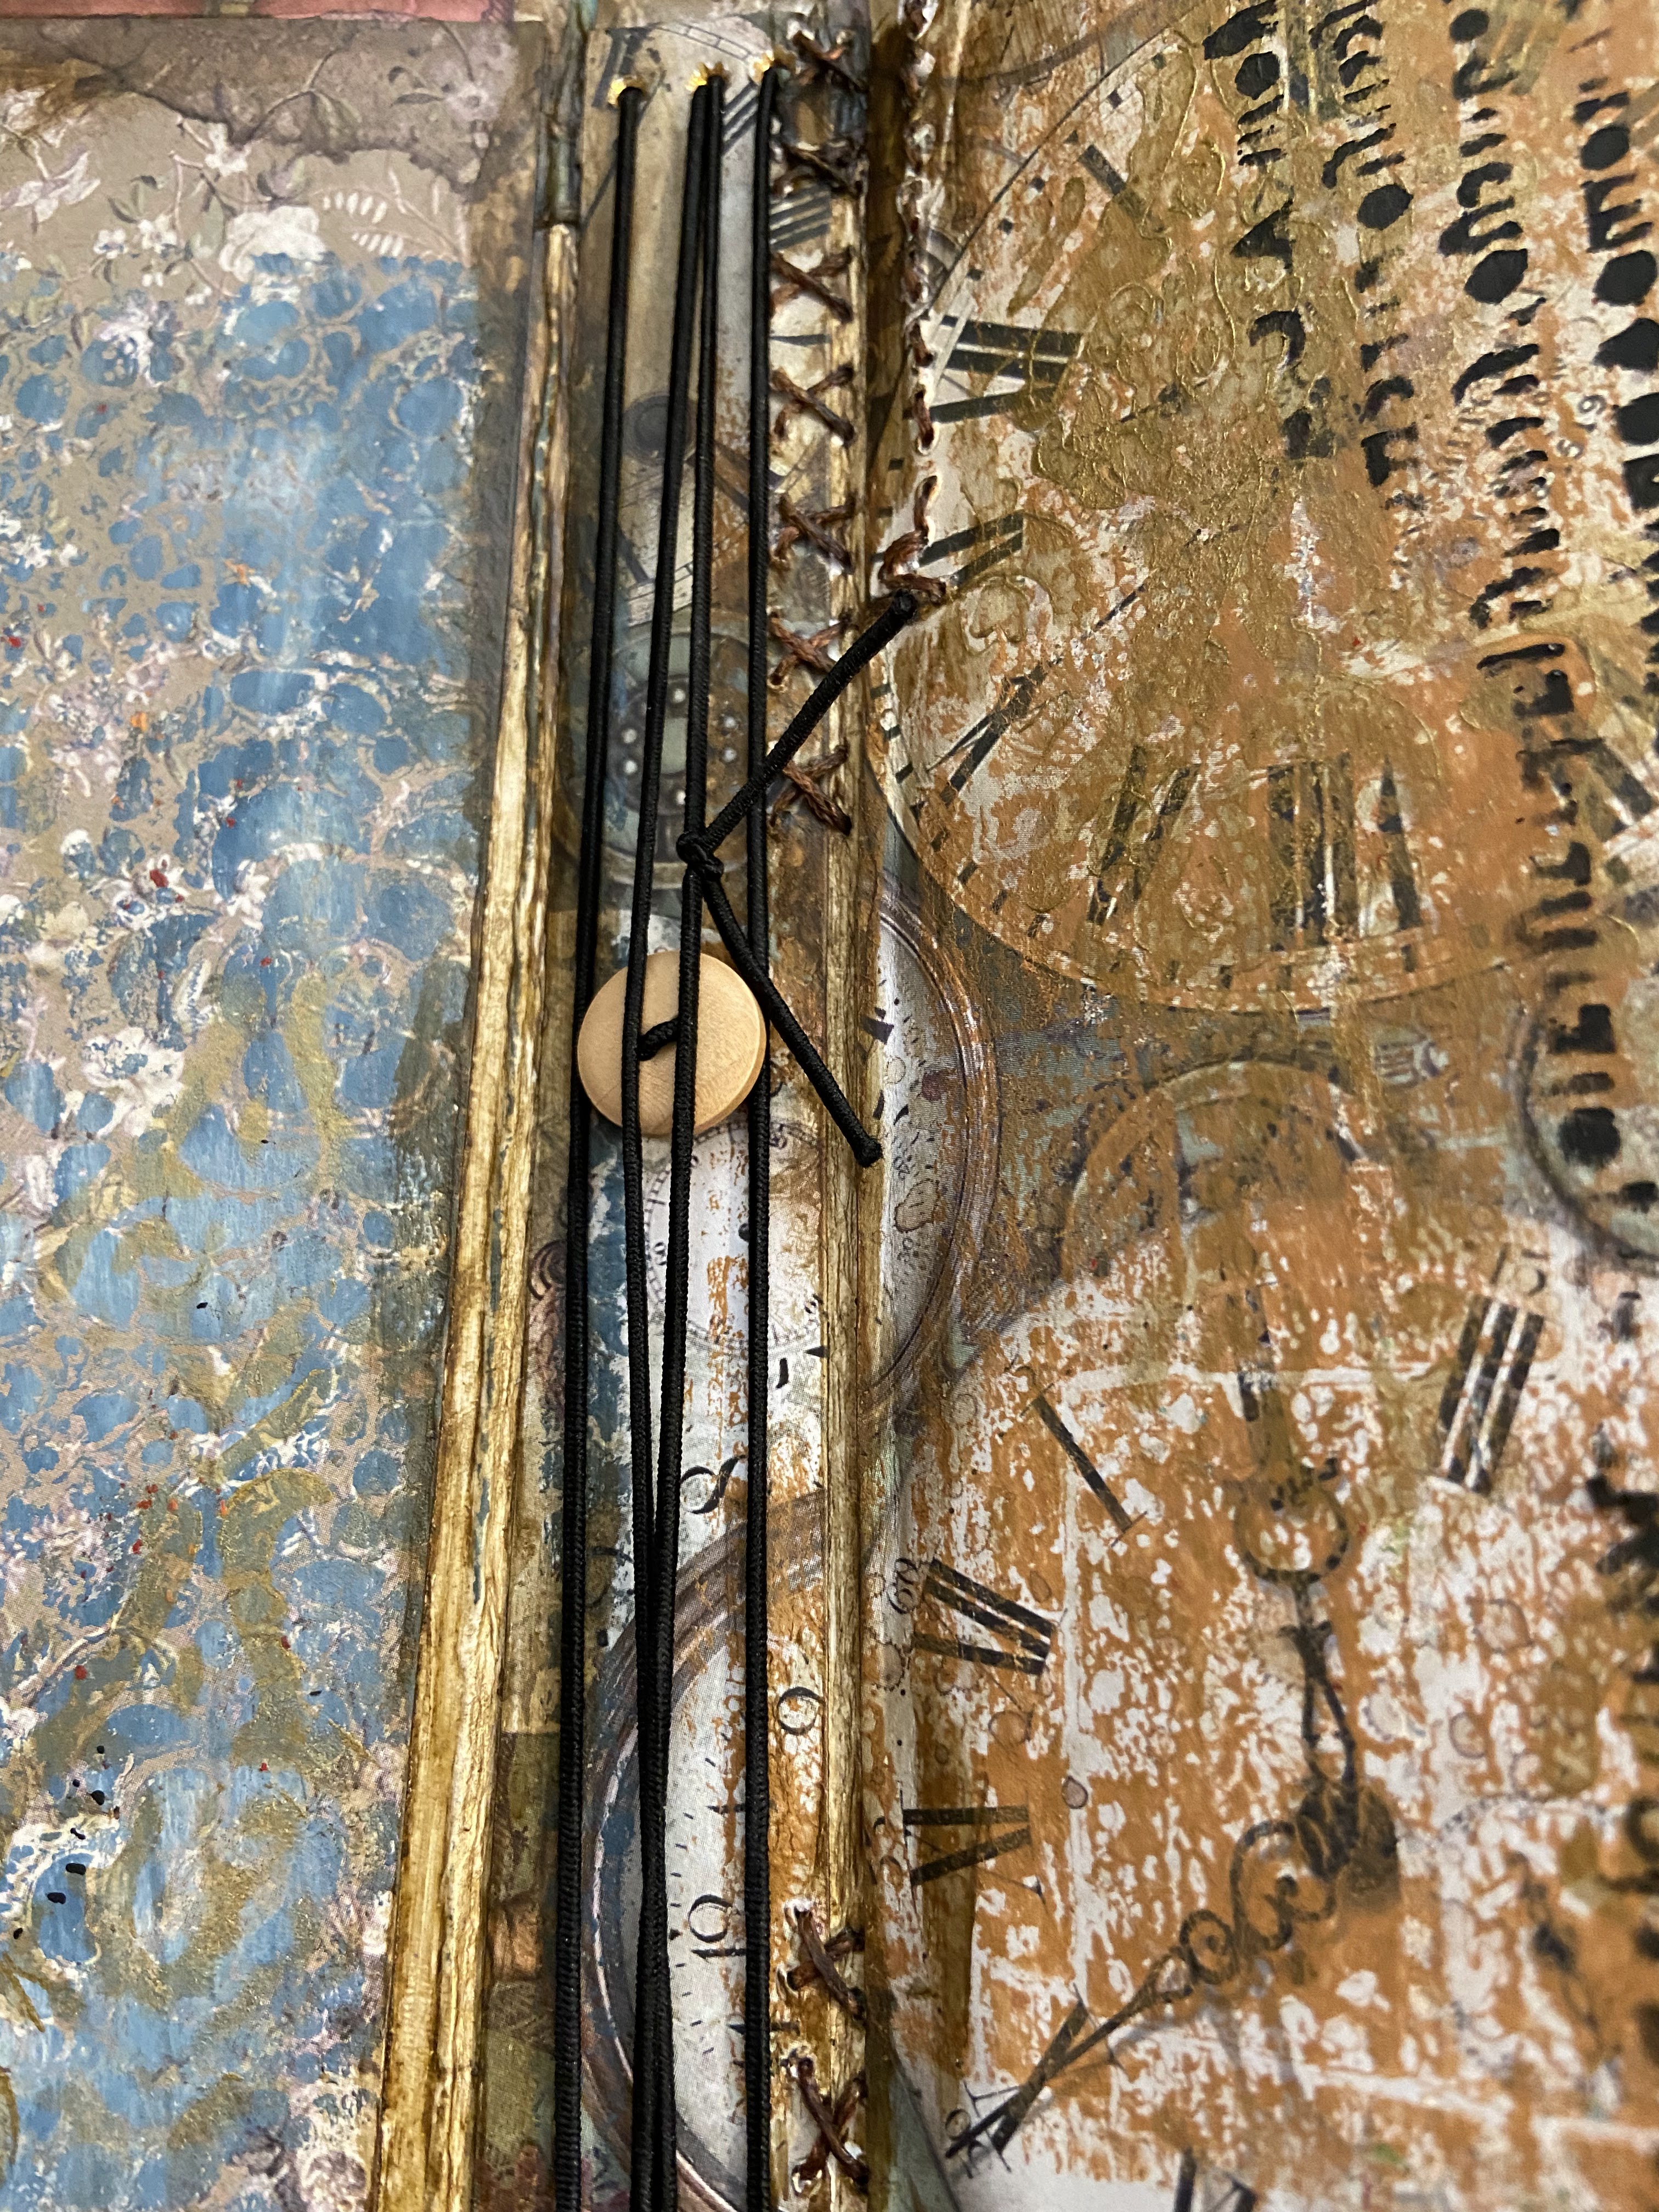
Once I was happy with my finish I decided to add a little stitching detail, I used my pokey tool on a foam mat to pierce some holes before I added the stitching.


I then got out my Gel Press and used a selection of smaller Stamperia moulds on my Gel Press, I like to gently press the back side of the mould into a layer of paint on my Press. I randomly printed this onto my cover and the inside of the journal.


I then took some Stamperia stencils and added some more detail with them.


Next I cut out some elements from the papers and adhered them in a way that was pleasing to me.


Then I took some Pentart Lasur Gel in a darker colour and went around the images to add a little definition and also around the edges and creases o the journal.


Next I added a coat of That's Crafty! Acrylic Wax to the outside of the journal. Once the wax was dry it was time to make the various holes for the pages and ties, I'm using elastic for my pages and tie.


Next I take the largest of the envelope templates in this collection and make a pocket for the inside cover.


I cut my pages to size remembering to take a little extra off as this cover is not quite as tall as the template.


This is absolutly brilliant Rachel, shown in such easy steps. Thank you. a show piece for sure.
ReplyDelete