This weeks post is using some of the fabulous Studio Light Grunge collections designed by Angela Van Gils as well as some elements from the Studio Light collection inspired by Jolanda de Ronde.
I have started off recycling an old canvas that Ive fallen out of love with if I had one to hand I would have used the rather lovely Thats Crafty! Faux Reverse Canvas as they give a great surface to work on for this effect.
I used That's Crafty! Sand Texture Paste through a Stencil all around the edges of my frame.
I left it to dry and then covered the edges in That's Crafty! Black Gesso before using the Pentart Rust Effects Paint set and a little Wax.
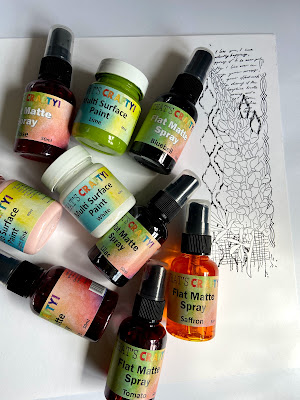
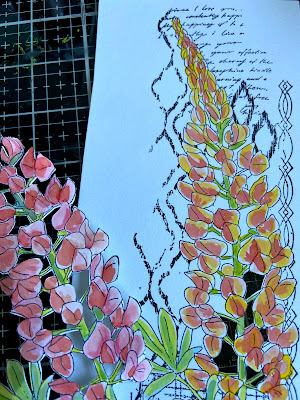
I put my frame to one side and start by stamping and painting the Grunge Lupin. I use a combination of That's Crafty! Multi Surface Paint and That's Crafty! Flat Matt Sprays to add colour. To cut these out I always start any sort of cutting out by taking the more fiddly elements out with my knife, once I've removed everything I want to remove from inside the image I cut around the edges, this makes cutting out much easier. I put my cut out lupins to one side.
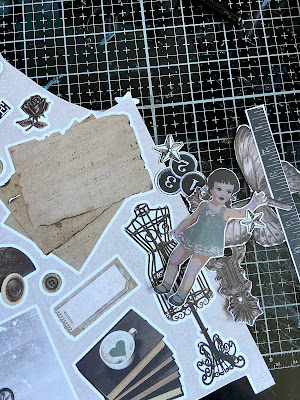
I pick some elements from a Cutting Sheet and get them ready to use with the lupins.
I then take a piece of card that will fit in the aperture of my frame and a Gel Press. I start by spraying a couple of the Flat Matte Sprays on my Gel Press and lift the print directly for my piece. I'm being mindful of wanting to keep white space on one side of my design. I then stamp the lupin image on to my Gel Press with Versafine Ink which I lift off with the card I've already got some colour on from the first print.
I then add some more detail with more of the Grunge Collection Stencils and Grunge Collection Stamps, once I'm happy with my composition I add some highlights and shadow using Posca Pens. I adhere the finished card to the inside of my frame.
I then play around with the cut elements to decide on placement and combine them with some That's Crafty! Sisal and a straw that I have covered in Grunge Washi Tape and cut into three. Once I'm happy with my placement I add all the elements. As a final touch I go around the outside edge of the card where it meets the frame and add a little Lasur Gel this product is actually a wood stain but I really love how you can get some lovely aged effects by putting on the colour and then removing it before it has had a chance to dry, as a note of caution if you are using this technique once the product dries you will not be able to remove it so bear that in mind when applying.
I hope you enjoy this project if you'd like to see a video of the project being made you can find it in the That's Crafty! Creatives group in the media section as I created this project in a live over in the group where there are regular lives from myself and my team mates.


No comments:
Post a Comment
Thank you for taking the time to leave a comment on our blog, we really appreciate it.
Note: only a member of this blog may post a comment.