For this weeks post 'really played with textures and effects.
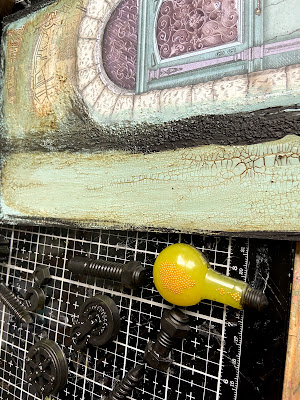
First things first a prepared my Resin and added a little yellow tint.
I do this first as I know this resin will take 24/36hrs to cure and I will be able to leave it overnight before I continue with my project. I've only mixed up a small amount which will be just enough for the small light bulb and some extra bits and pieces, I'm not worried about them all being yellow as I will be using paint effects on the other pieces. I also added a few gold micro beads to my light bulb cast for extra interest. I'm using Lady Vagabond Flying Machine Mould and Sir Vagabond Owl and Memories.
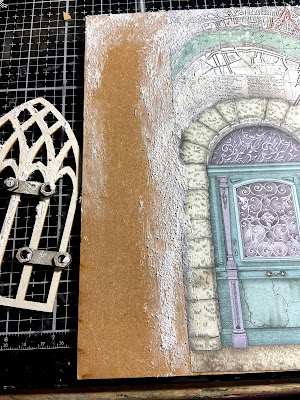
I then took my piece of MDF which is an insert from one of the recently released frame sets, so nothing goes to waste. I then took a piece from the Lady Vagabond 12 x 12 paper pad with a door on it and adhered it to my board.
I also took an arched window to which I added some elements from the small cogs greyboard sheet, I put some Sand Texture Paste on both of these elements.
I then added a layer of paint and then Pentart Transparent Crackling Gel System I also added some Glossy Accents to the window areas.
I then added a layer of Lazur gel and wiped it off I think that the water based bitumen would have a similar effect.
I absolutely adore the texture this creates. Next I use just a little black gesso in the areas Im going to use rusty and patina effects as well as on the other elements including the arched window.
I then use the Pentart Rust Paint Set and the Pentart Patina Paint Set to create rusty and patina effects on the board and the elements.
I played around with my placement and once I was happy I stuck everything in place I also added a tag from the Lady Vagabond pad and some twine.


No comments:
Post a Comment
Thank you for taking the time to leave a comment on our blog, we really appreciate it.
Note: only a member of this blog may post a comment.