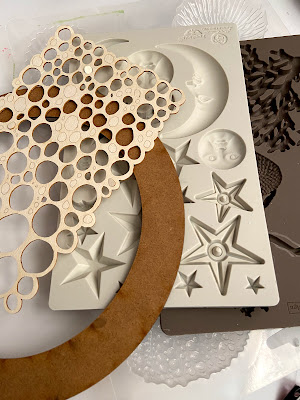
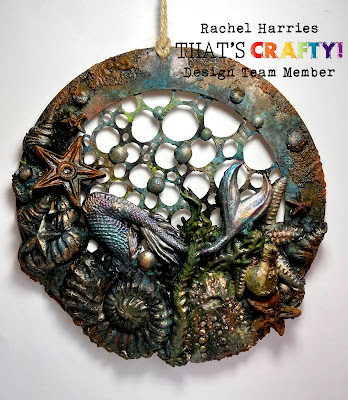
This week I've used one of the MDF Wreaths this could just as easily have been any of the other MDF Surfaces from That's Crafty! I've also used Air Dry Clay and a selection of moulds including The Sea Maven Mould, Stars and Moons Mould and Stamperia Shells Mould. I've also used a piece of Craftyboard Bubbles.
I adhere one piece of the Bubbles Craftyboard to the back of the ring and trim any excess, I'm not worried about covering the back completely as once the elements are in place it will look like its all covered.
With the elements from the Stamperia Mould I am able to pop the casts out gently pretty much immediately as long as I am careful and start adhering them in place.
The more detailed casts require a bit more patience and need to be left to dry out a little before even attempting to remove them from the moulds, my preference is to leave them over night.
Once I'm happy with positioning I add some Sand Texture Paste.
Once everything has dried I add a good coat of Black Gesso and start layering up some That's Crafty! Multi Surface Paints.
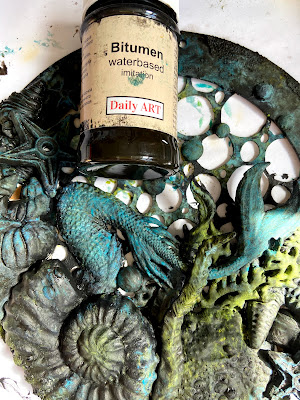
The next stage for me is to add some Daily Art Bitumen.
I then add a few different Waxes to finish off, and realised there was an important part missing so I used a Tim Holtz Tiny Vial adding some sand texture paste and paint not forgetting the all important message.
I had great fun putting this together I hope you enjoy it and have a go yourselves.


I absolutely love this! I'm curious about the bitumen - is this just black paint or gesso or what does it do please? I've not heard of it before. Thanks
ReplyDelete