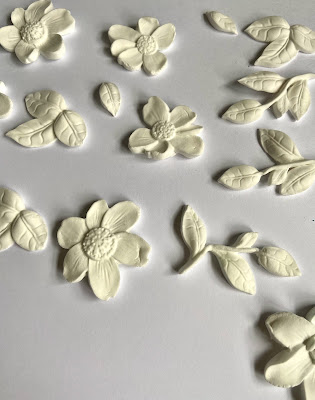
This weeks project uses a little mint tin I've been saving for such an occasion and the lovely new Prima Marketing Watercolor Floral Mould with some Air Dry Clay.
I started off by using the clay to make a few castings from the mould.
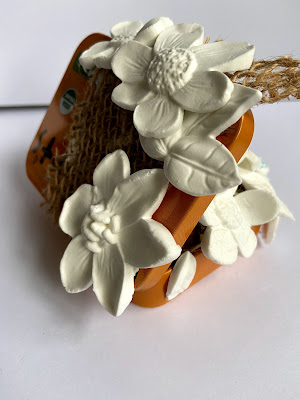
I then took my little tin and stuffed it slightly open with some crumpled up paper which I added blobs of glue to, so that it would stay in place.
I then added a couple of small pieces of hessian and my castings, I don't worry about them being fully dry as I will be able to bend them easily at this stage and as long as I'm mindful not to squish them too much its not a problem at all, in fact I would say that every piece I do using castings with air dry clay I use my castings as soon as they are touch dry.
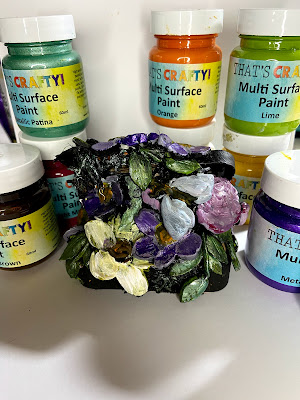
Once the gesso has dried I go in with That's Crafty! Multi Surface Paint - please don't be perturbed if this doesn't look very special, this is the first layer of paint and its just a stage we need to go through.
Once the paint has dried I then get my That's Crafty! Inks and add my next layer.
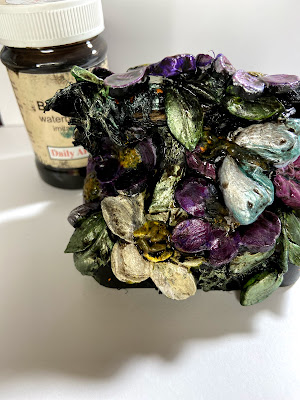
Once this has dried I add some Daily Art Water based Bitumen.
For my final layer I add a little wax here and there and that's my Blooming Box.


Absolutely stunning detail Rachel and the way you painted up the embellishments looks amazing.
ReplyDeleteFliss xx